Recently I finished building an overclocked hexacore PC with 128 GB RAM for high performance computing (HPC) and machine learning applications. Here’s a description of how I chose components and how it all fits together.

But I don’t know where to begin…
Building your own computer sounds really hard, but the truth of the matter is that assembling a computer is basically Legos for adults. With a little bit of knowledge/research, you can choose parts that are powerful where you need them to be, and cut corners on what is less relevant to your uses. You don’t need 64 GB of RAM and an Intel Xeon series processor to play video games, and a machine used for training neural networks doesn’t need a high end sound card anymore than a DJ needs the latest high-end NVIDIA graphics card. Being savvy allows you to get more for your dollar.
I don’t intend for this to be a comprehensive guide on what to sink money into for a gaming machine versus a computing rig – I’m just going to show you what I chose and why I chose it. I do love this topic so please feel free to contact me if you want to discuss in more detail.
Build Summary
Here’s the basic components.
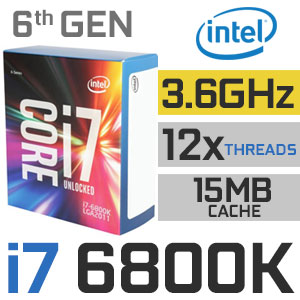
- Processor: Intel Core i7-6800k 3.4 GHz (overclocked to ~4.4GHz)
- GPU: NVIDIA GTX 1070
- Motherboard: ASUS x99-A II
- Memory: Crucial Ballistix LT 64GB (4x16GB) DDR4-2400MHz room to upgrade to 128GB on this motherboard
- CPU Cooler: Cooler Master v8 GTS
- Power Supply: Antec EA-650
- Case: Cooler Master Masterbox 5
- Fans: 4x Corsair Air Series AF120
- Storage:
You see there’s not really that many critical components. You’ll also need a monitor, keyboard, mouse, and (maybe) a DVD drive – but those are less relevant. I tore down my old build and sold it for parts, so I had peripherals lying around to use. I would recommend prioritizing a good HD monitor over keyboard/mouse if you have the money. I like Acer.
How did I choose these parts?
Overwhelmingly, the most important determining factor in what components you should purchase is simply
What am I going to use this machine for?
I use computers pretty much all day everyday. My Ph.D. research involved developing high-performance reconstruction/refinement algorithms with applications in a number of fields including electron microscopy, X-ray coherent diffractive imaging, and medical CT. This type of work involves lots of large scale parallel image processing, reconstruction/manipulation of large 3D volumes, cluster computing, GPU acceleration, etc. My spare time is spent working on big data and machine learning projects like Kaggle competitions. The point is I push a lot of numbers through computers and I needed a machine to do that well. Here’s a little more detail on each component.
Processor: Intel Core i7-6800k 3.4 GHz
Some discussion is required before I say why I got this processor…
The central processing unit (CPU), is the brain of the computer. It crunches numbers, schedules tasks, moves data to and from memory, tells the GPU what to do, etc. There are 3 C’s that I think are critical for choosing a processor:
- Cores
- Clock
- Cache
Cores
Most modern CPU’s are multitaskers and can execute independent tasks simultaneously. I’d like to clarify two terms that are very important but often confused when discussing how computers juggle parallel workloads - cores and threads. Basically, cores do the work, whereas threads are the work.
A CPU core is the name given to the part of the CPU that can independently do some work (add two numbers, write to a text file, open an image, etc). As of this writing, many modern desktop processors are quad-core and thus can perform up to 4 tasks simultaneously. Note: by simultaneously I don’t mean you can only have four programs open at a time, I mean that four actions can occur at the same moment in time. This is where threads come in.
A thread is a set of instructions that a CPU core can follow one-by-one. In general, hundreds or thousands of threads can exist at any one time, and it is the job of the operating system to shuffle the cores around to do the work on the threads. The cores are constantly being switched from one thread to another and picking up wherever that thread was left previously, soon to have the scheduler move them again to another thread. There are many reasons for this switching (usually it’s to make your computer faster and keep things moving), but I won’t go into detail further. You might remember the days when you demanded too much of your computer and it froze completely, requiring a restart. That probably hasn’t happened to you in a long time, and that’s because of multicore processors. If one thread completely locks up a single core, you still have others that can carry on and even be used to kill the bad thread and free the hostage core.
Clock
Clock speed is how fast a single core of the processor works. It’s usually quoted in units of gigahertz (GHz) which means a billion cycles per second. A 3.0 GHz processor can count 3 billion discrete clock ticks in one second. If it takes 30 clock cycles for the computer to go and read the value of a number from memory, then that operation takes 30 / 3 = 10 nanoseconds.
Clock speed used to tell most of the story when it came to comparing processors, but multicore processing changed that. Which is better, a dual-core 2 GHz processor, or a single-core 3GHz one? Well, that depends what you are using it for. If you are running serial applications that only create one thread, then the 3 GHz processor wins because it is faster. But if the workload can be split 50/50 between the two slower cores then effectively the dual-core processor is working at 4 GHz. Some applications use multiple threads, some don’t, some will eventually, and some will never be able to because of their structure. This is why its important that you have an idea of what kind of work you want to do.
Cache
Thanks to Moore’s Law, CPUs rapidly become so good at crunching numbers that a significant bottleneck to their performance is actually how quickly they can read data from memory. Let’s say you want to convert an image from color to grayscale. The image is read from your storage disk into RAM (technically, this is called DRAM), you run some code to convert each pixel into gray, and then save the gray image, right? Not quite. Once the image has been read to DRAM, each pixel has to be fetched into an even smaller region of memory called a register, and only at that point can it be worked on. Then it is written back to DRAM, and then DRAM can be written back to permanent storage.
This series of getting and setting to DRAM is a lot of effort, and to alleviate this a series of intermediate memory levels were created. These “caches” are dubbed L1, L2, L3, etc based upon their hierachy, and as their number gets smaller they are 1) faster, and 2) can hold fewer values. Fetching a value that is stored in L1 cache is about 100 times faster than having to get it from DRAM, but L1 cache sizes are one the order of tens of kB whereas DRAM is tens of GB (1 GB is 1,000,000 kB). A ton of work in computer engineering has gone into figuring out clever ways to predict what data you are about to use and to get it into cache before you ask for it so that when you do, things are nice and quick.
I like to think about L1 cache like my computer desk. I can have several papers sitting on my desk that I can immediately pick up and look at, but it can’t hold that much. L2 cache is like having a filing cabinet one room over – it holds more, but I have to walk over there and get it. DRAM is a warehouse down the street.
If a CPU has a larger cache size, then it can hold more stuff in low-latency memory. If a bunch of number crunching is to be done on some data that completely fits into cache, performance can be much better than if it almost fits into cache, because each time you need some data that got “pushed out”, you have to go all the way back to that warehouse of DRAM. Therefore, if you use math that breaks data up into chunks, cache size is of great importance. The Fast Fourier Transform (FFT), is a fantastic example of this and is something I find myself using almost daily.
Okay, so why the i7-6800k?
I strongly prefer Intel chips, and for a high end machine my decision came down to the i7-6800k and the new Kaby Lake architecture in the form of the i7-7700k. For Intel processors, i7 > i5 > i3 in terms of both performance and price, and i7 is an even larger winner because of Intel’s Hyperthreading. I then chose the 6800k despite it being slightly more expensive because it better satisfies the 3 C’s:
- It has 6 cores instead of 4 in the 7700k. 6 cores at 3.4 GHz is ~20% faster than 4 cores at 4.2 GHz if the cores are being saturated. That’s a lot.
- The cache size of the 6800K is almost double the 7700k
- The 6800k supports quad channel memory while the 7700k is dual channel, which means the 6800k can perform DRAM fetching up to twice as fast as long as you have at least four RAM sticks
- 6800k supports 128 GB RAM instead of 64
- 6800k supports 28 lane PCI movement instead of 16. This difference is helpful for efficiently moving memory on and off GPUs if you have more than one.
GPU: NVIDIA GTX 1070
Although graphics cards originated as hardware designed to handle the fast-paced computation in video games, the era of general purpose graphics processing units (GPGPUs) is upon us. Thanks to CUDA, NVIDIA GPU’s can be programmed to perform massively parallel calculations with incredible speed. This kind of computing is being used to drive fantastic innovations like Google’s neural network technology with Tensorflow and its image-recognizing offspring codenamed Inception. The advantage of GPU’s is they have literally thousands of cores, but they cannot function on their own. They must be told what to do by the CPU and eventually transfer data through the PCI bus which is comparatively slow. The best computations for GPU’s are ones where a lot of work has to be done relative the amount of data transfer. You want a high calculation to cargo ratio, if I may.
The “why” here for the GTX 1070 is easy – it’s the best consumer-grade GPU from NVIDIA that I could afford. If you can afford it, the GTX 1080 is better. Both are based in the latest architecture, Pascal, and the super-high priced Quadro/Tesla cards aren’t significantly different than the consumer grade ones, they just carry features like improved double precision support and ECC memory that corporations/research potentially care about. Once you’re in the realm of corporate/research budgets NVIDIA knows the pockets are deep and the prices reflect that.
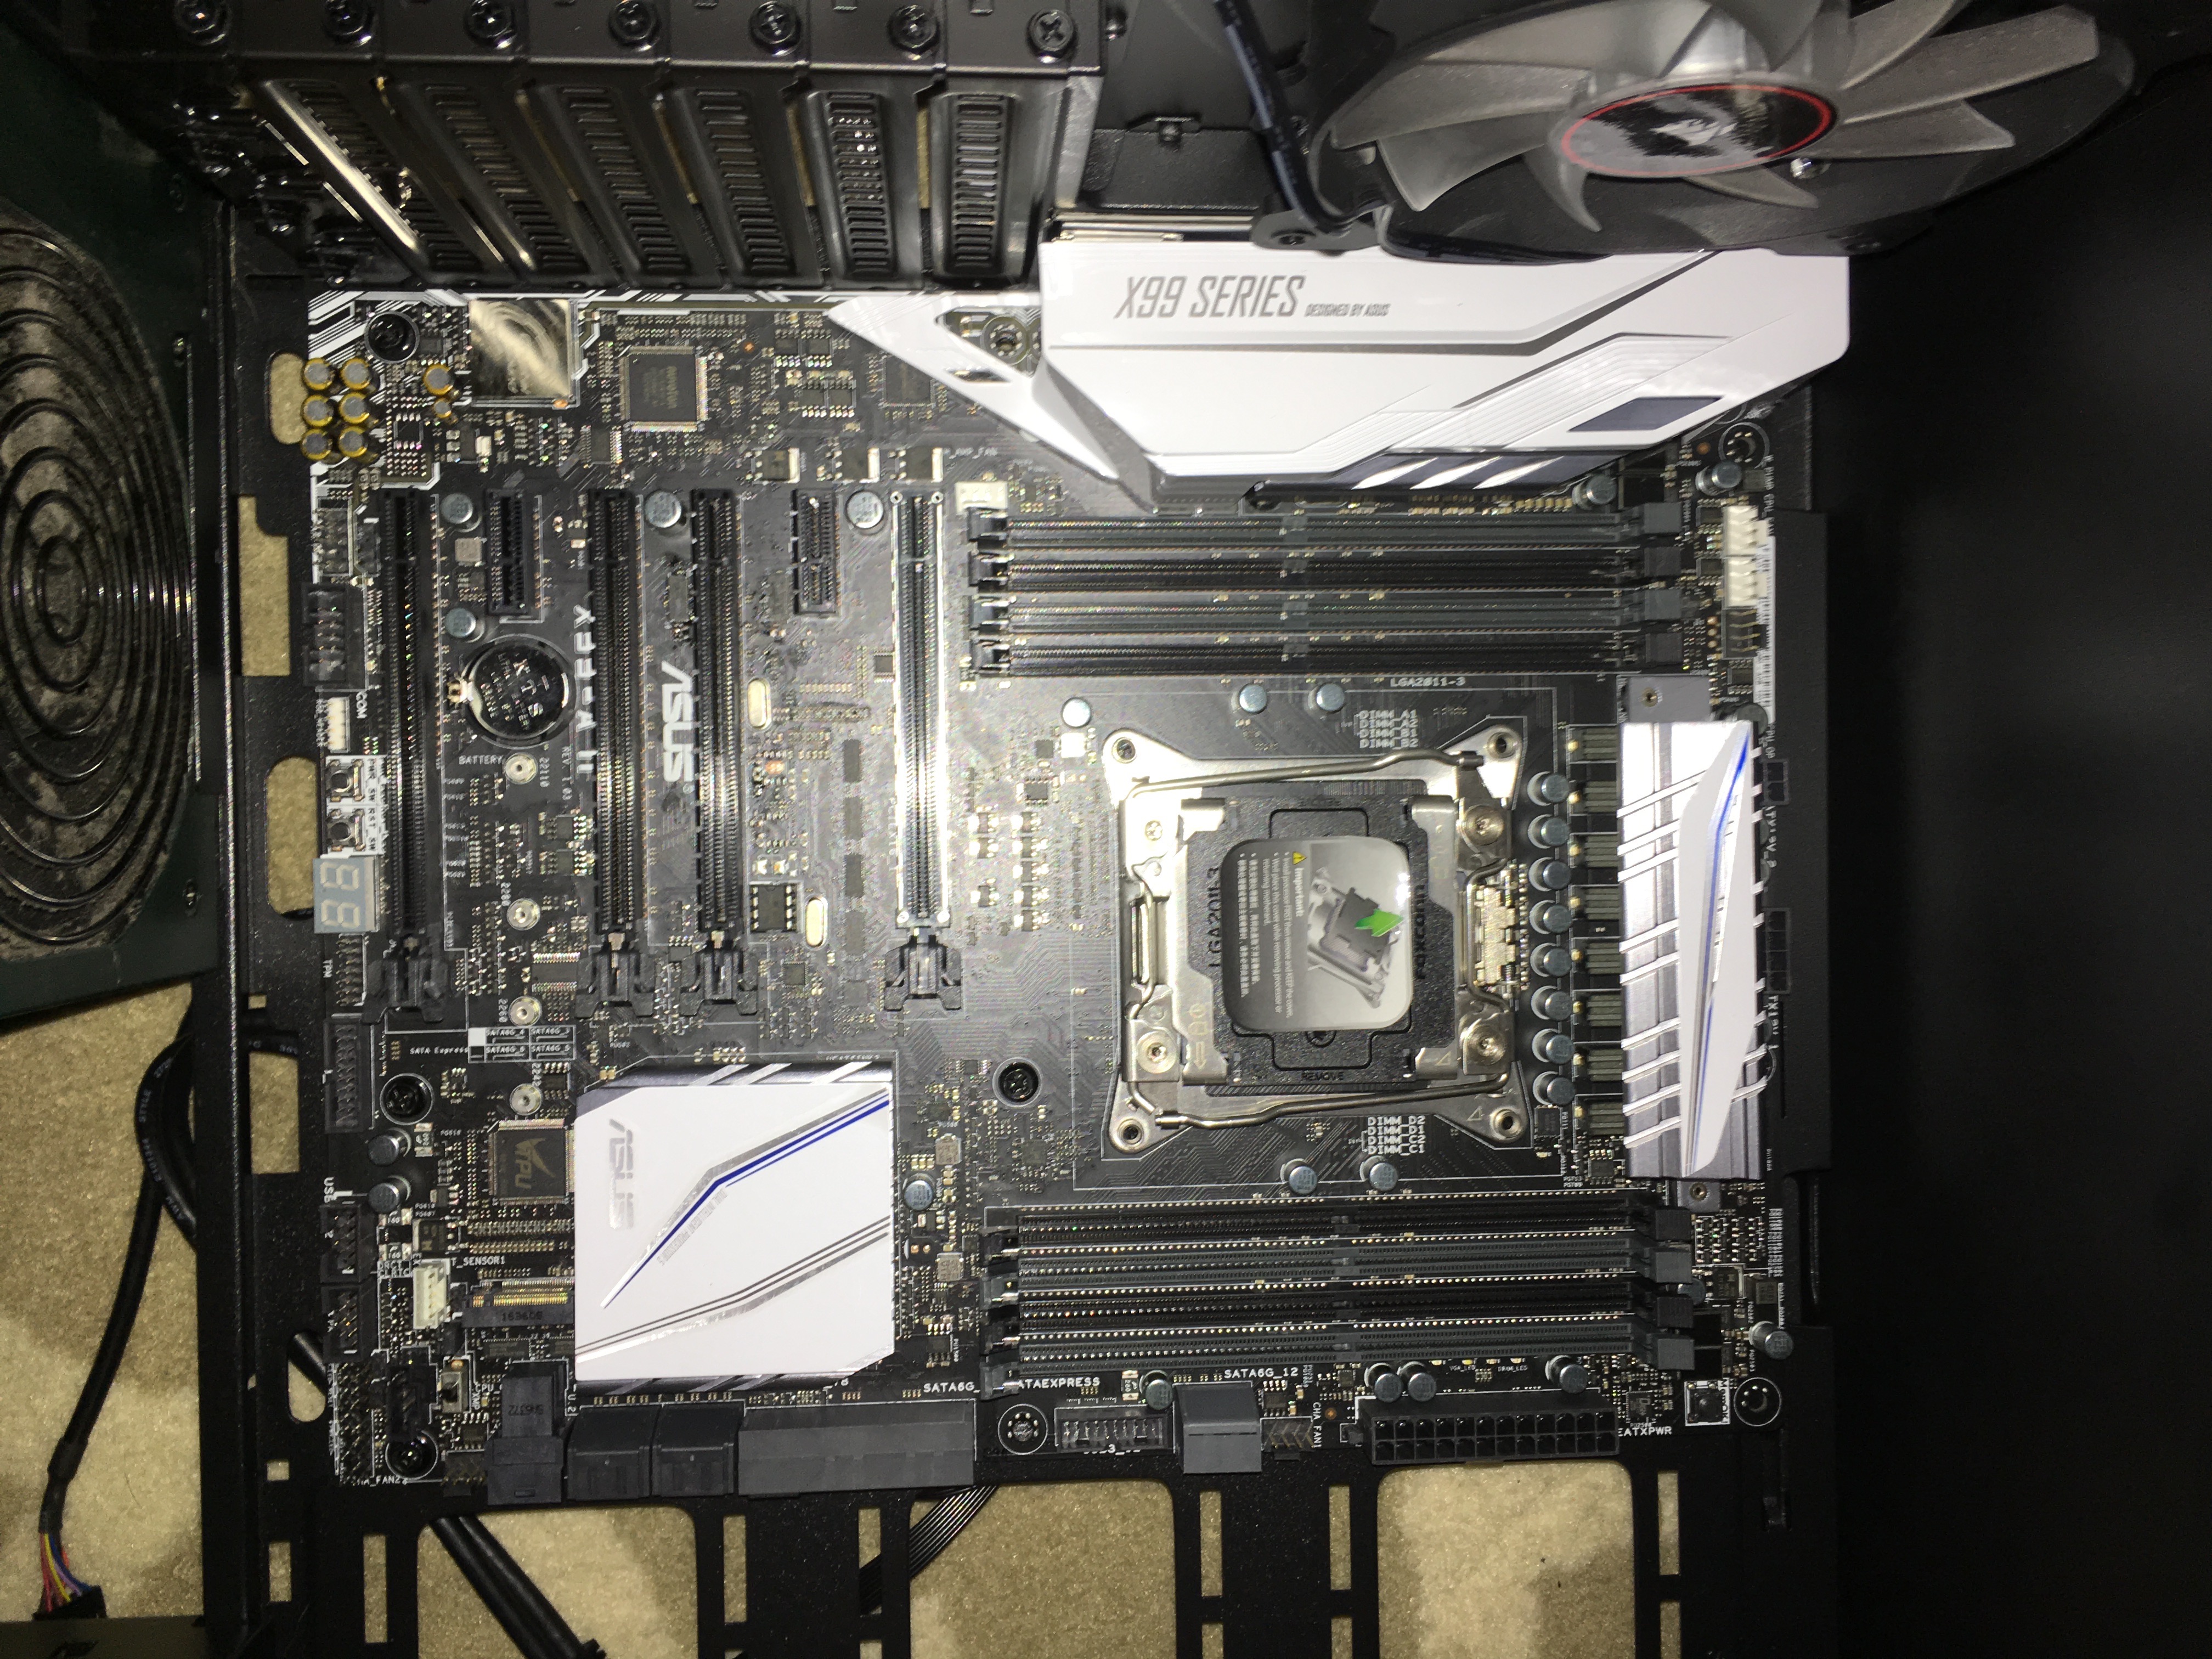
Motherboard: ASUS x99-A II
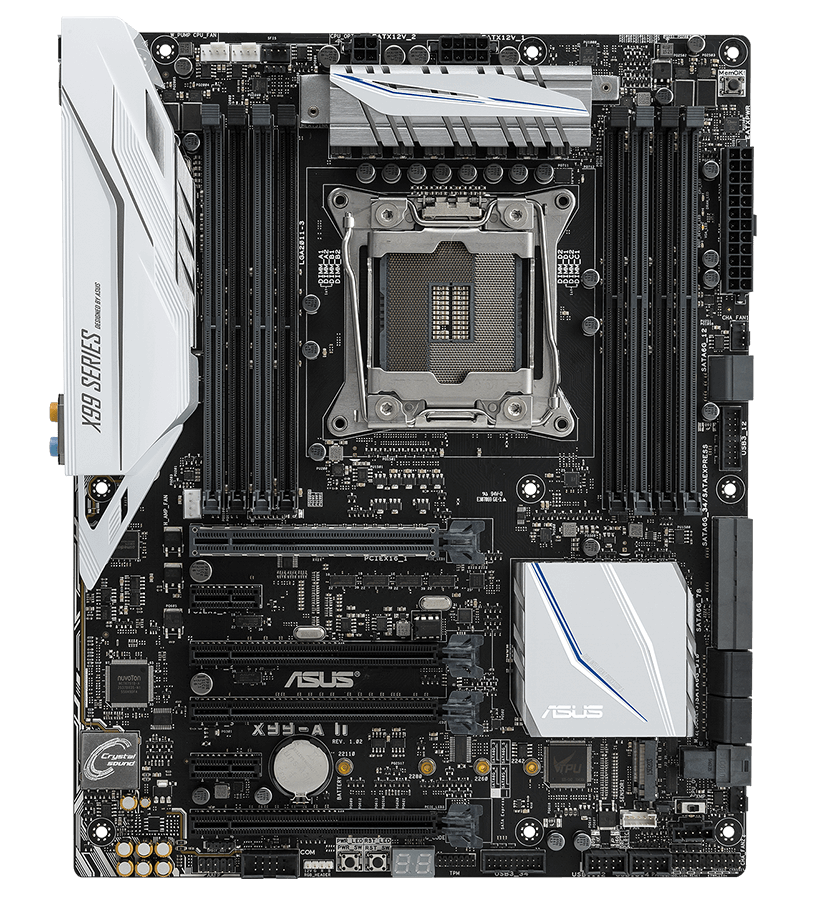
If the CPU is the brain, the motherboard is the central nervous system, as it connects all of the components together and is responsible for regulating power and shutting the computer down if something gets too hot or malfunctions. Choosing a motherboard is 90% making sure you have enough slots and compatible connectors and 10% paying for a brand that you trust. Make sure your motherboard supports the socket of the CPU you are buying (the i7-6800k is an LGA 2011-v3 socket) as well as your power supply, RAM, etc. Motherboards have an enormous number of components and diagnosing failure is a nightmare – I would rather pay a little bit more for a solid piece of equipment. If you are going to buy a used computer part, buy used fans, cases, etc – but do not buy a used motherboard. Too many small things could have gone wrong and I never trust it.
Why this board? The x99 signifies the x99 chipset, which is necessary for the i7-6800k processor. I chose this board because ASUS is a brand I have never had problems with, it has enough SATA slots for my storage, there are 8 DDR4 slots so that I have the opportunity to move to 128GB RAM, 3 PCI x 16 slots in case I add additional GPUs, it is of medium price, and it has cool lights.
Memory: Crucial Ballistix LT 64GB (4x16GB) DDR4-2400MHz
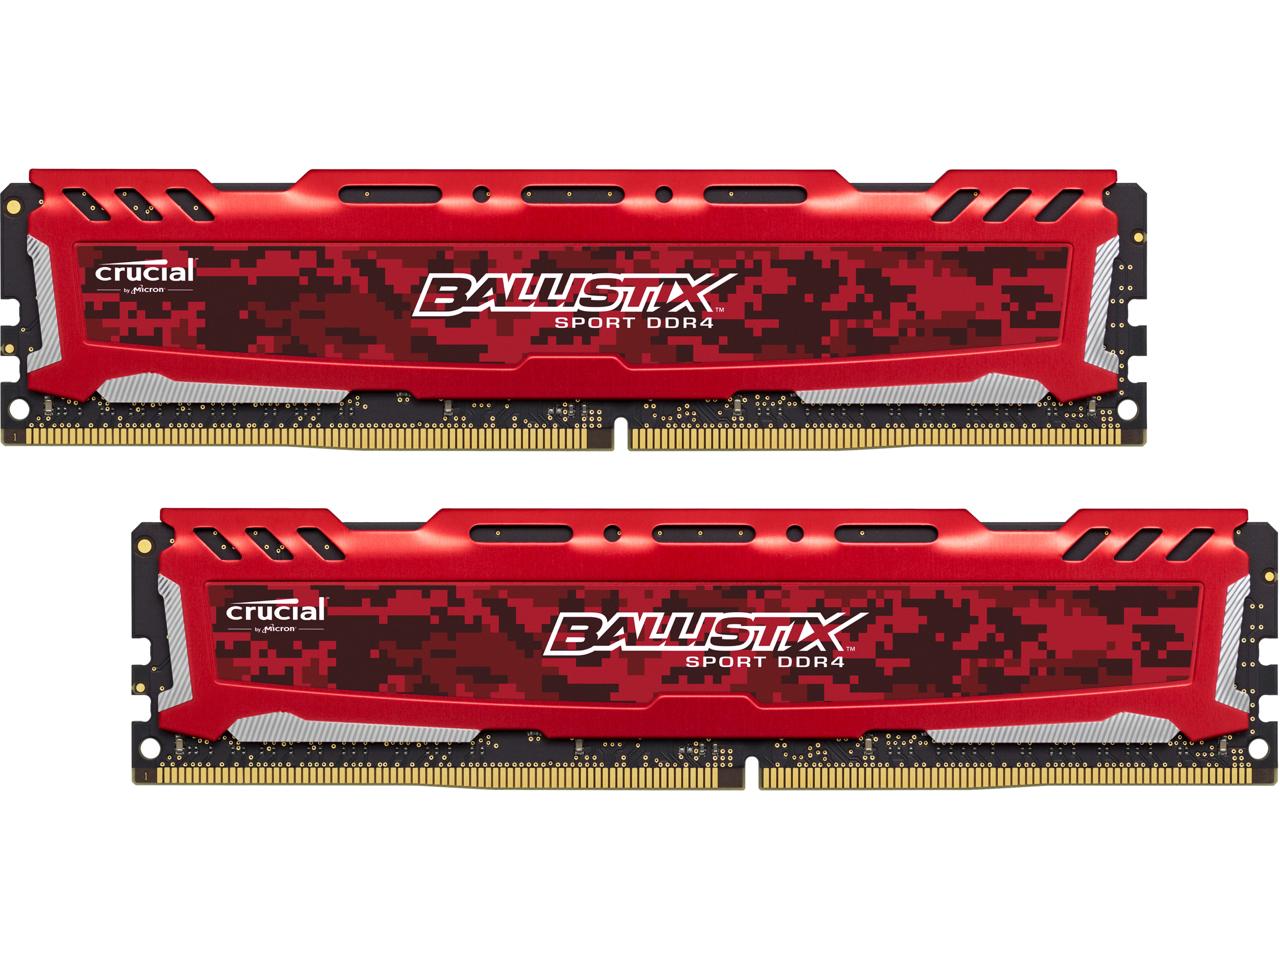
I bought most of my parts from Micro Center, and I chose this RAM because it was discounted already and I had an additional coupon. I could go into discussions of clock speed and CAS latency, but seriously just choose how many GB you need and pick the best priced RAM with good reviews. For most applications the RAM speed makes only a small difference in overall performance. When purchasing multiple sticks, it’s better to pick RAM that is all the same speed, and better yet the same brand. If you don’t, your motherboard might throttle them all to match the weakest link or worst case you might not be able to utilize dual/quad channel memory.
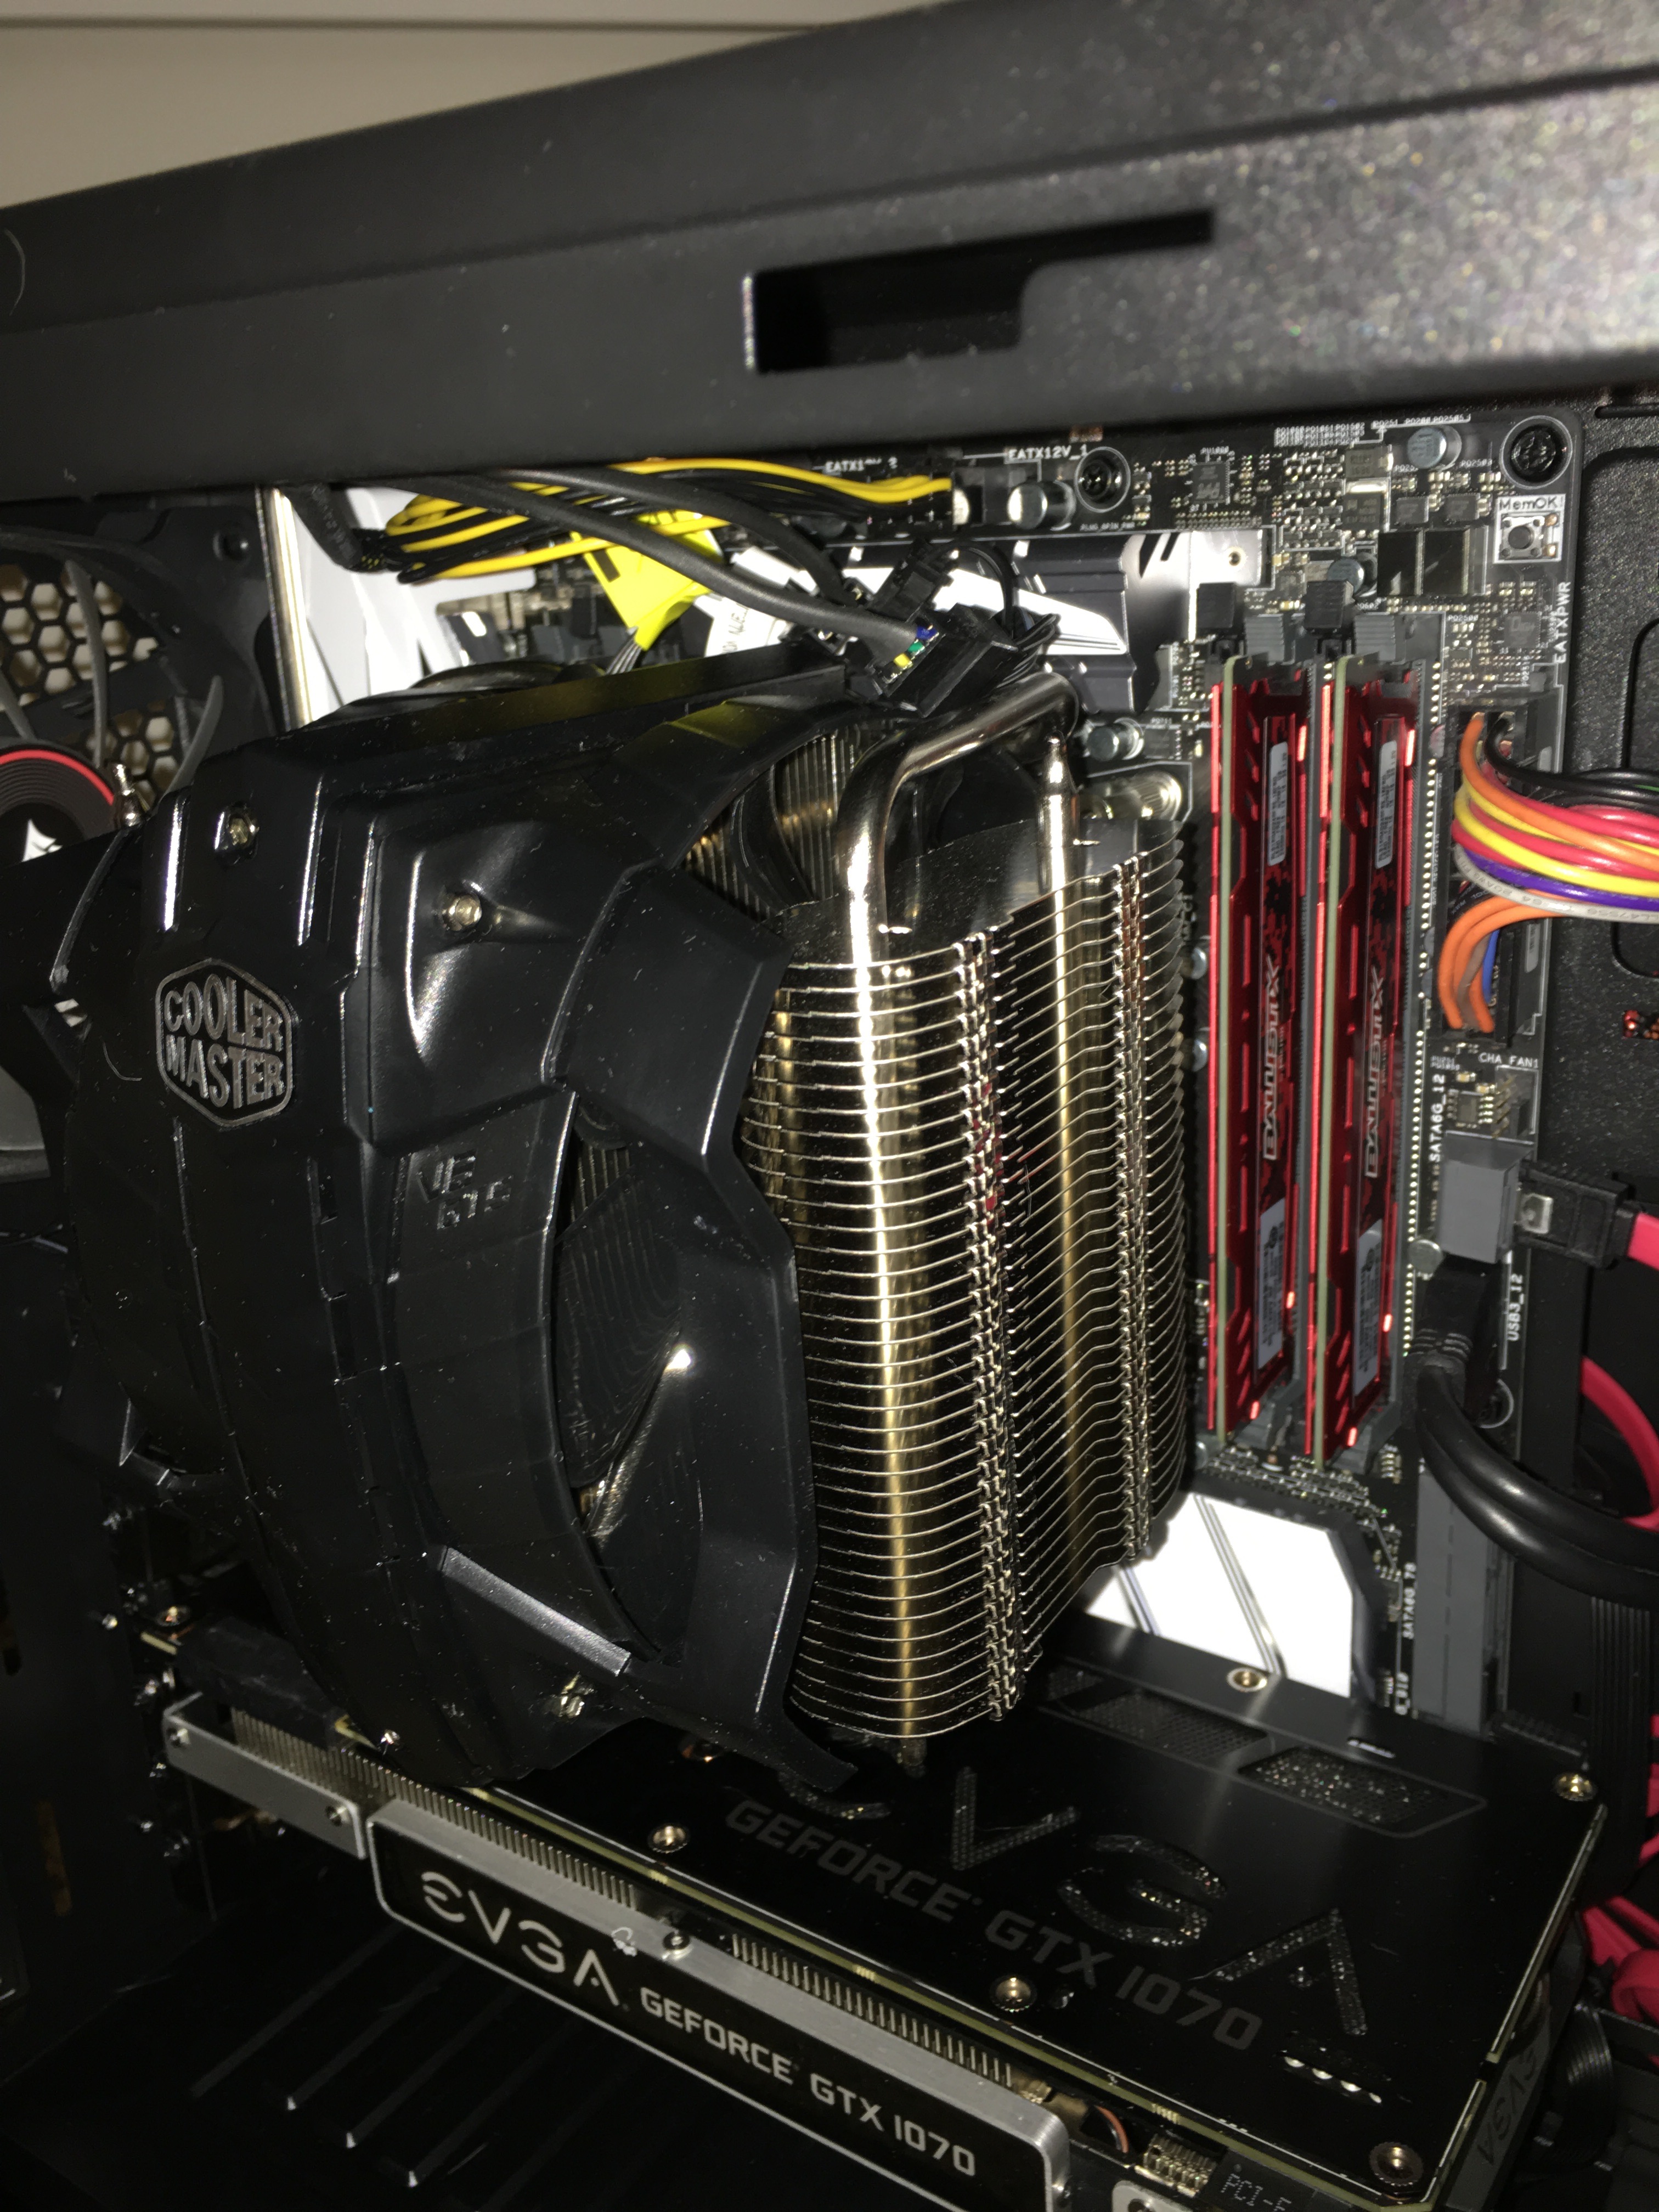
CPU Cooler: Cooler Master v8 GTS
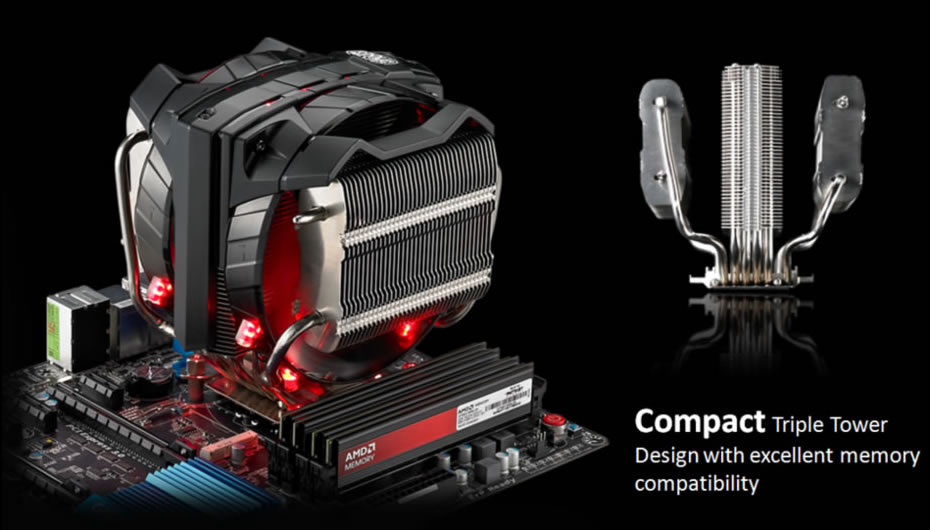
This picture is hilarious because this cooler is anything but “compact”. It is a gigantic hunk of metal that looks like a car engine.
If you are intending to overclock, you really need an aftermarket CPU cooler. The biggest decision to make on an aftermarket cooler is whether to go with air or liquid cooling. Liquid coolers perform better (you can expect your cpu to be a few C° colder) and are quieter. Air coolers last longer and can’t leak and destroy other components. I chose air cooling because I am not trying to push my hardware to the absolute limits and just wanted to be able to get a nice, stable overclock on a system that can last for quite some time without the maintenance that is required of liquid cooling.
I chose the v8 GTS because it is one of the better air coolers and fits the red/black color profile of the rest of the build. The Noctua DH-15 is actually a better air cooler, but it is so ridiculously ugly I just couldn’t bring myself to choose it. I won’t even hyperlink it.. Google it if you’re a visual masochist.
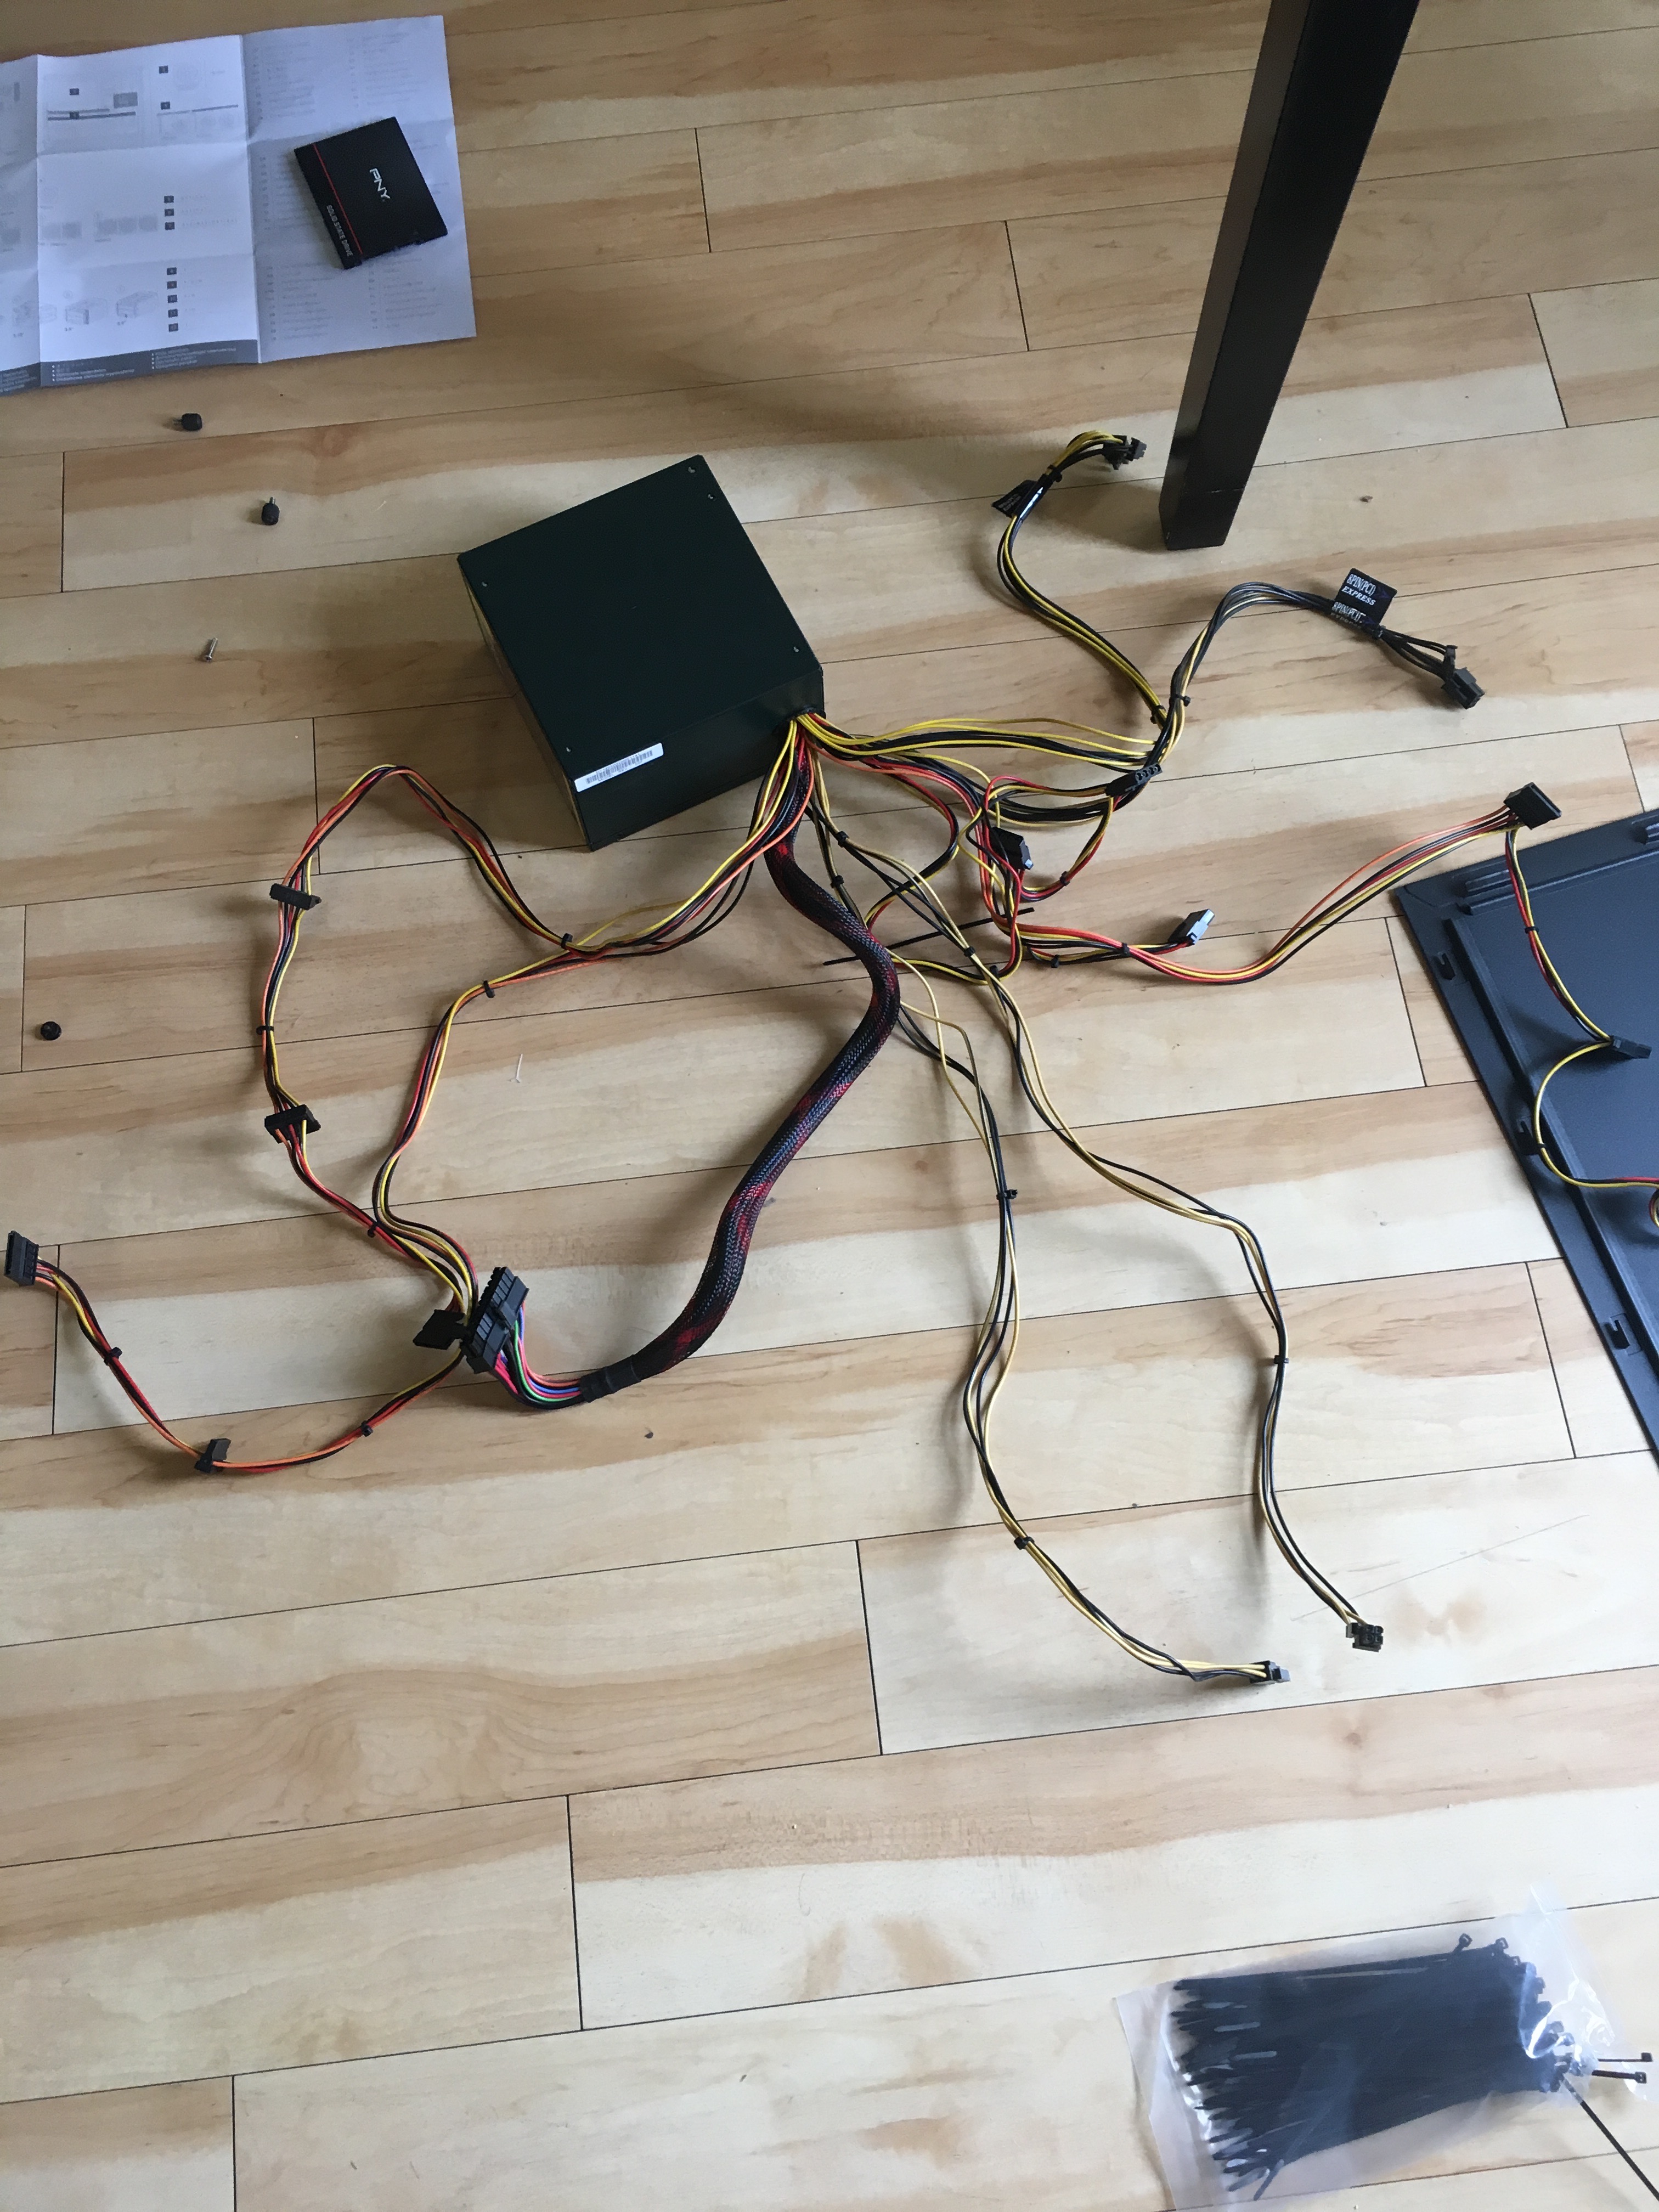
Power Supply: Antec EA-650
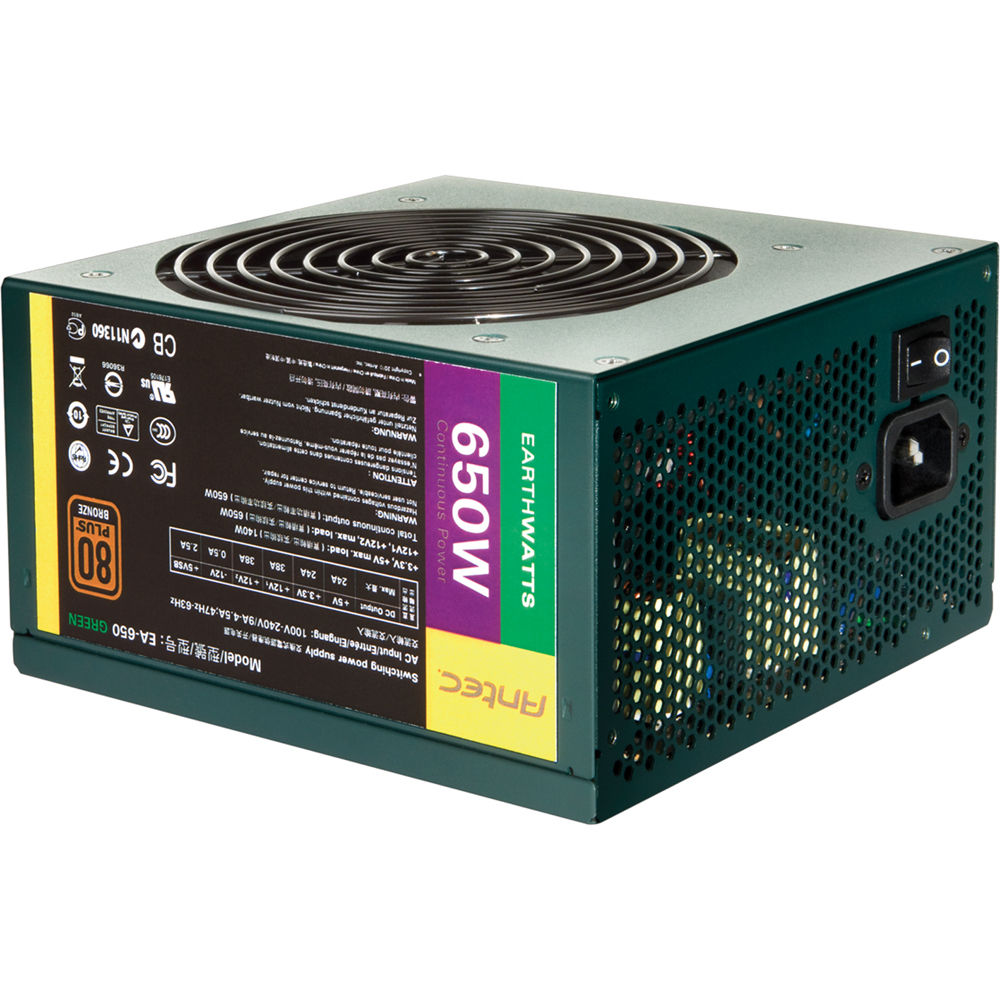
To choose a power supply unit (PSU), I use this calculator to estimate the power consumption of a build, and then choose a PSU that is rated at a higher output to provide a bit of a cushion. Also, make sure that whichever PSU you get has enough connectors to power your motherboard.
This was the PSU from my old build, and fortunately had plenty of power to work in this build as well. The ASUS x99-A II has both a 4-pin and 8-pin ATX connector, whereas the EA-650 only has 1 4+4 pin. This was easily fixable with a $5 molex to 8-pin ATX converter. Much better than buying a whole new PSU.
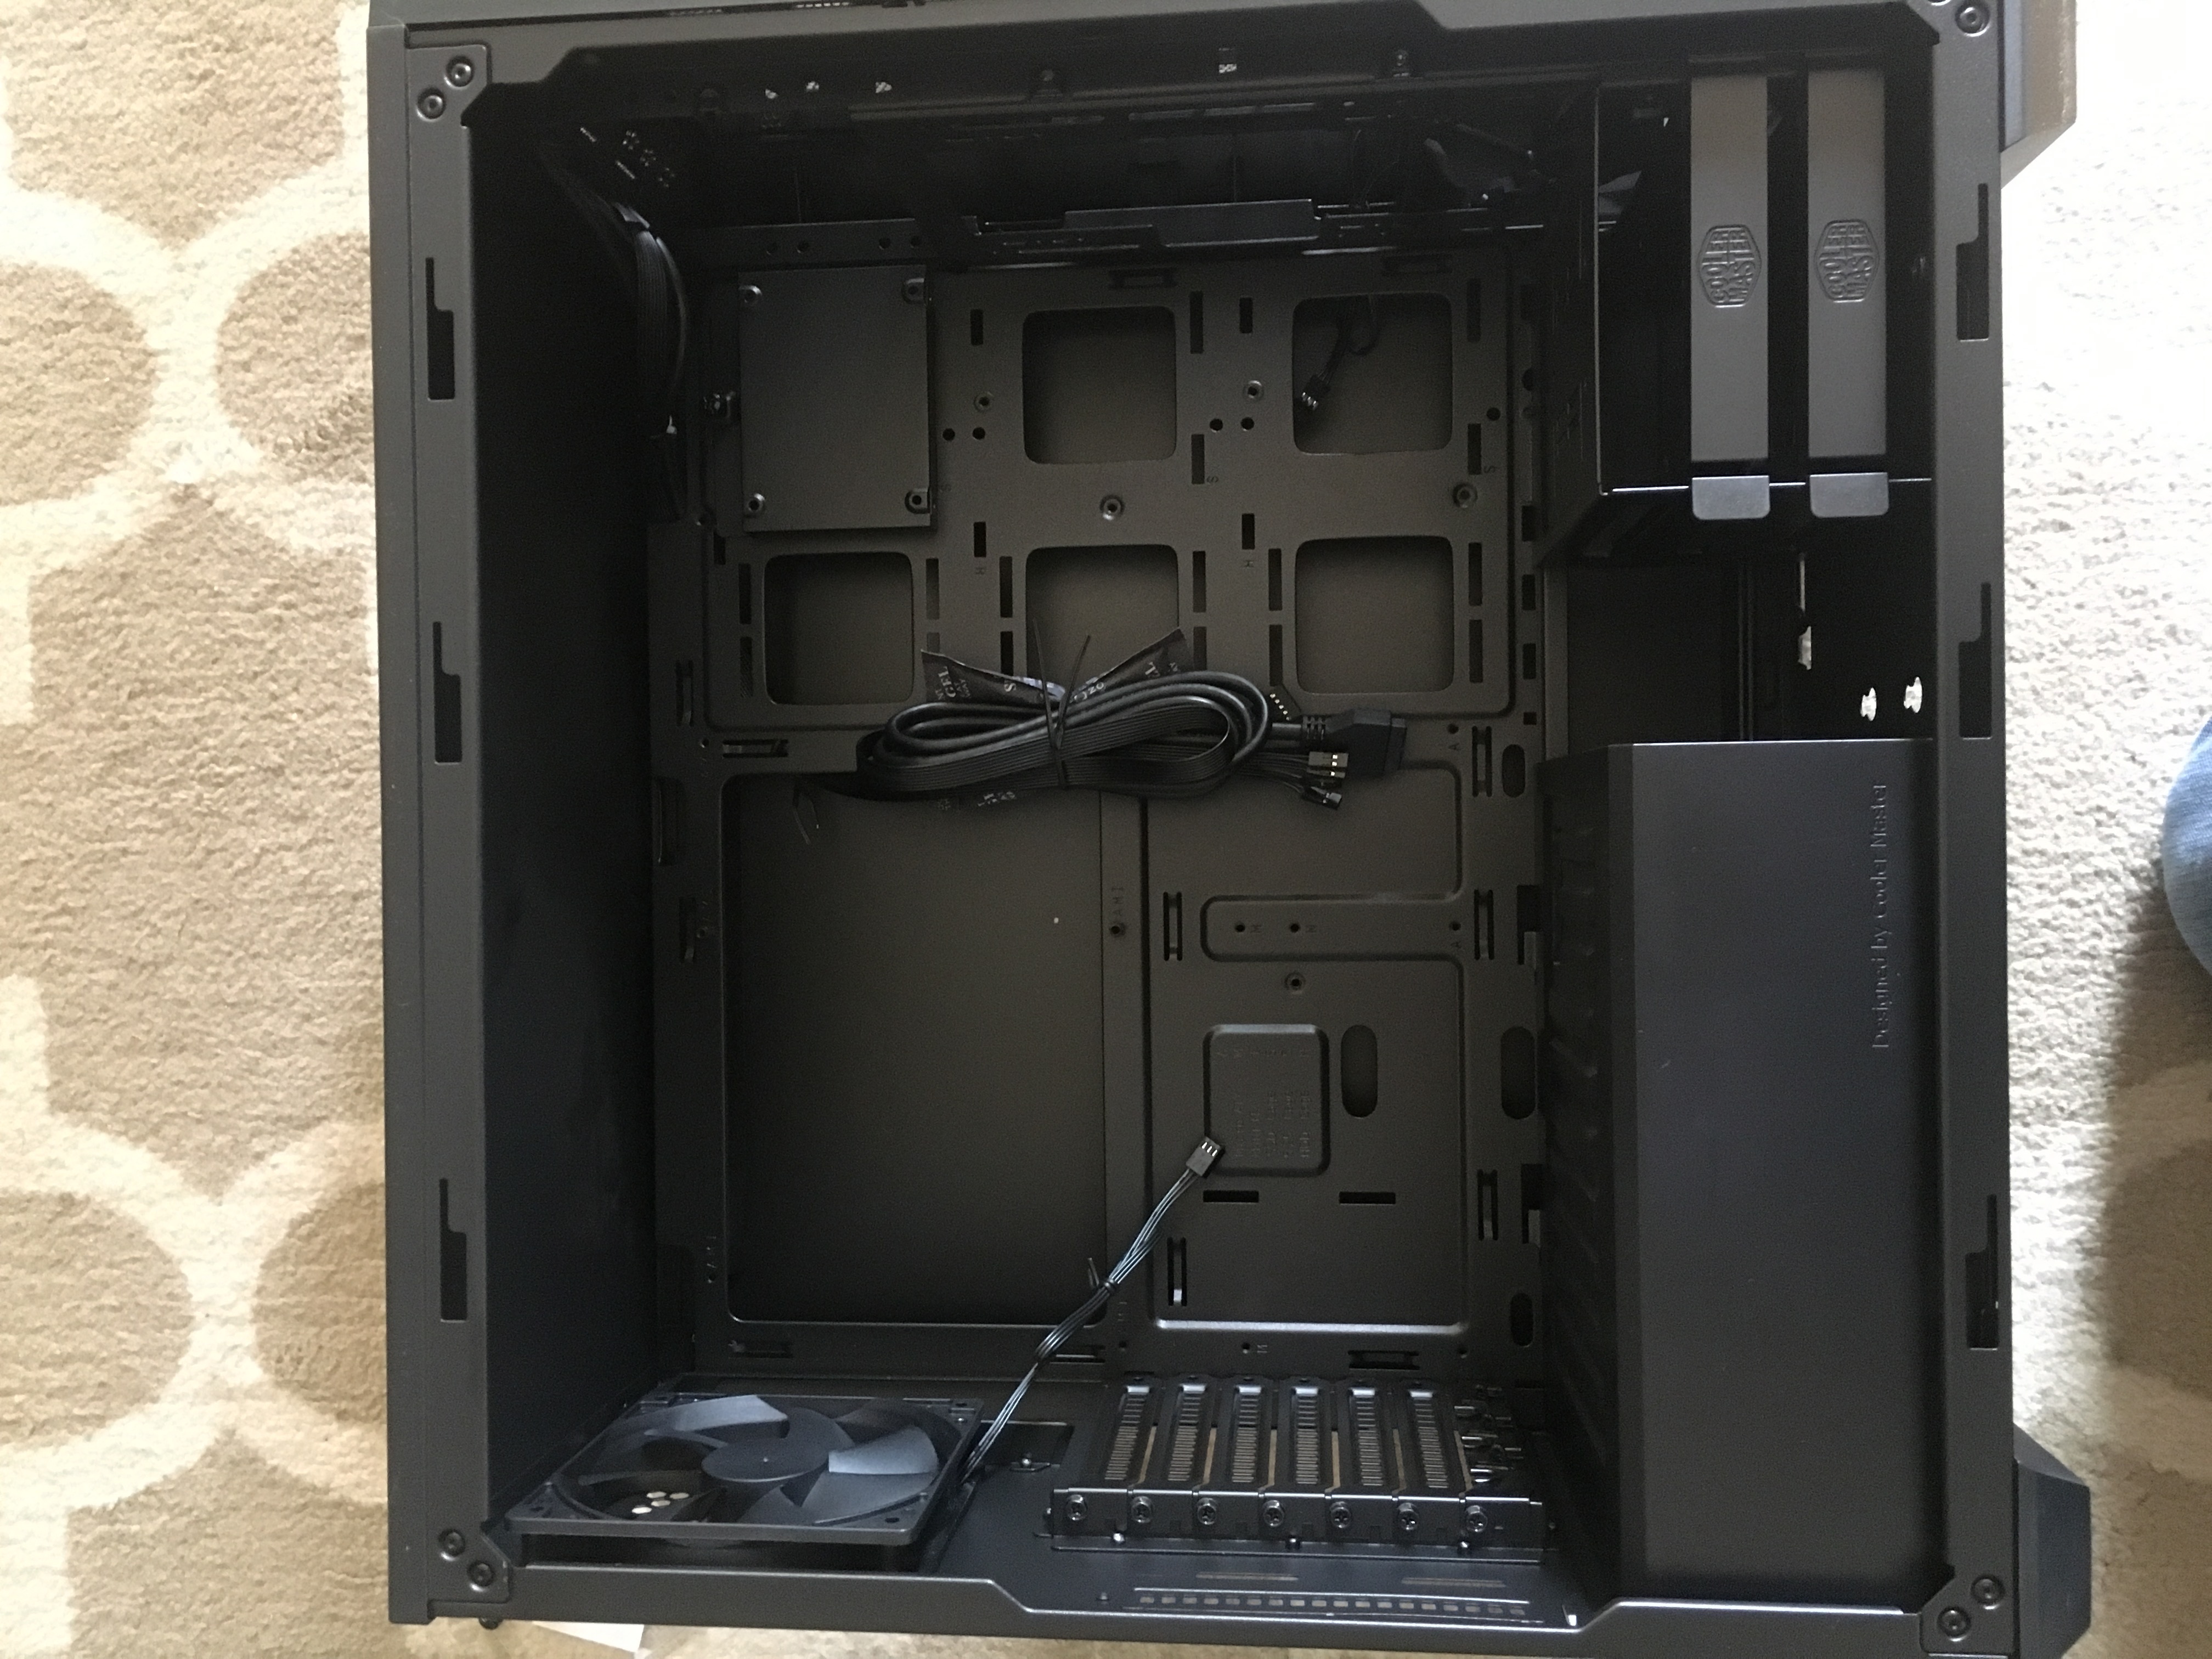
Case: Cooler Master Masterbox 5
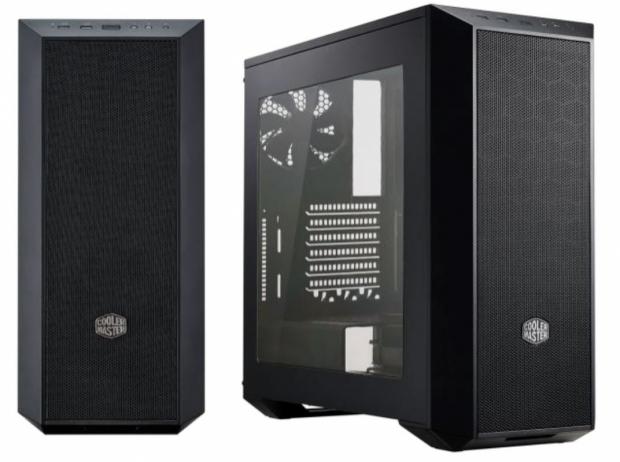
I chose this case because it has 167 mm CPU cooler clearance, enough to fit the 166.5 mm tall v8 GTS cooler. It has sufficient fan ports for the set of four 120mm fans I’m using, modular drive bays (this is really nice), and I like the transparent side panel. I also generally like Cooler Master products, and I must say this is a fantastic case for ~$60. My last case was an Enermax Ostrog, which is significantly flimsier while only being $15 cheaper than the Masterbox 5.
A con is the front panel doesn’t support 5.25” drive bays, so there’s no nice way to build in a DVD drive or fan controller. This isn’t too big of a problem because nobody really uses CD’s anymore, and in the rare event that I need to I can just take off the side panel and temporarily plug one in.
Fans: 4x Corsair Air Series AF120
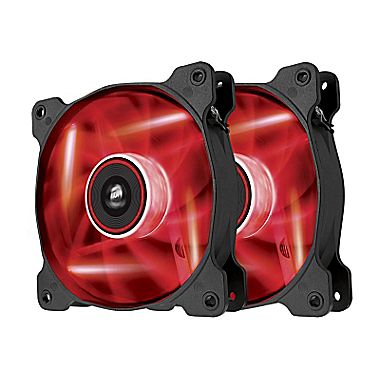
I chose these because 120mm fans fit my case, and I wanted red LEDs. These were well-reviewed and affordable, and I am quite happy with them.
SSD: Sandisk 240GB SSD

Solid state drives are extremely fast, but are more expensive per GB than hard drives. I install my operating system and software that I use a lot on the SSD so that my computer boots up and opens applications quickly, and I put most of my files on the larger spinning disks. These drives were in my old computer, so they already have my dual operating systems and files. I use Ubuntu mostly, but also keep a small Windows partition for the when software is only supported on Windows.
HDD: 2x Western Digital 2TB HDD
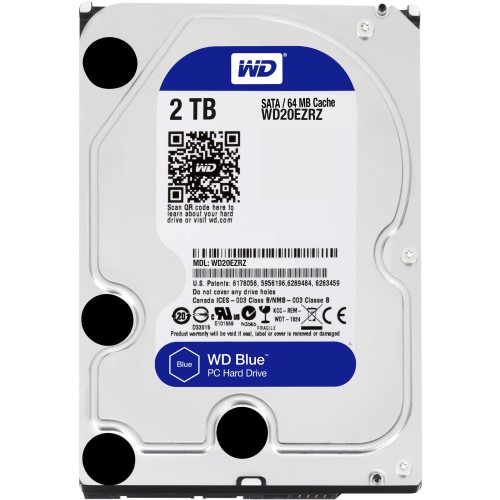
You can’t go wrong with Western Digital in my experience, but you can go wrong with Seagate, so I chose this HDD.
Assembly
Here’s how it gets put together. You should look over the motherboard and case manuals to make sure you’re aware of any quirks.
Remove the side panels from the empty case.
First the power supply. Zip ties are your friend. Taking a moment to bundler connectors together will make things much more organized in the end.
Place the power supply in the case and screw it into the back panel.

Next are the fans. Depending on which way you orient them, a fan can be an intake or an exhaust. Pro tip: setup your air flow so that there is more intake than exhaust. If more air is flowing into the case than out of it, it creates positive pressure and air will tend to flow out of the cracks/holes in the case, which keeps dust out. It also means that the majority of the air that enters the case passes through the intake fans, which can be filtered. Furthermore, ideally intake fans should be towards the front and bottom of the case where the air is likely coolest, and exhaust near the top back. Look at this whole physics Ph.D. thing coming in handy. I have four 120mm case fans, and there is another fan built into the PSU which is an intake fan, so I just use two fans as intake at the front of the case the others as exhaust at the back. You could also adjust the pressure of the case by changing the speed of individual fans in the BIOS or with a fan controller, or by using fans with different CFM (cubic feet per minute) ratings.
Here you can see a fan that will be used for exhaust on the left and one with an aftermarket air filter clipped on that will become an intake fan.
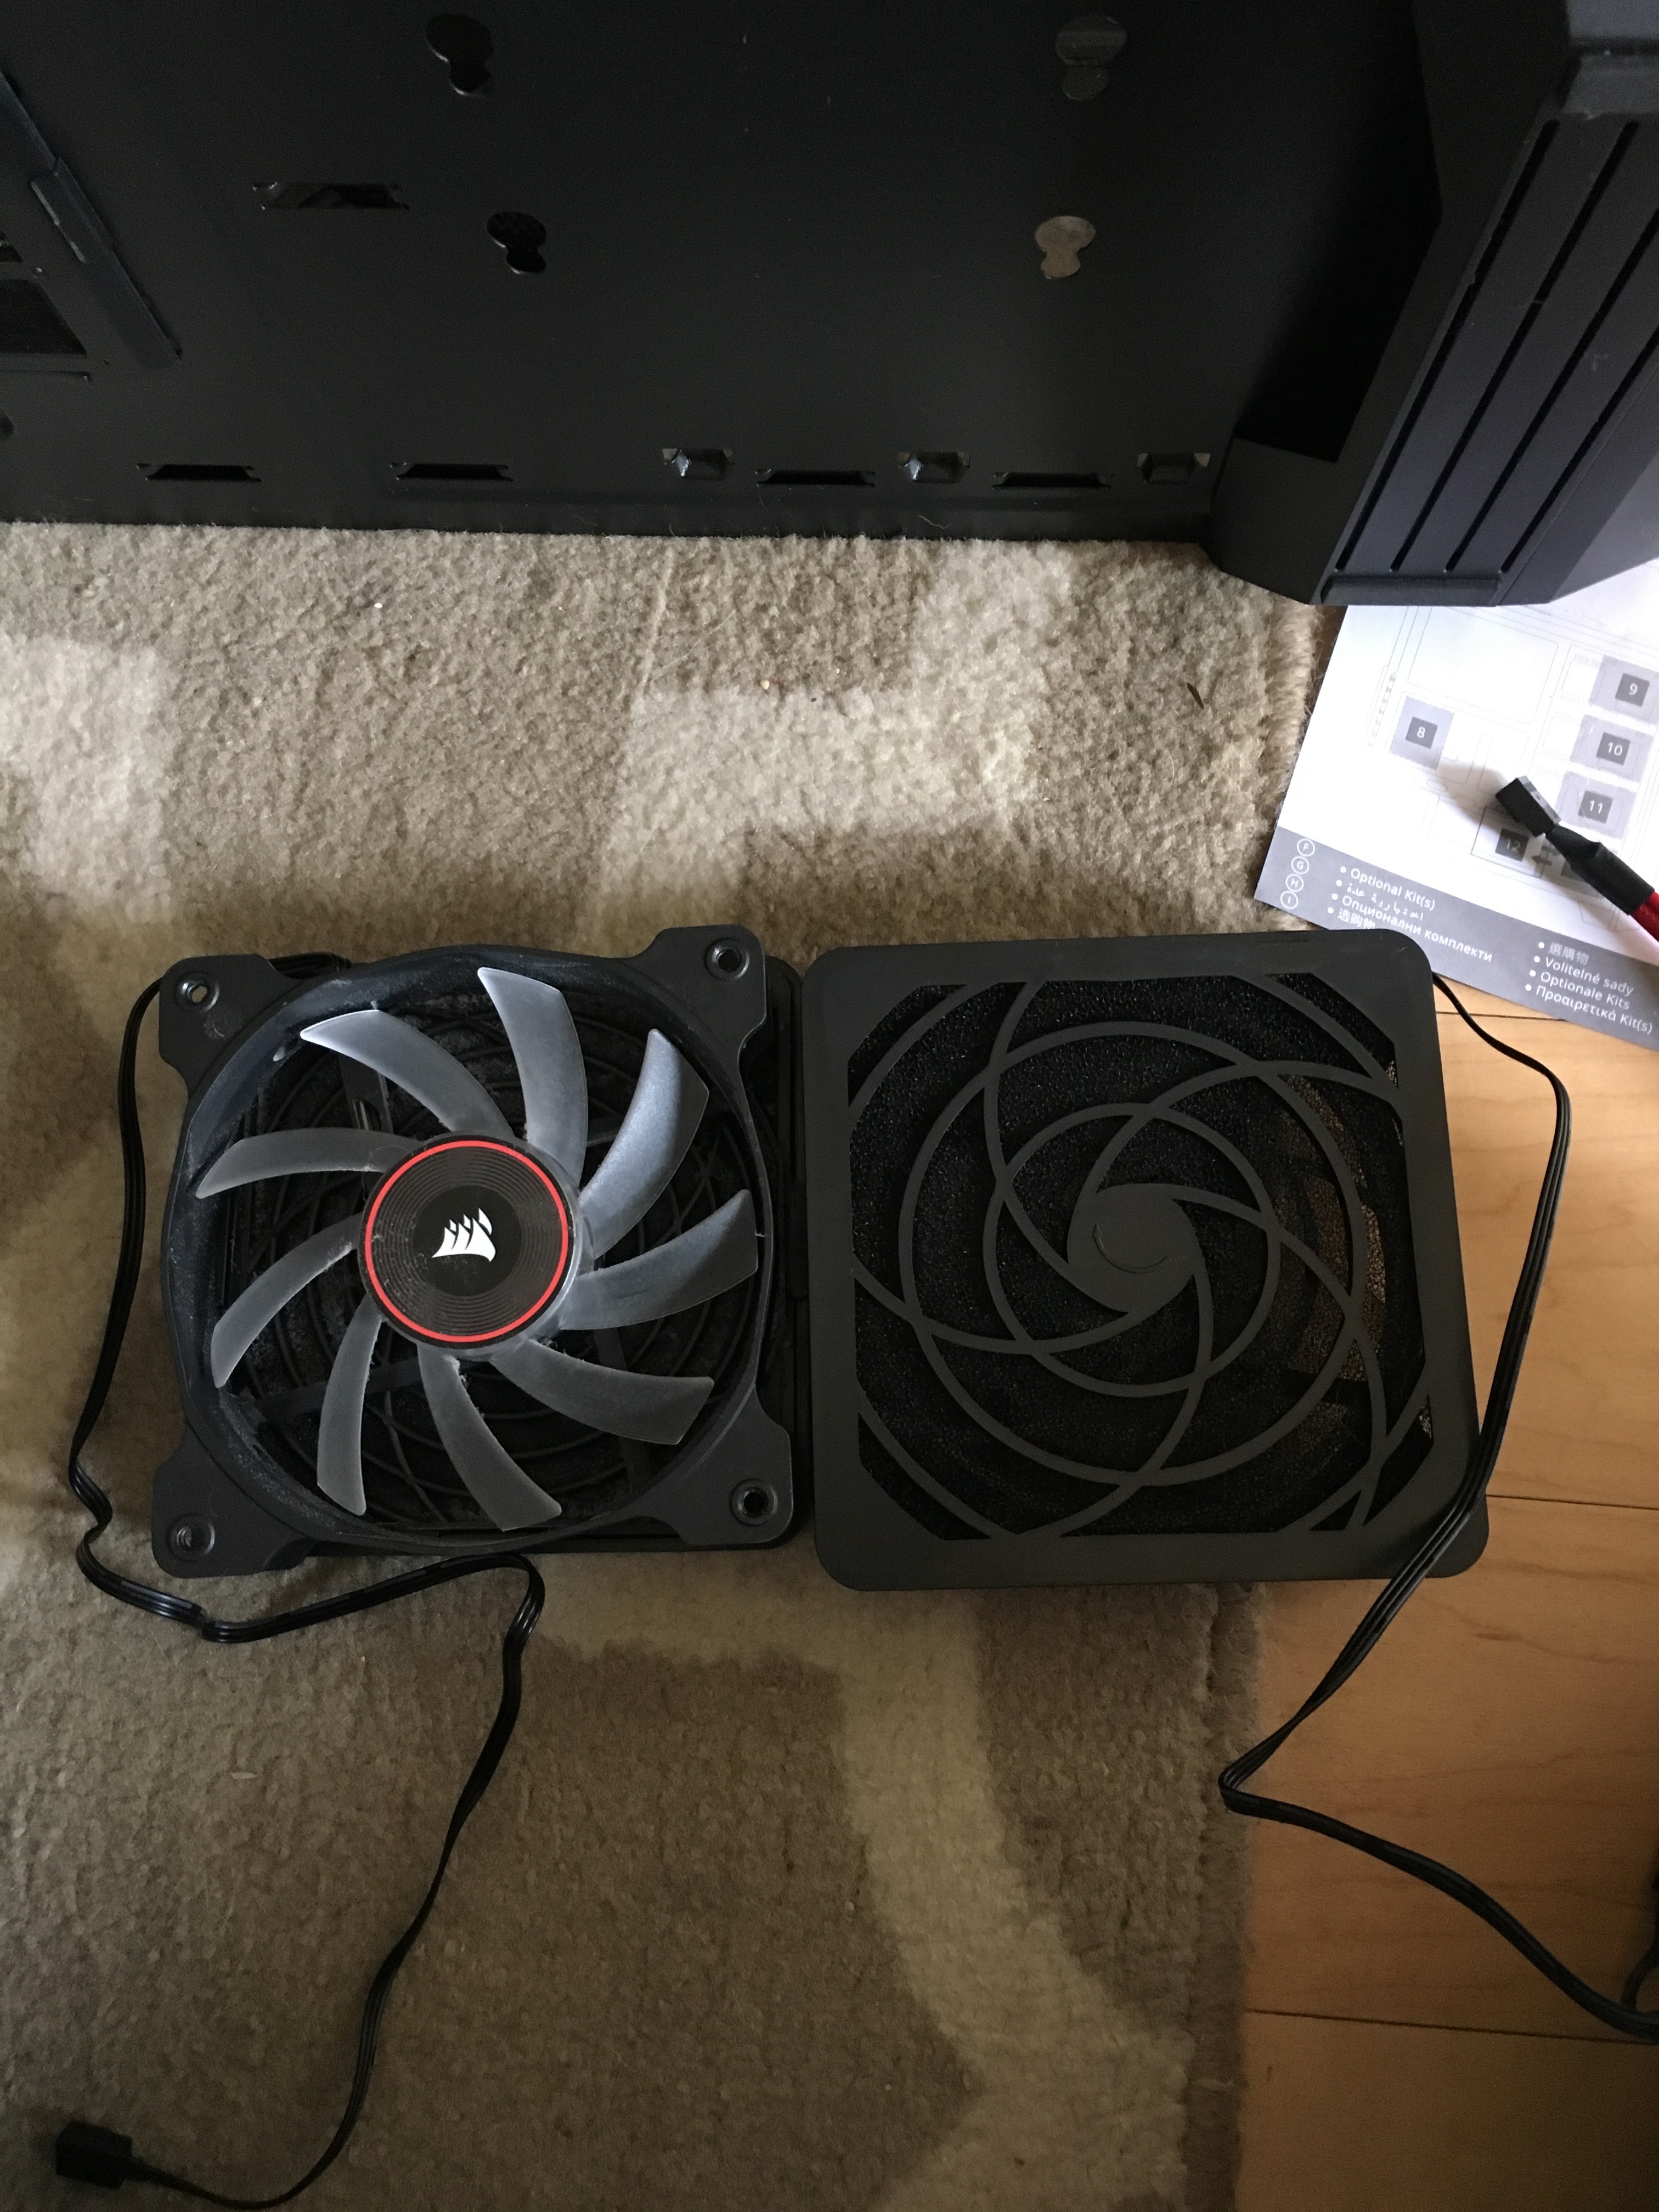
Install the two intake fans at the front of the case.
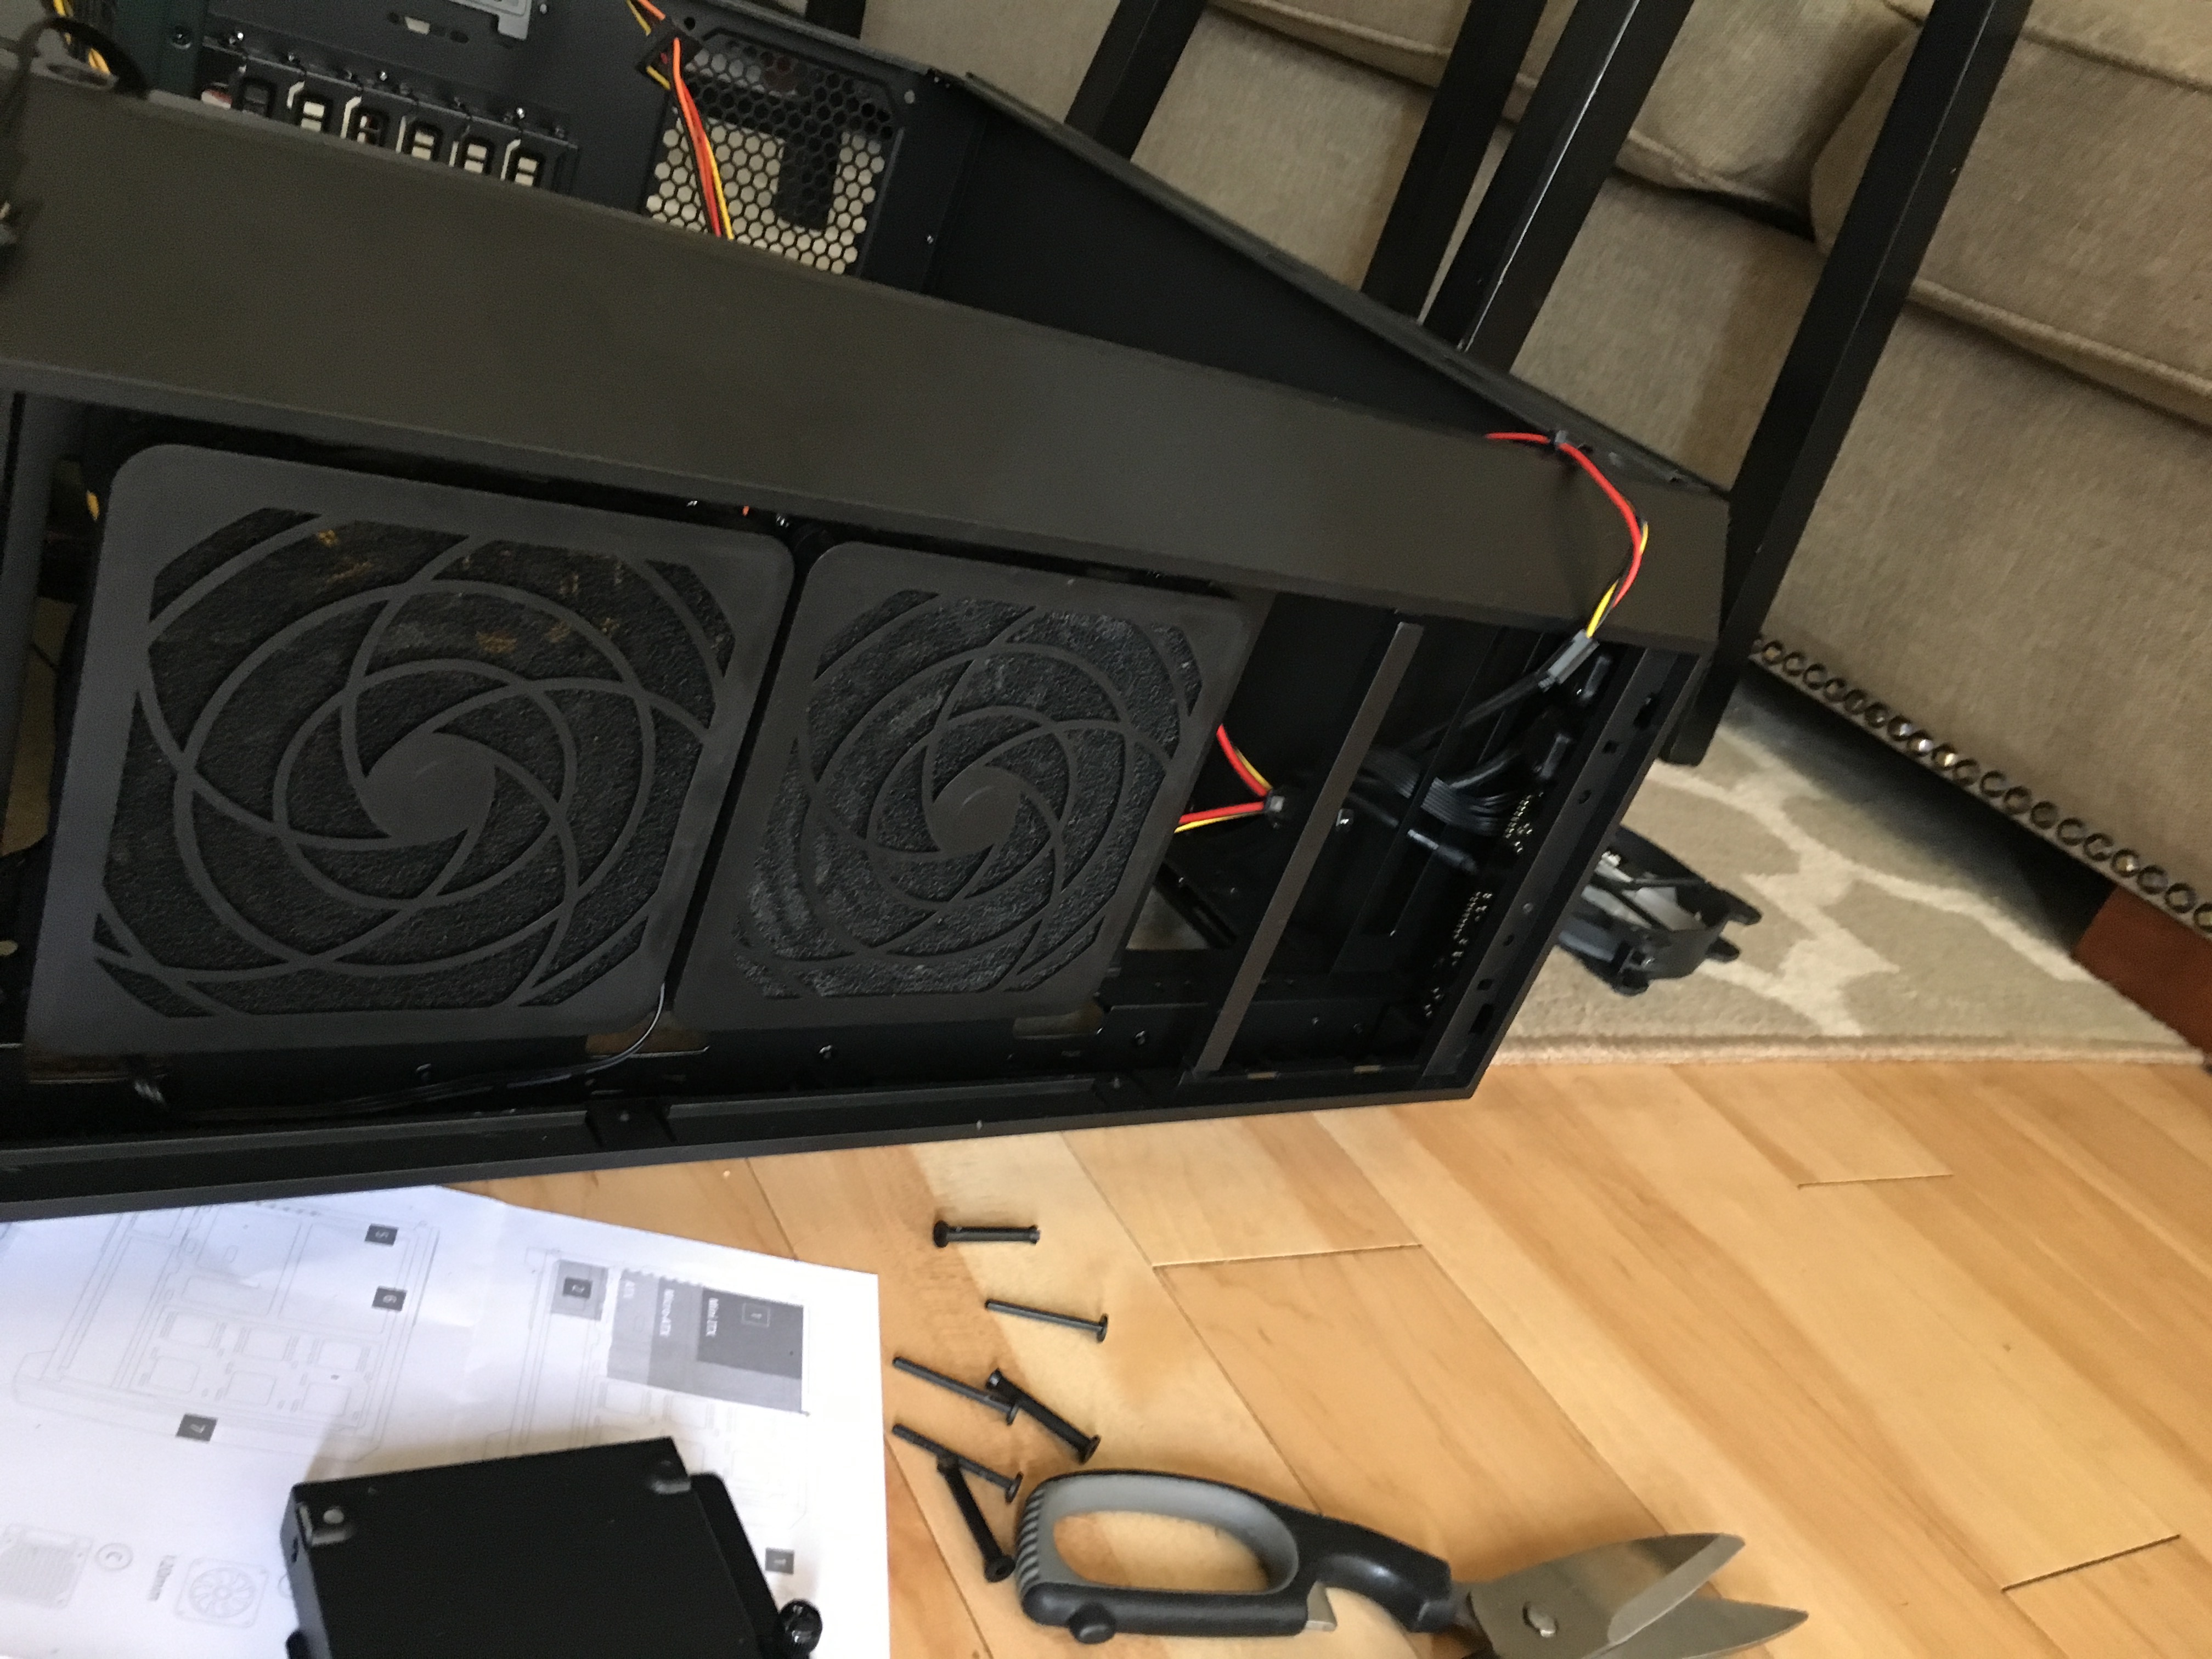
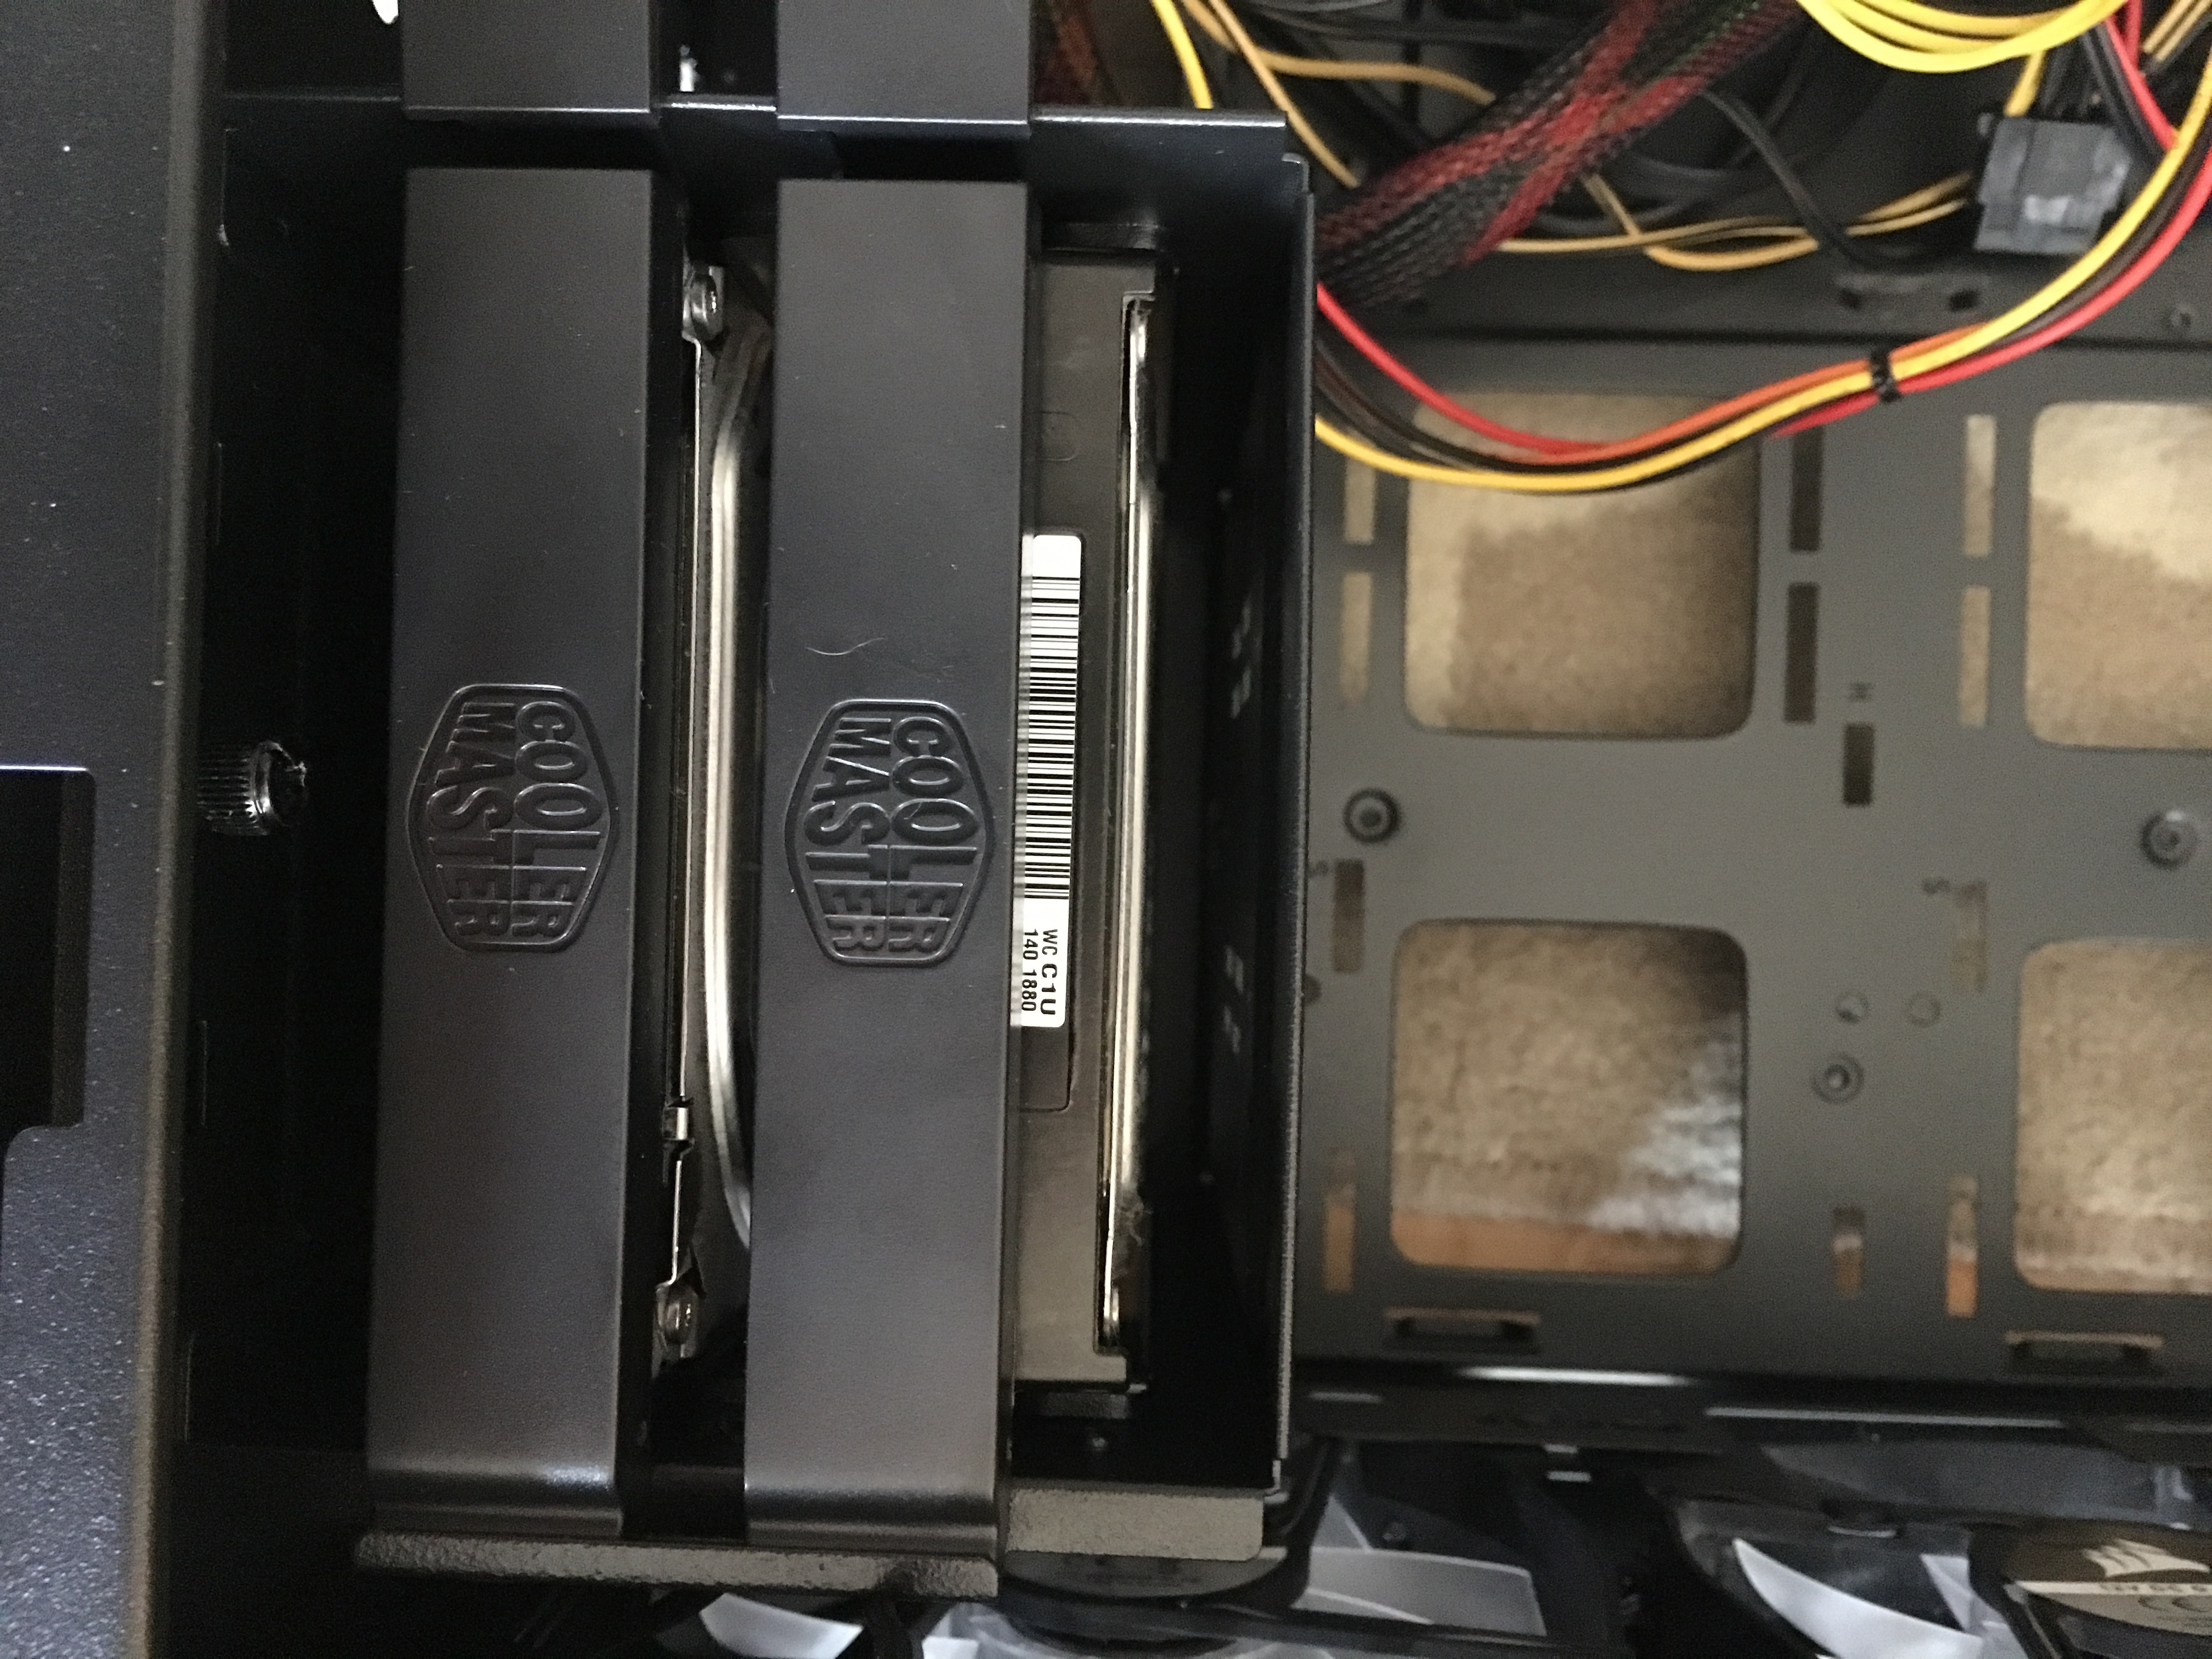
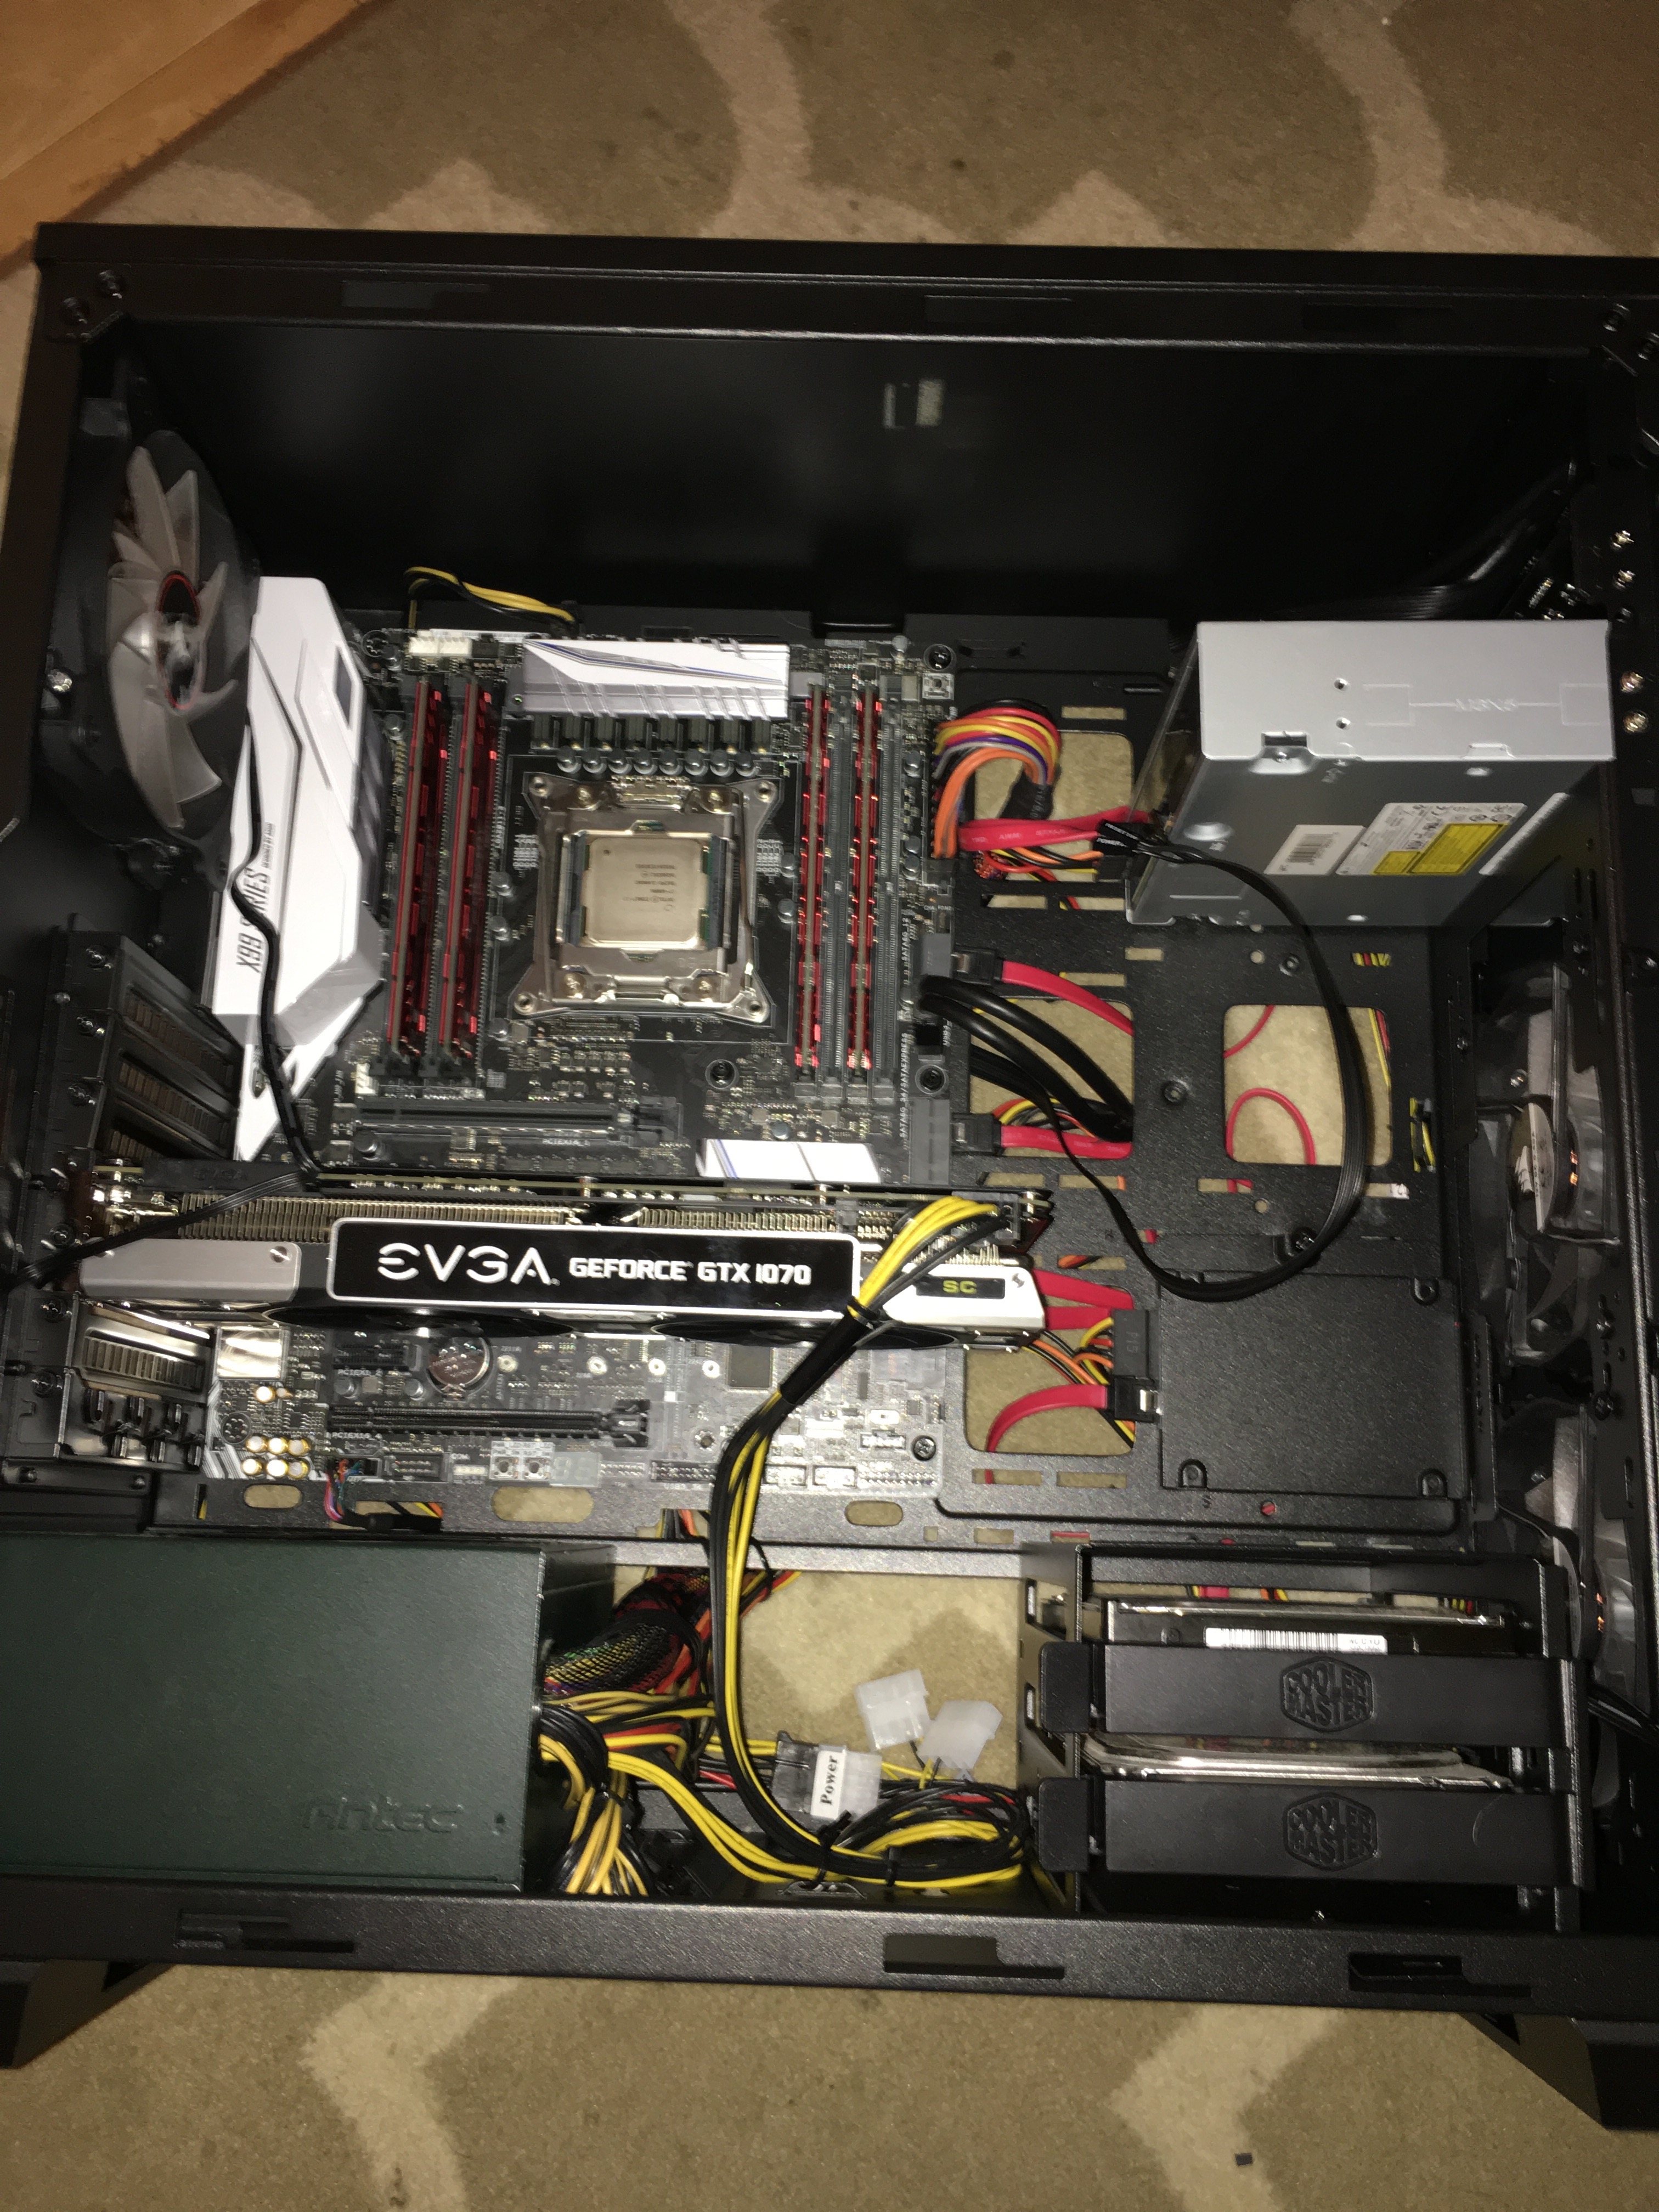
Now for the hard drives. This case has a nice modular drive holder than I chose to install at the bottom. Remove the clips, fit the drives into them, and slide them back into the bay.

Now for the motherboard. Do yourself a favor and invest a couple of dollars into a static wristguard. It’s a wristband like this

You attach the alligator clip to ground and it prevents you from potentially damaging sensitive electrical components with a static shock. I had mine attached to the back of my case throughout the rest of this process.
Next is the motherboard. Install standoffs below where the screw holes are in your motherboard, and fasten it into place.
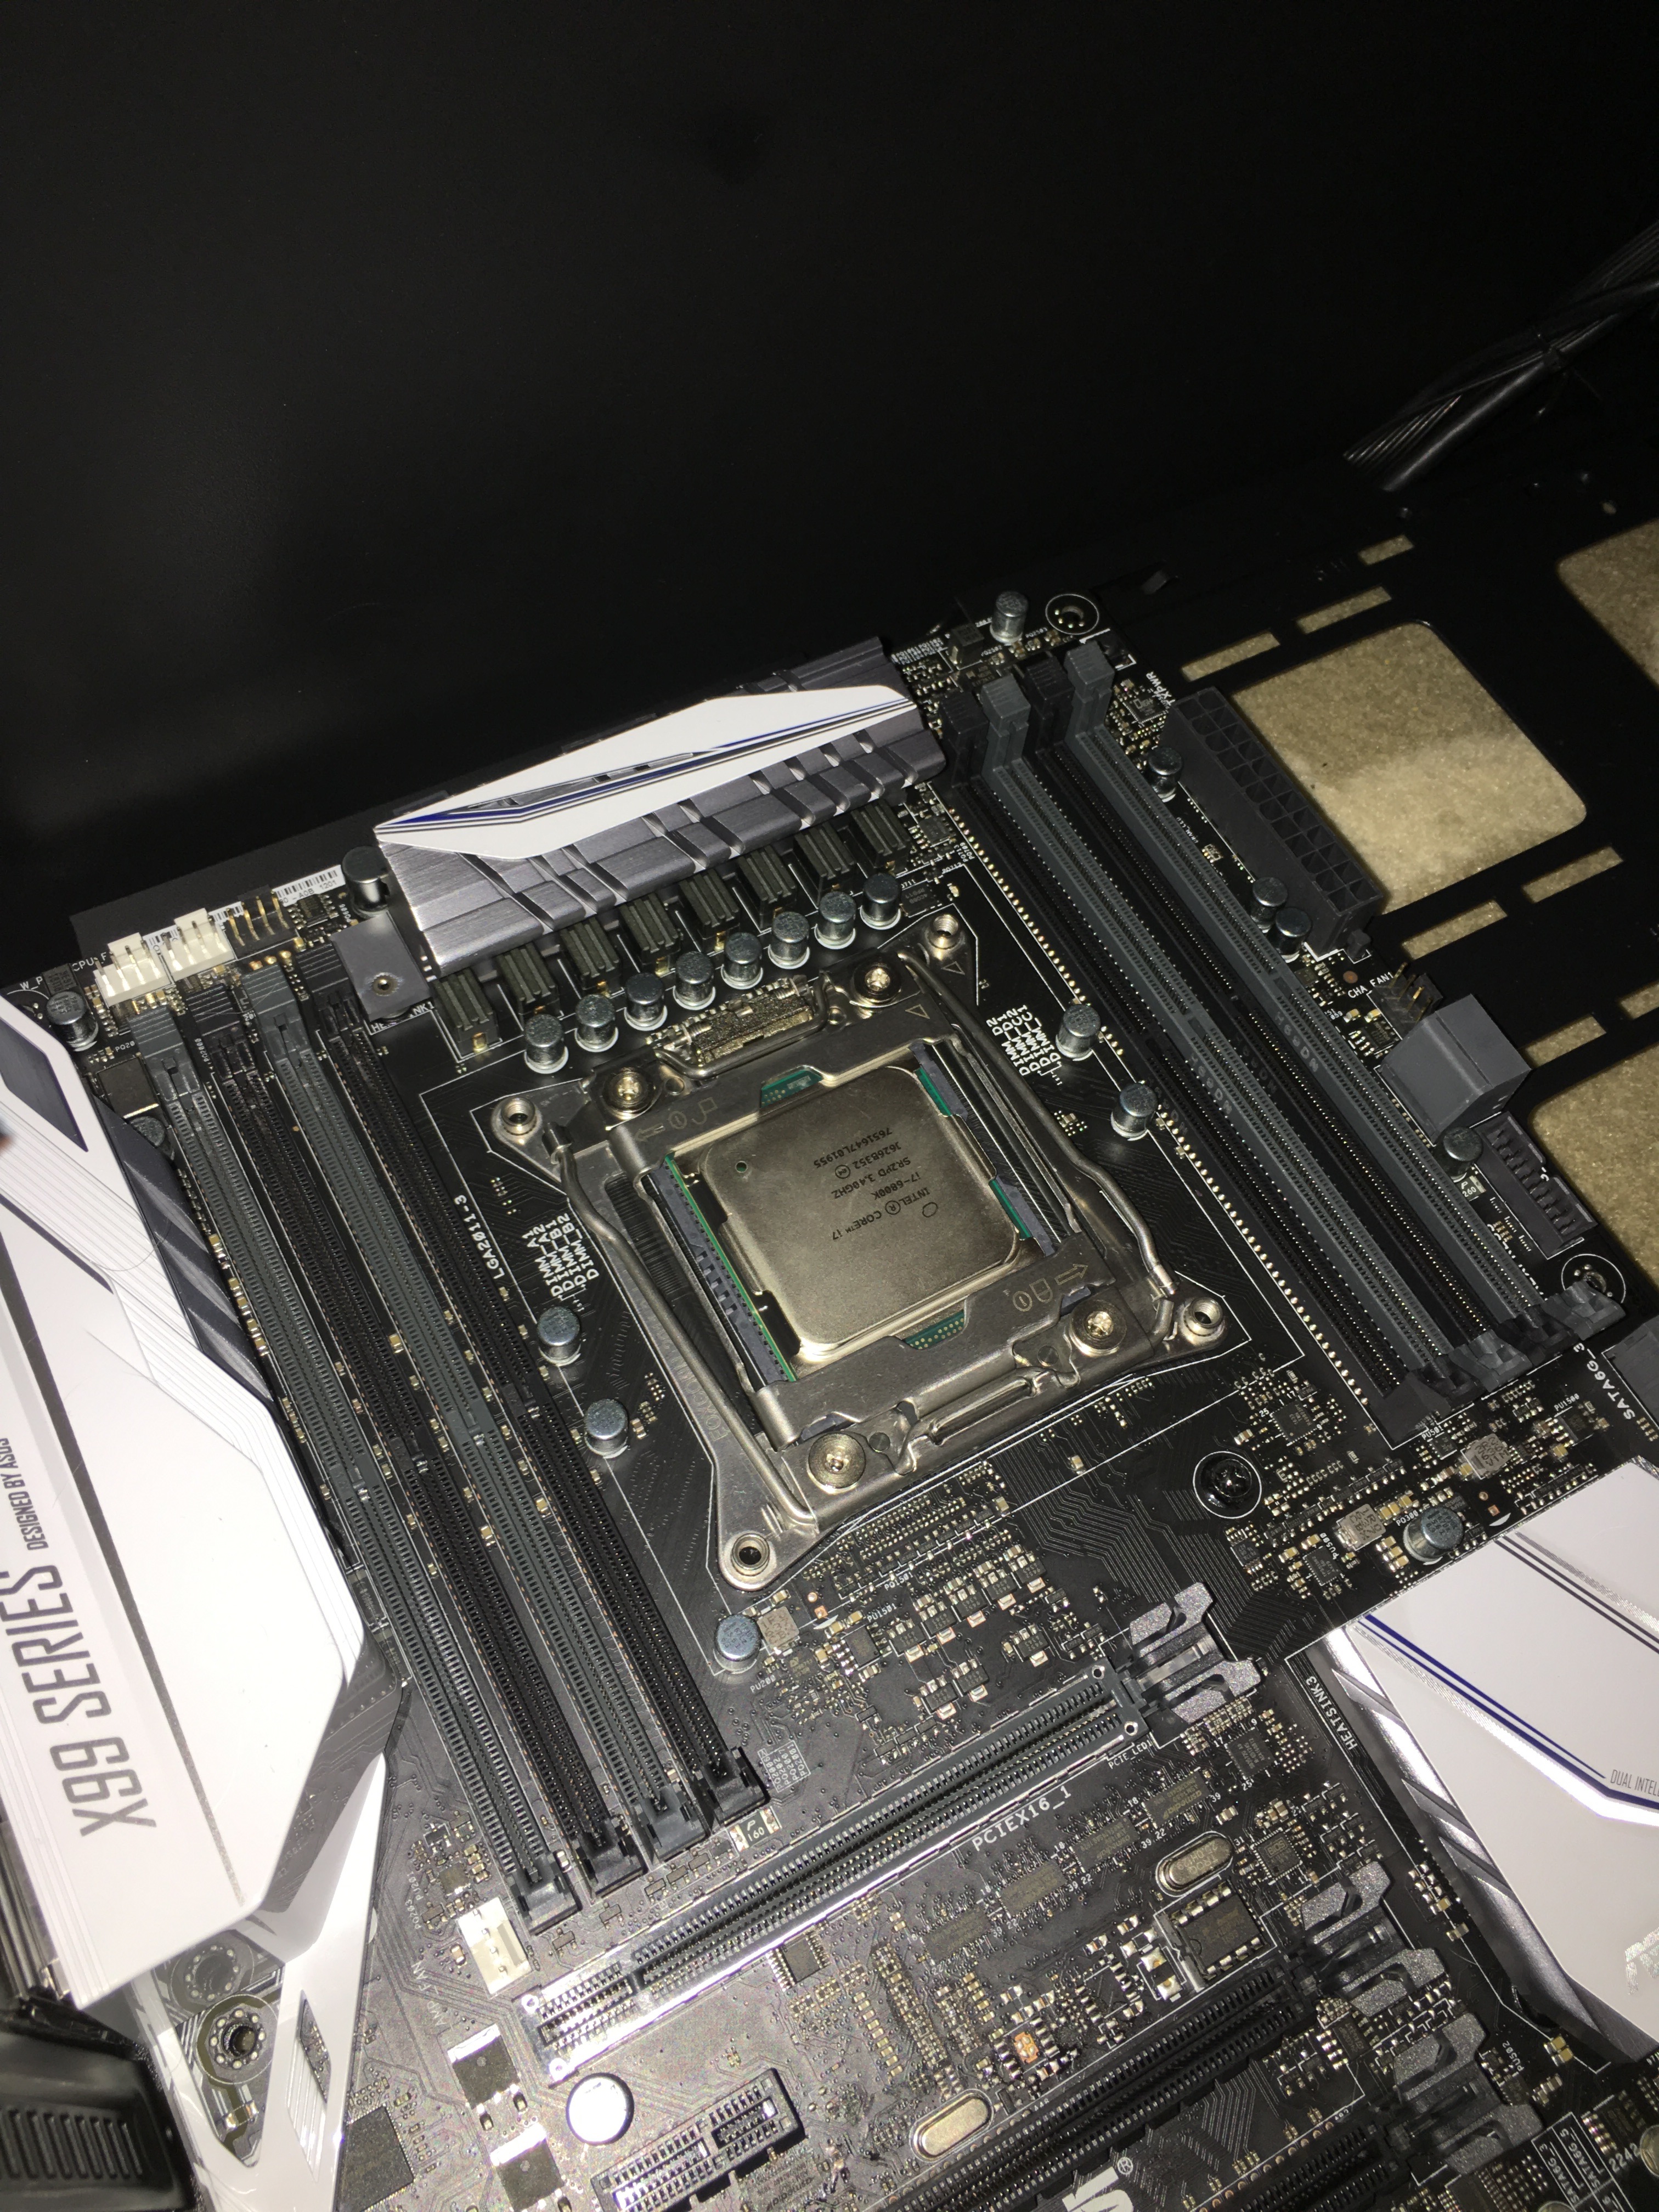
Now for the most nerve-wracking part of the entire build, installing the CPU. Undo the clips in the CPU socket on the motherboard.

This processor comes with a nice little tool that helps you hold the chip without having to touch it.
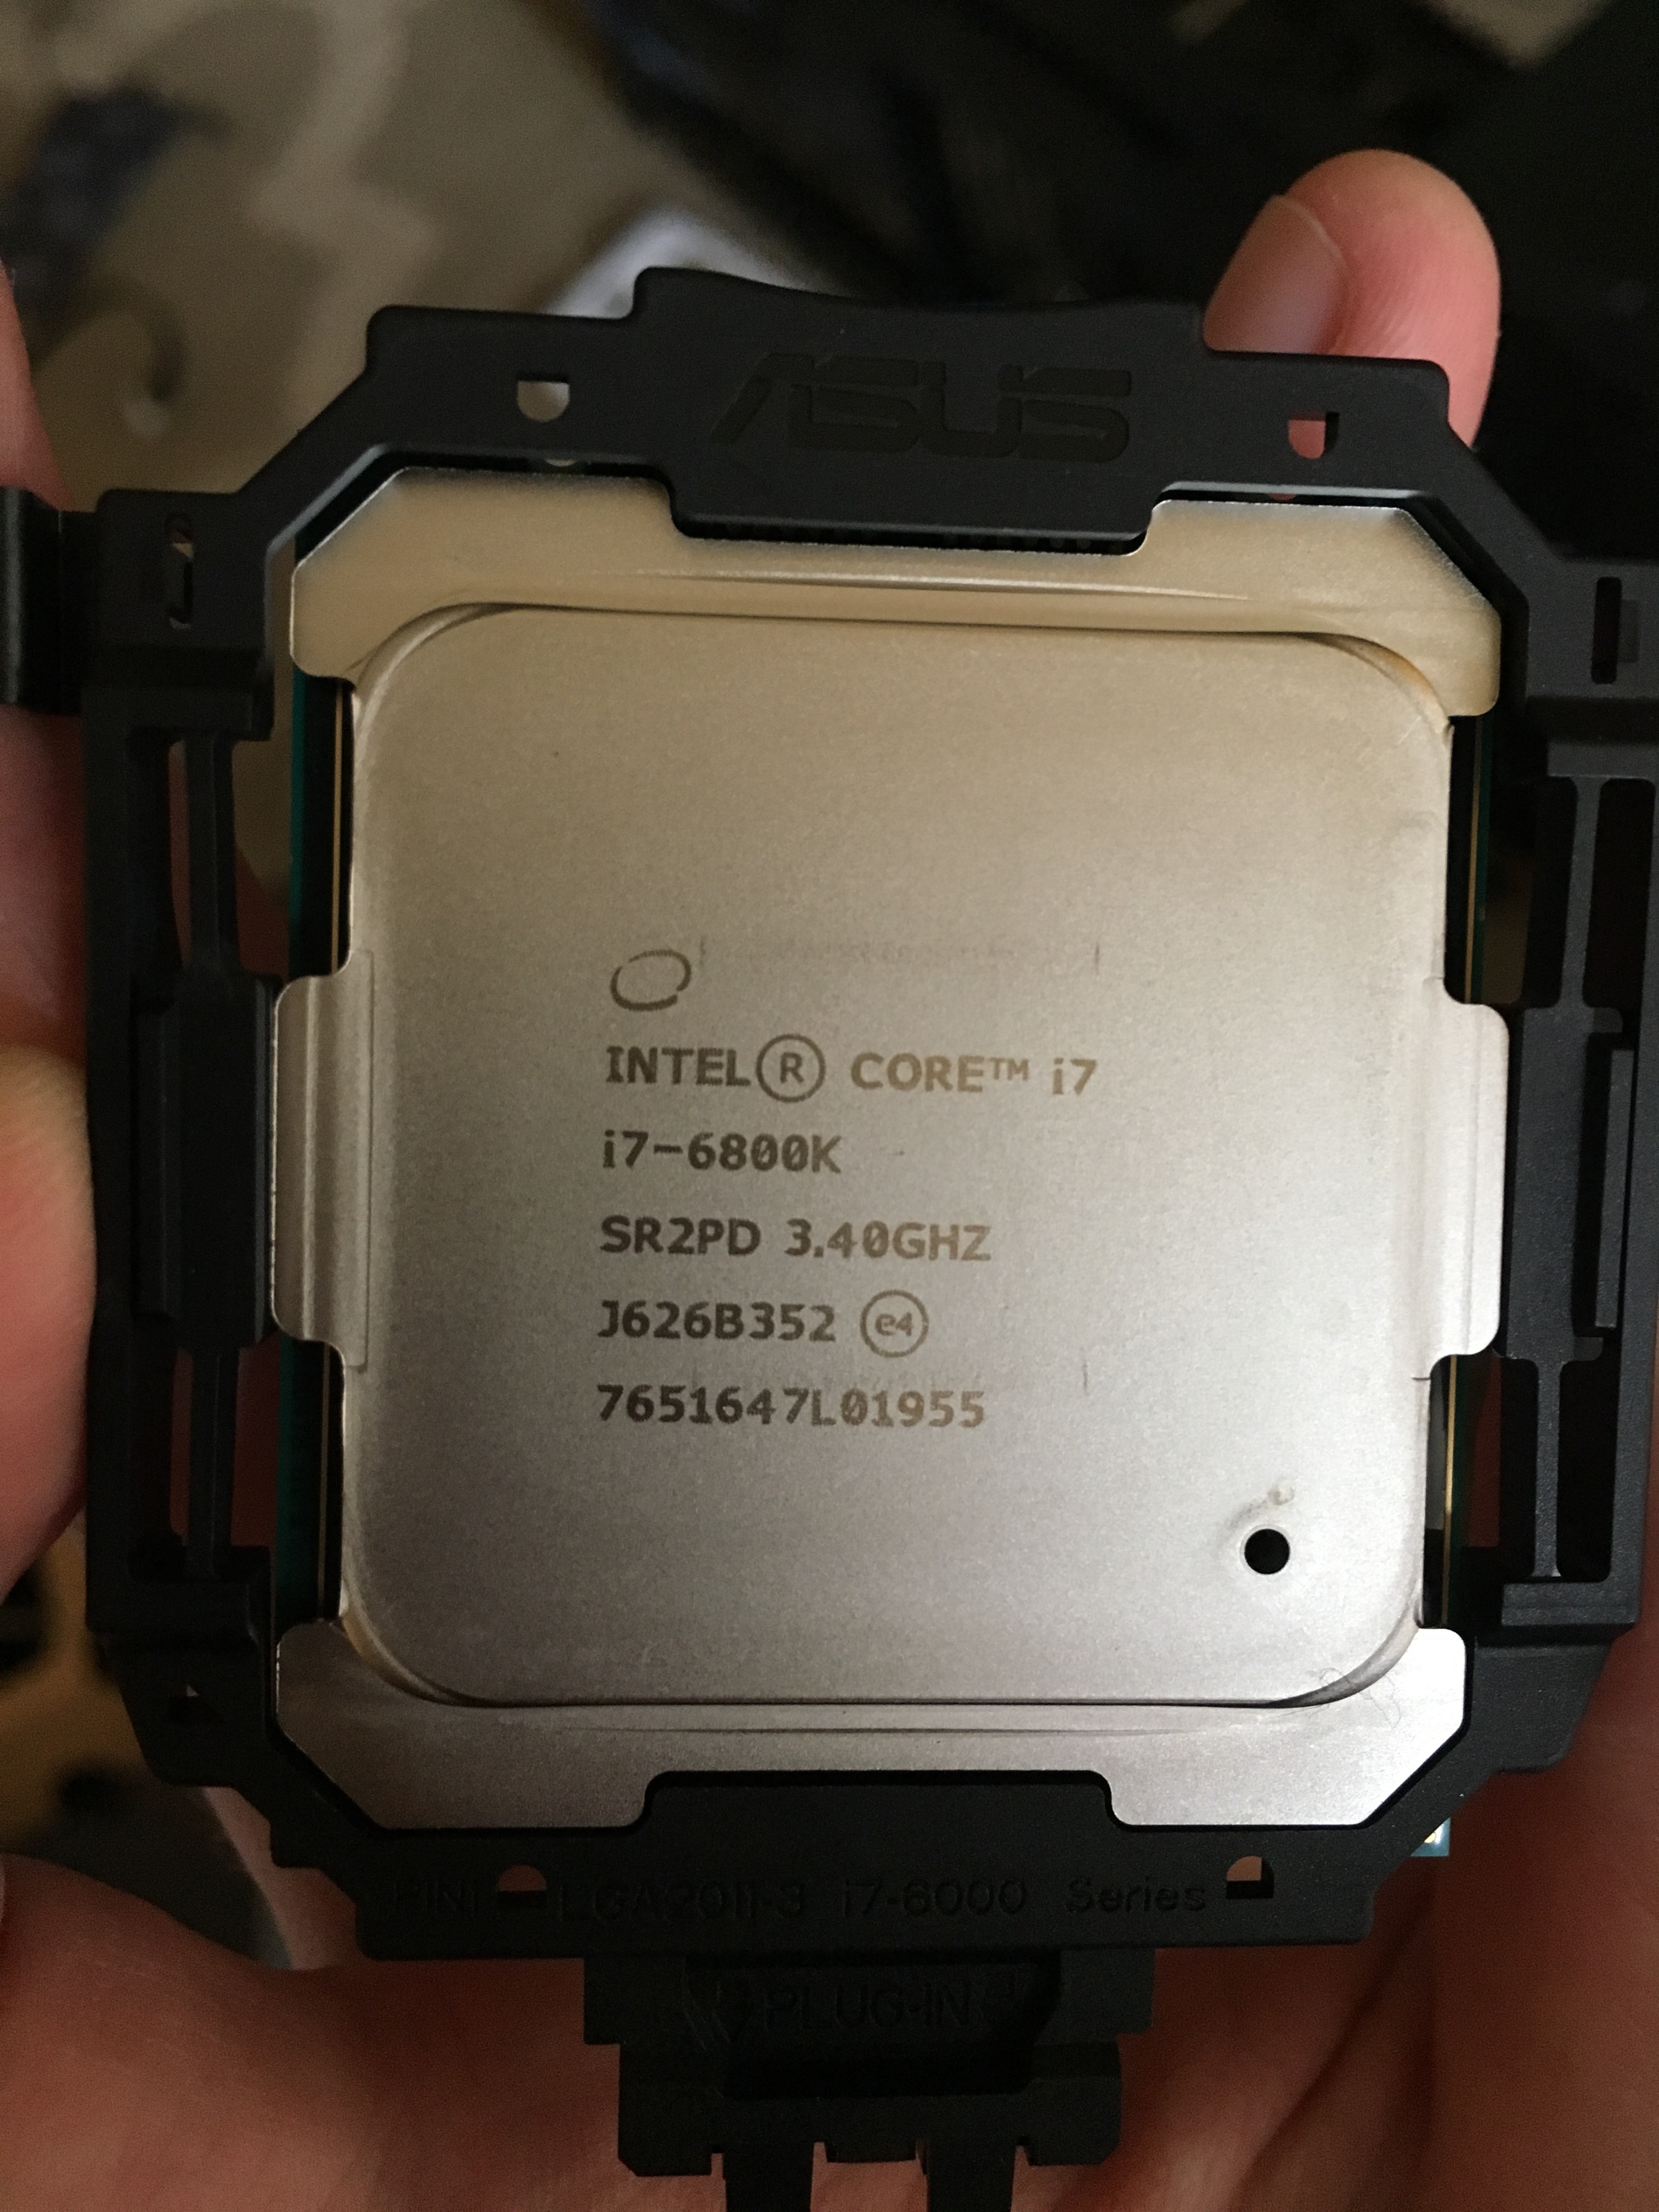
And here’s the back. Each one of those little thingies (that’s the technical name) is critical to the device functioning.
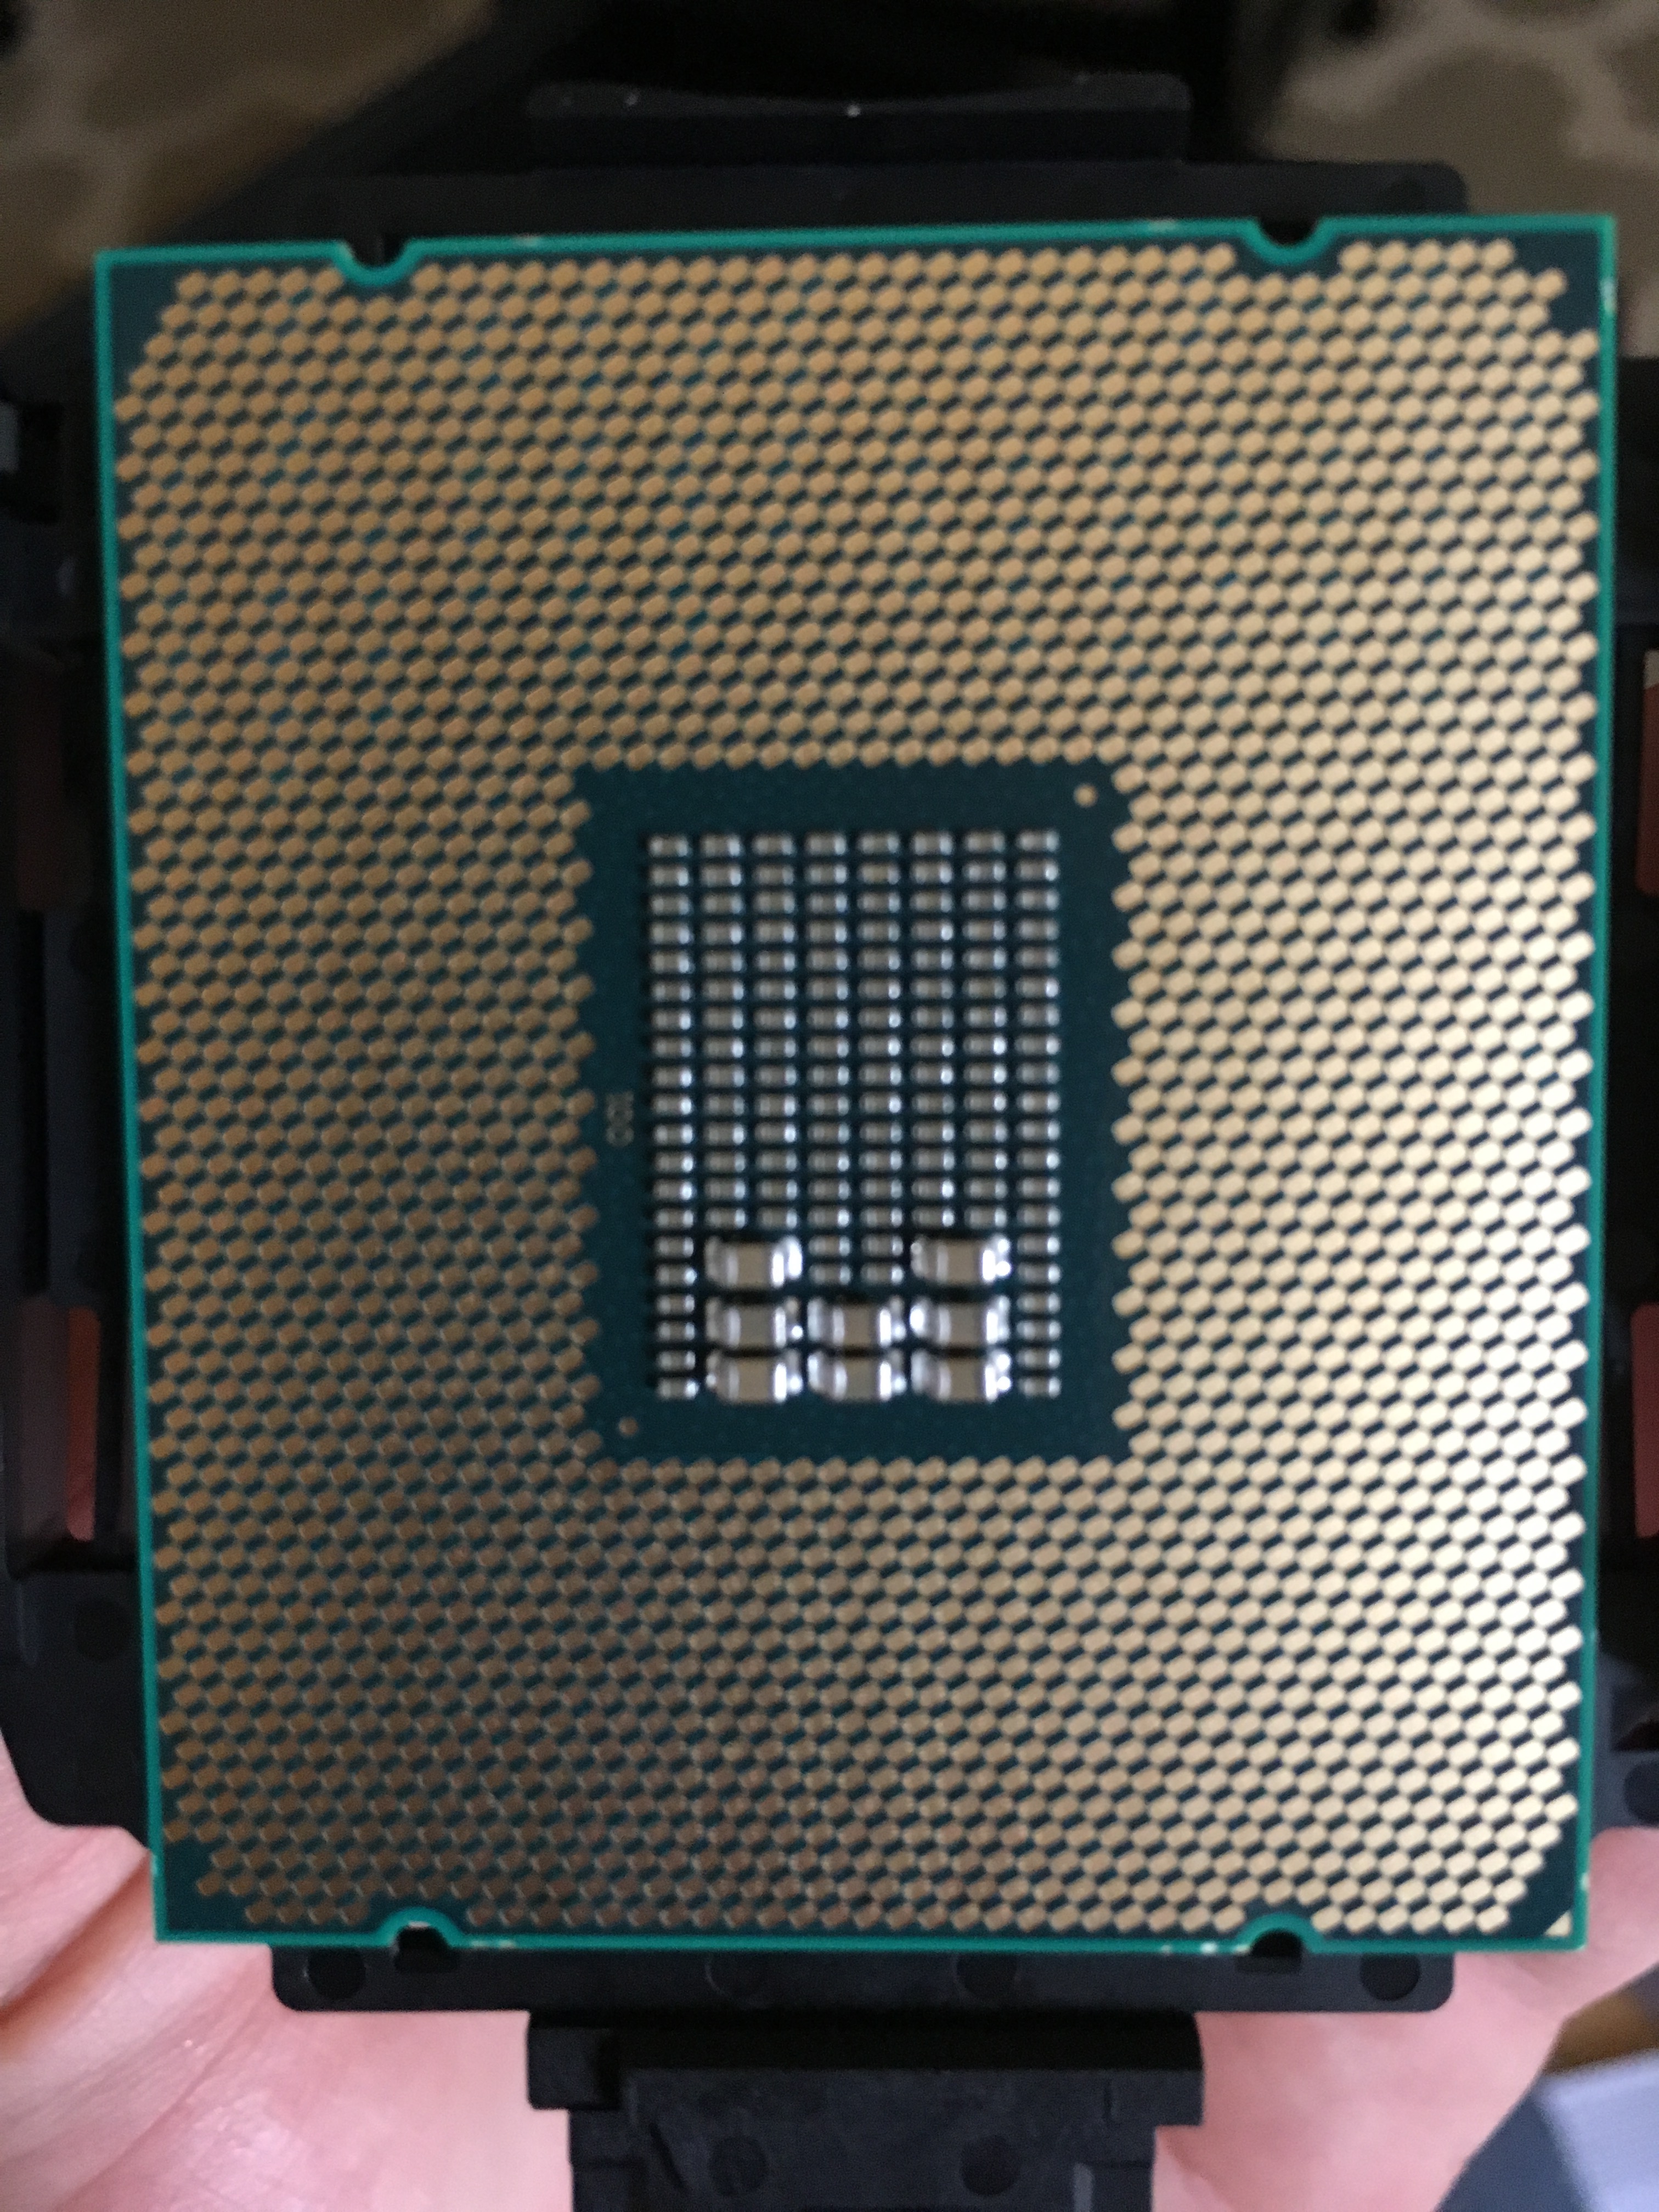
Very carefully line up the arrow in the corner with the one in the socket and place the CPU in it’s home. It should feel like it has snugly dropped into place without any kind of pressure being applied whatsoever. If you break any of the several hundred pins then you are in trouble. This step isn’t actually very hard, I’m just emphasizing caution.
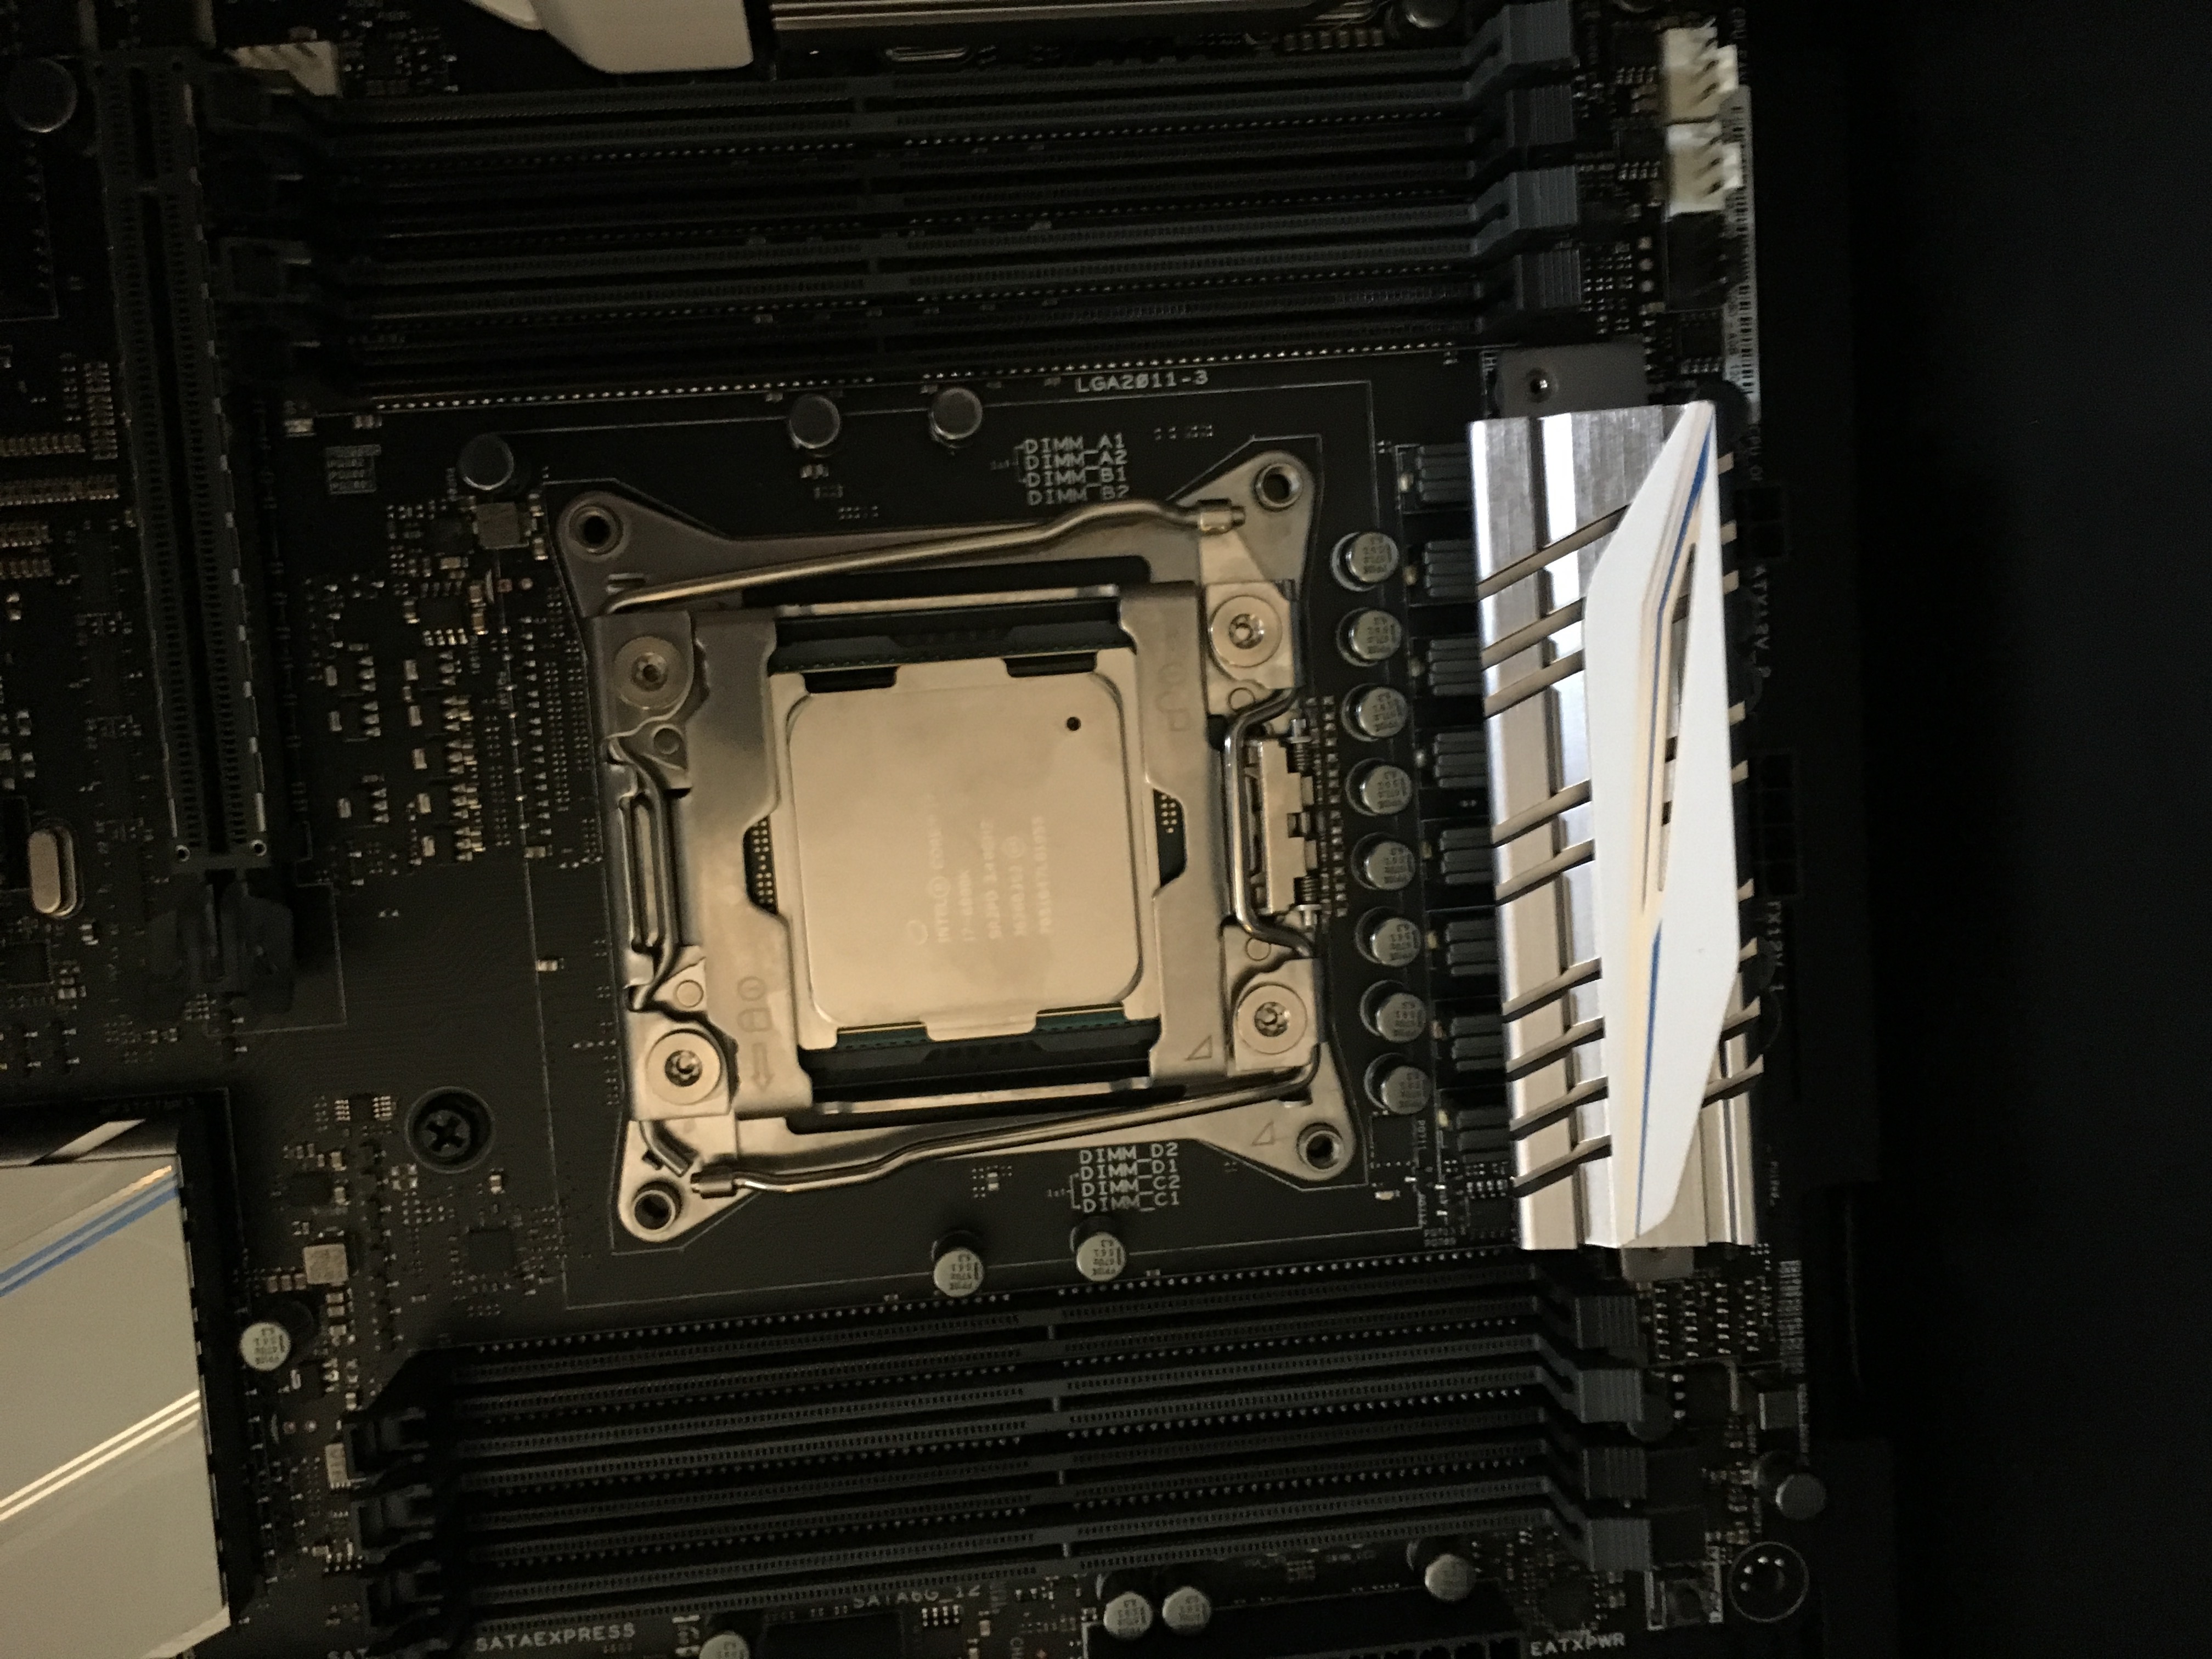
Engage the locks and breathe a sigh of relief.
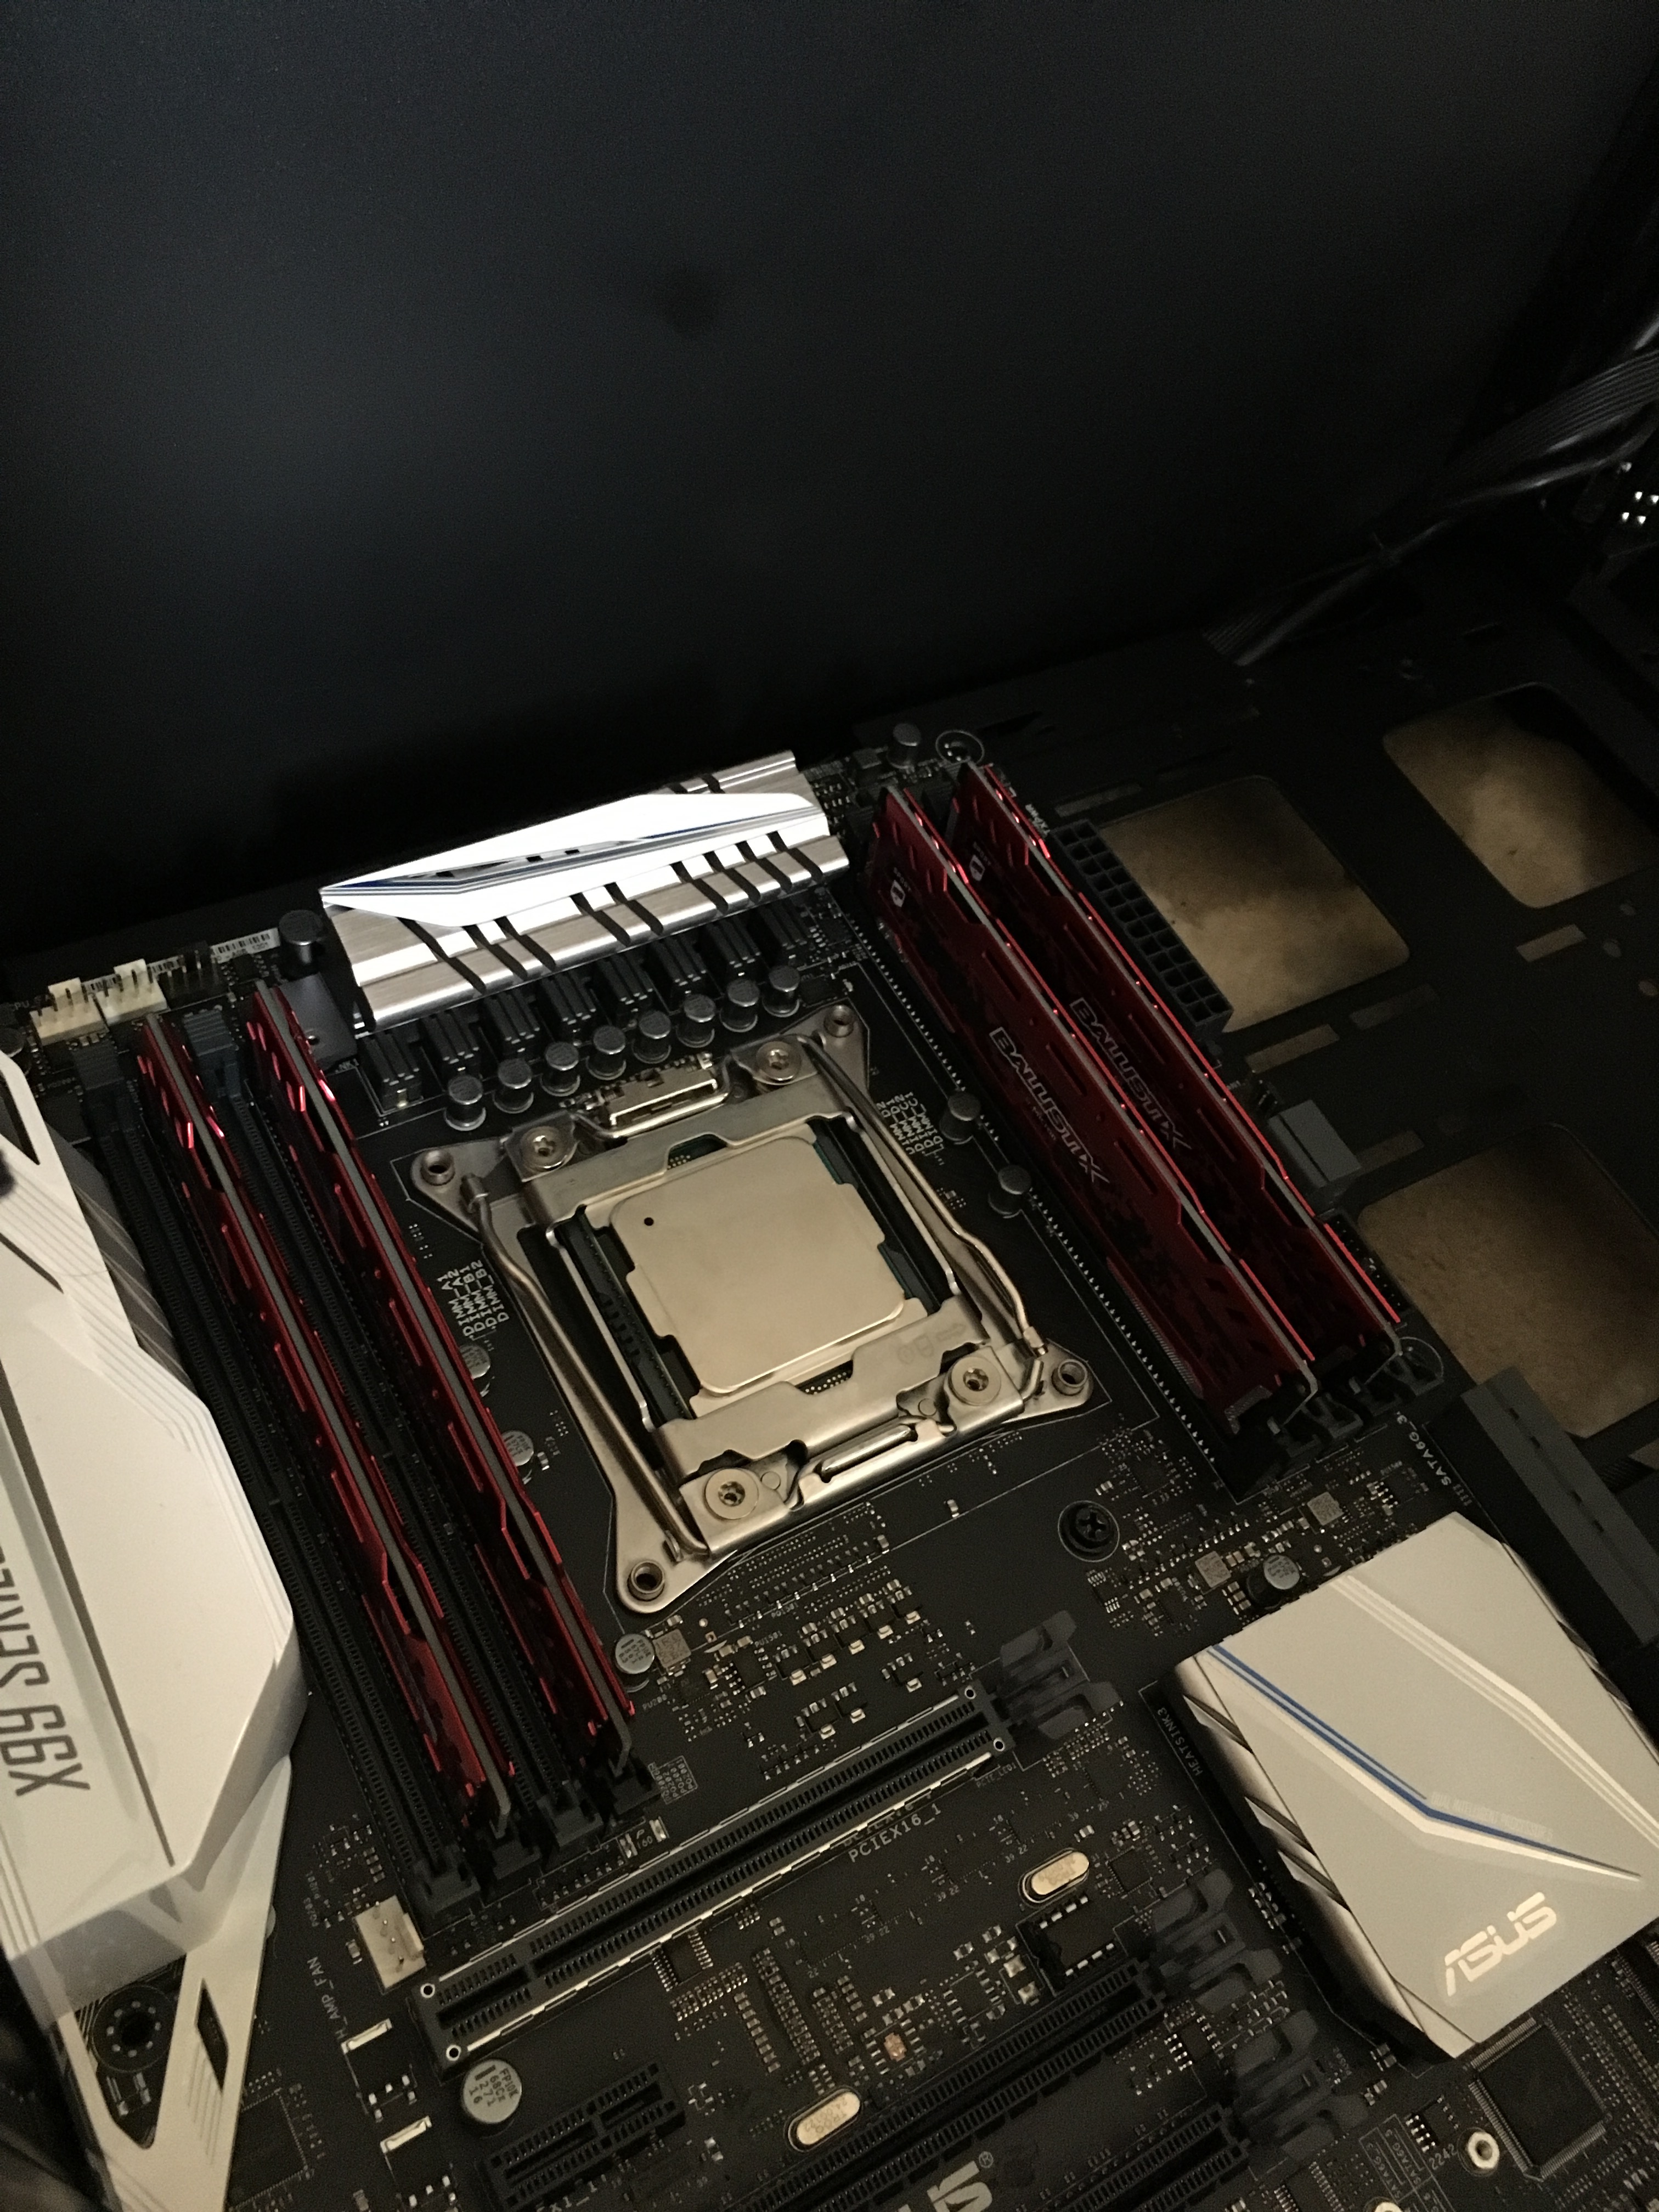
To install the RAM, just align the gold pins at the bottom with the RAM slots and press down until you hear a firm click. I spaced the RAM out so that there is room for heat to dissipate. Your motherboard’s manual likely suggests different configurations depending upon the number of sticks that you have, so consult that to make sure you aren’t accidently installing RAM in a way that the motherboard can’t access it uniformly.
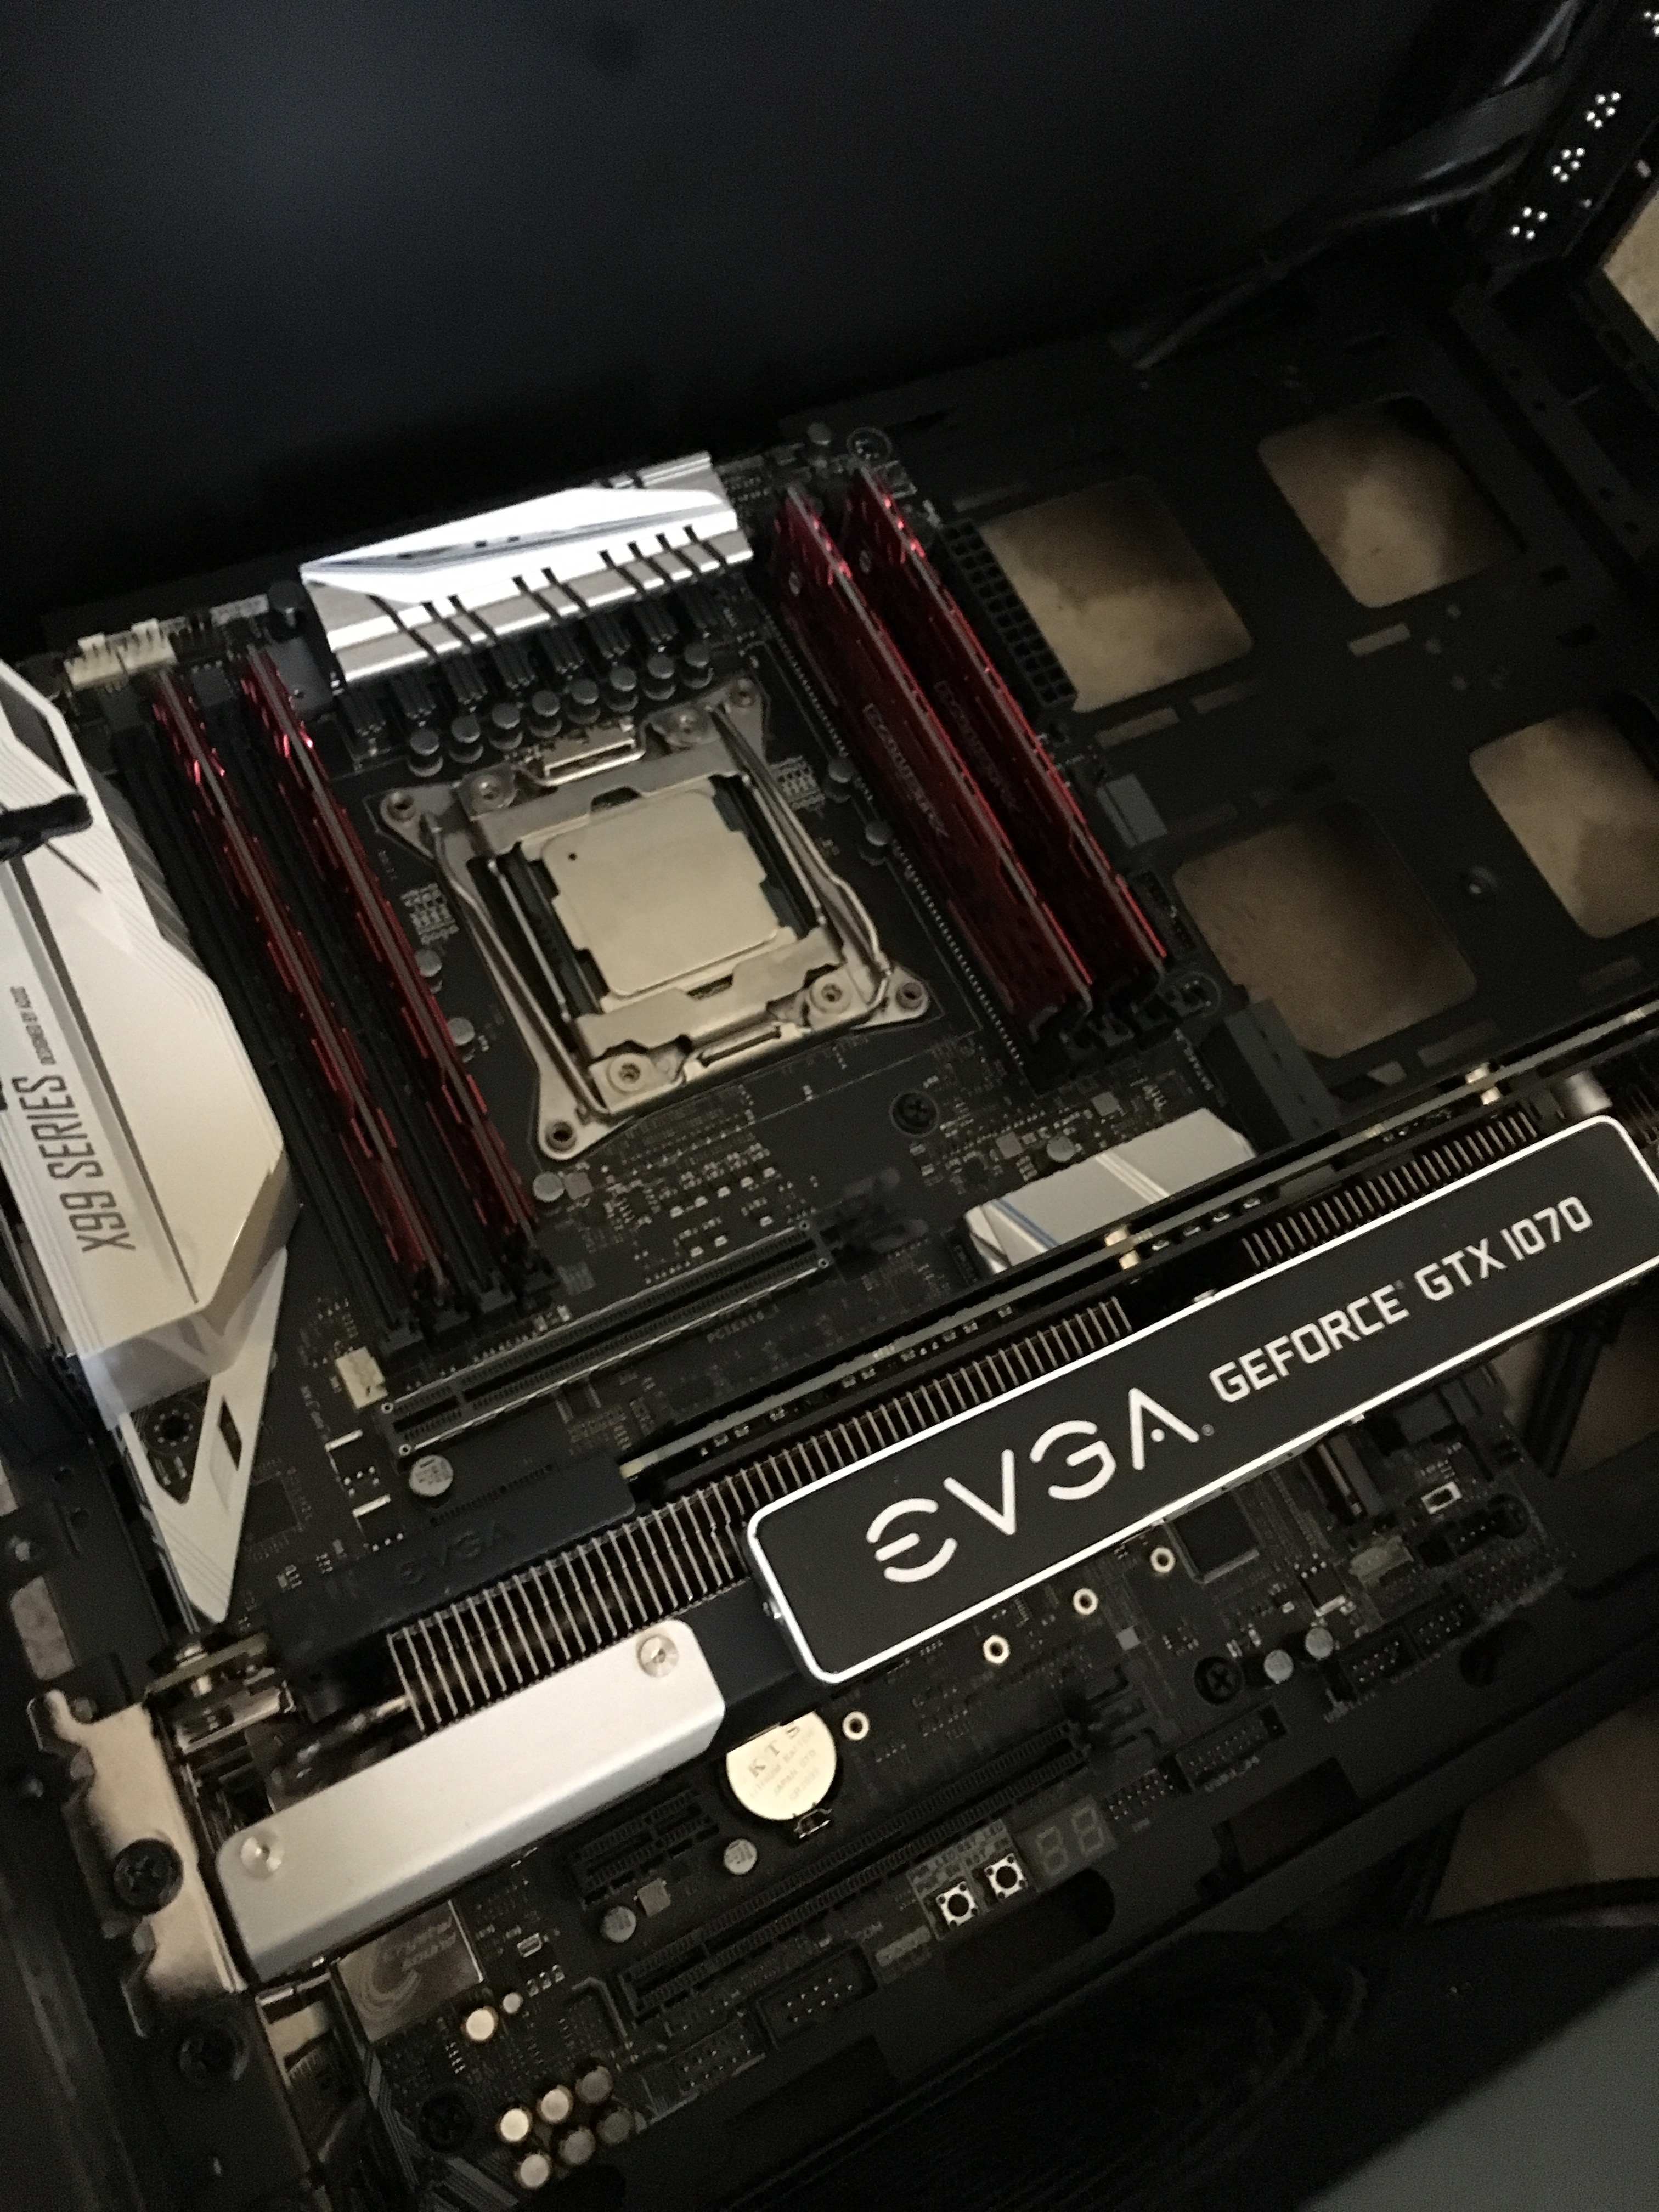
To install the graphics card, I chose a PCI x 16 slot near the bottom to allow for more clearance and removed the backplate. Align the gold pins with the PCI slot and press into place firmly. You have to press pretty hard sometimes. Then screw it into place
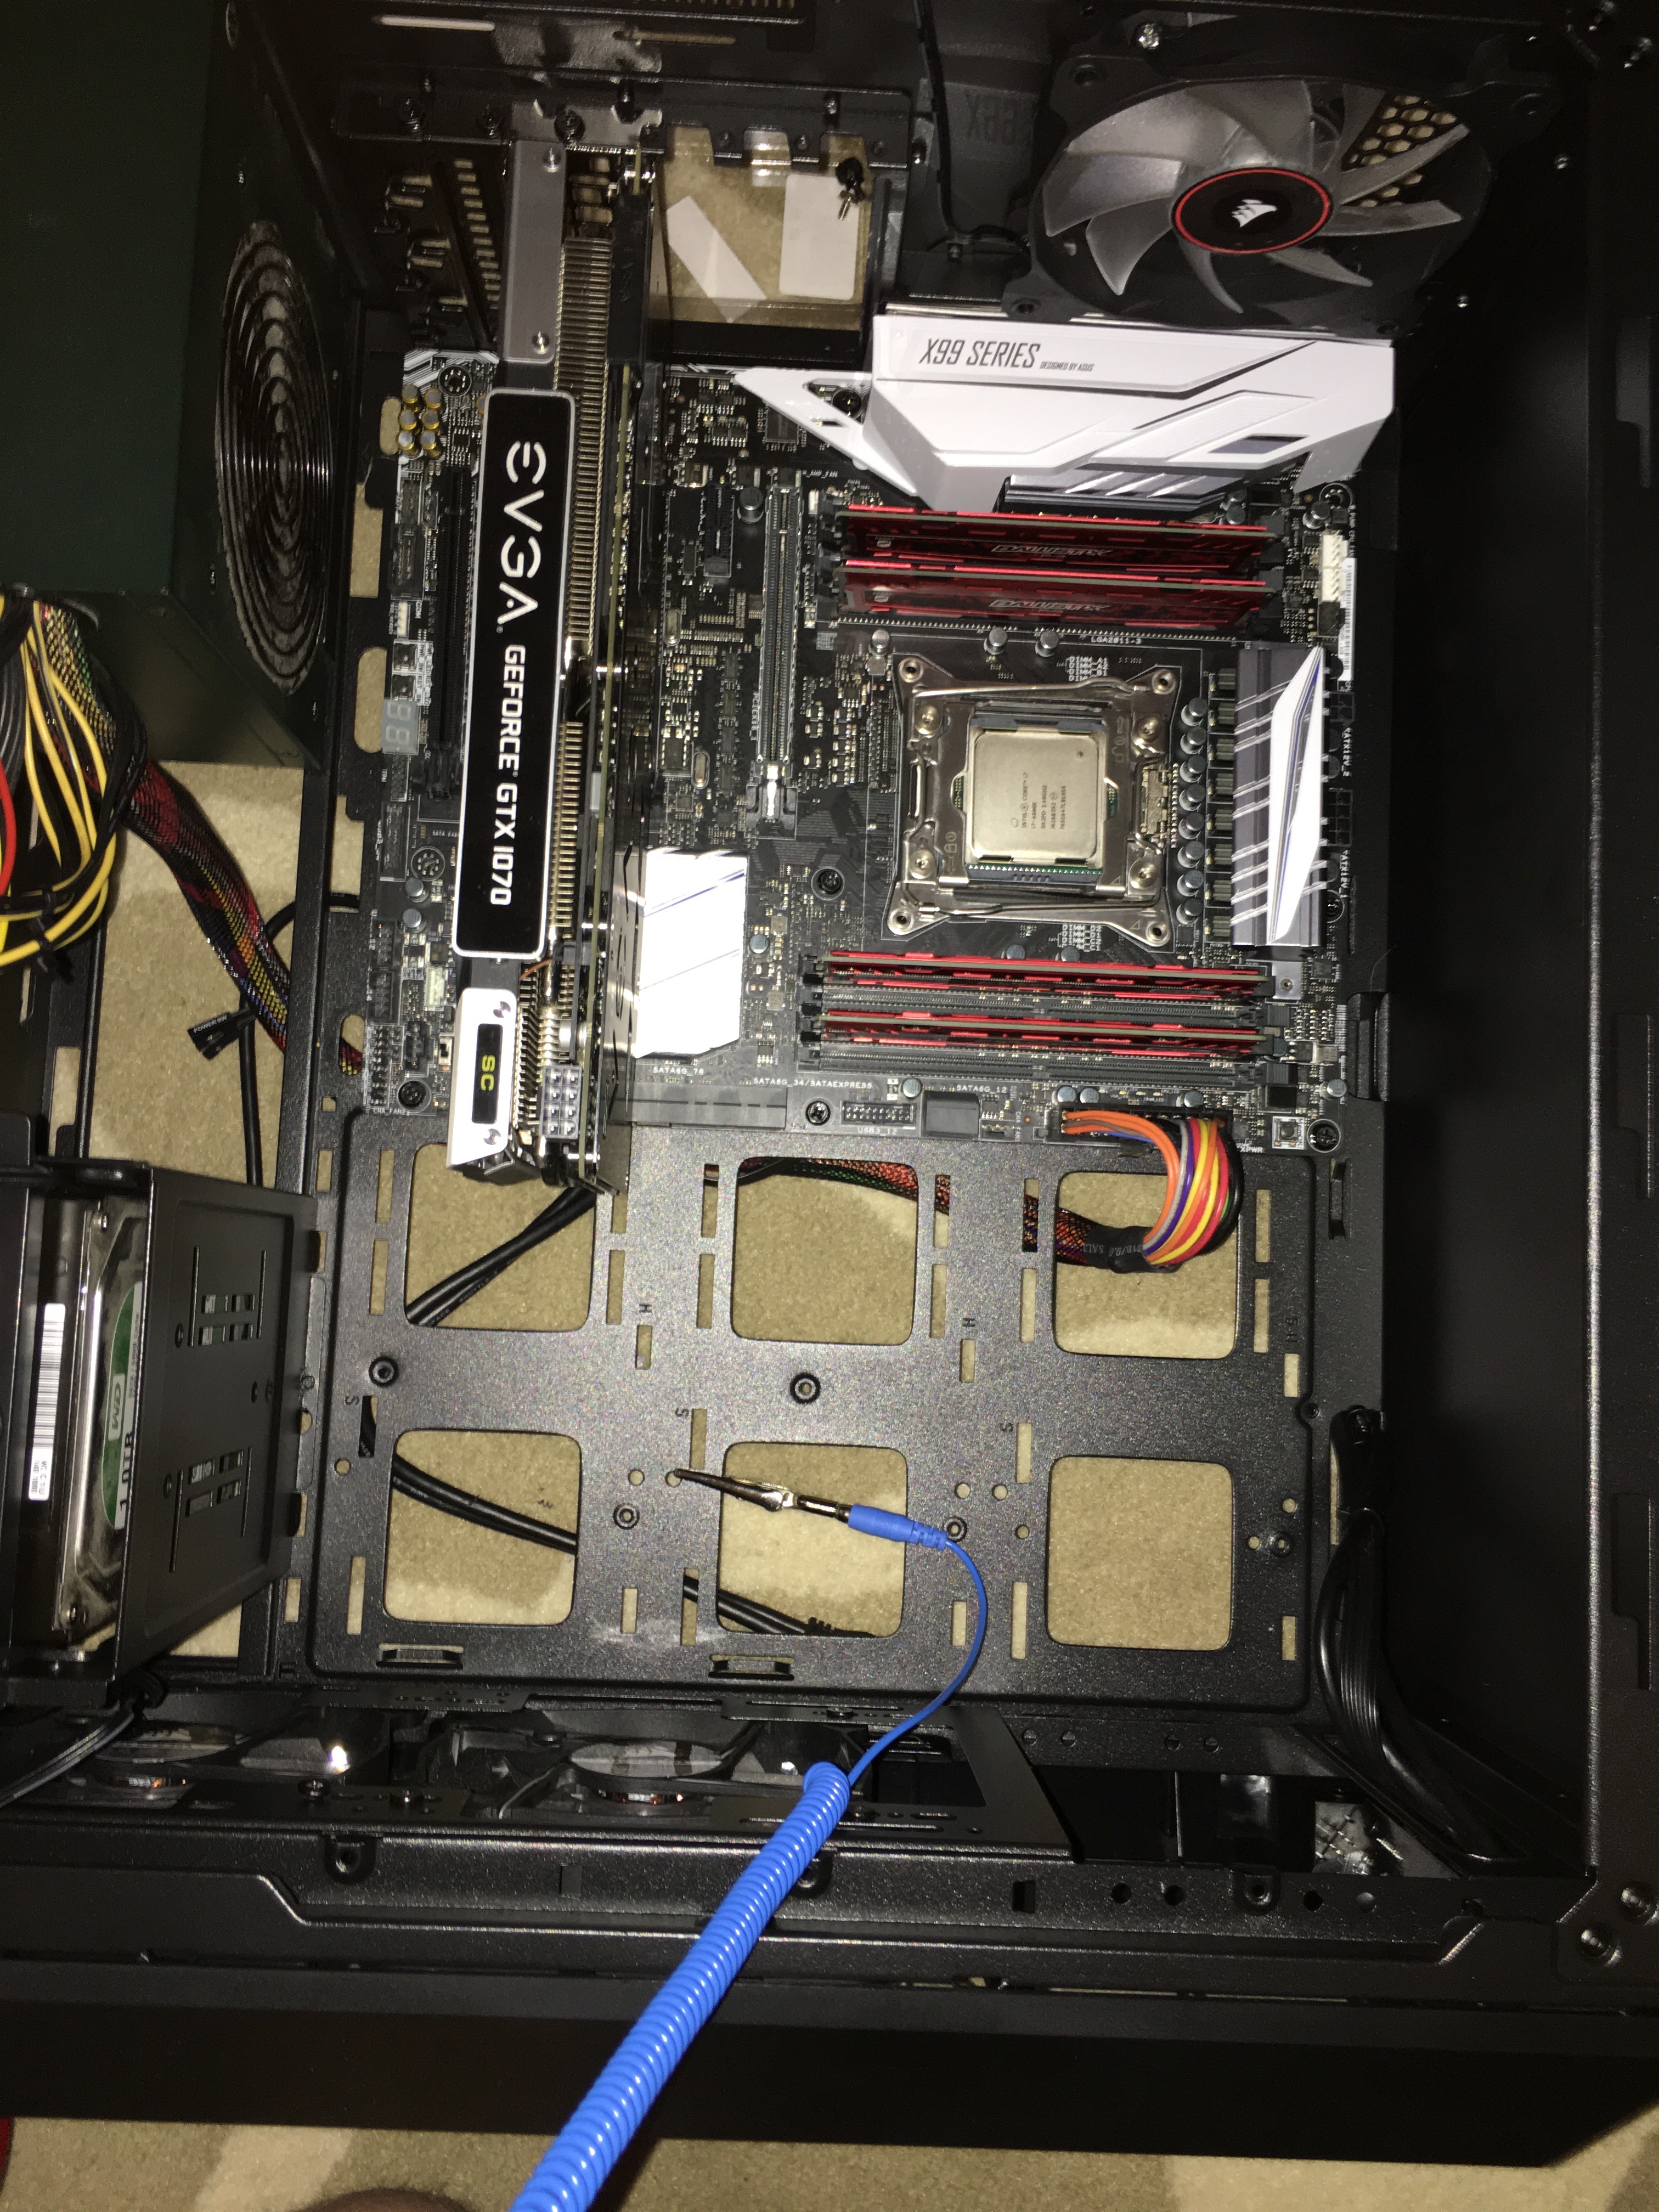
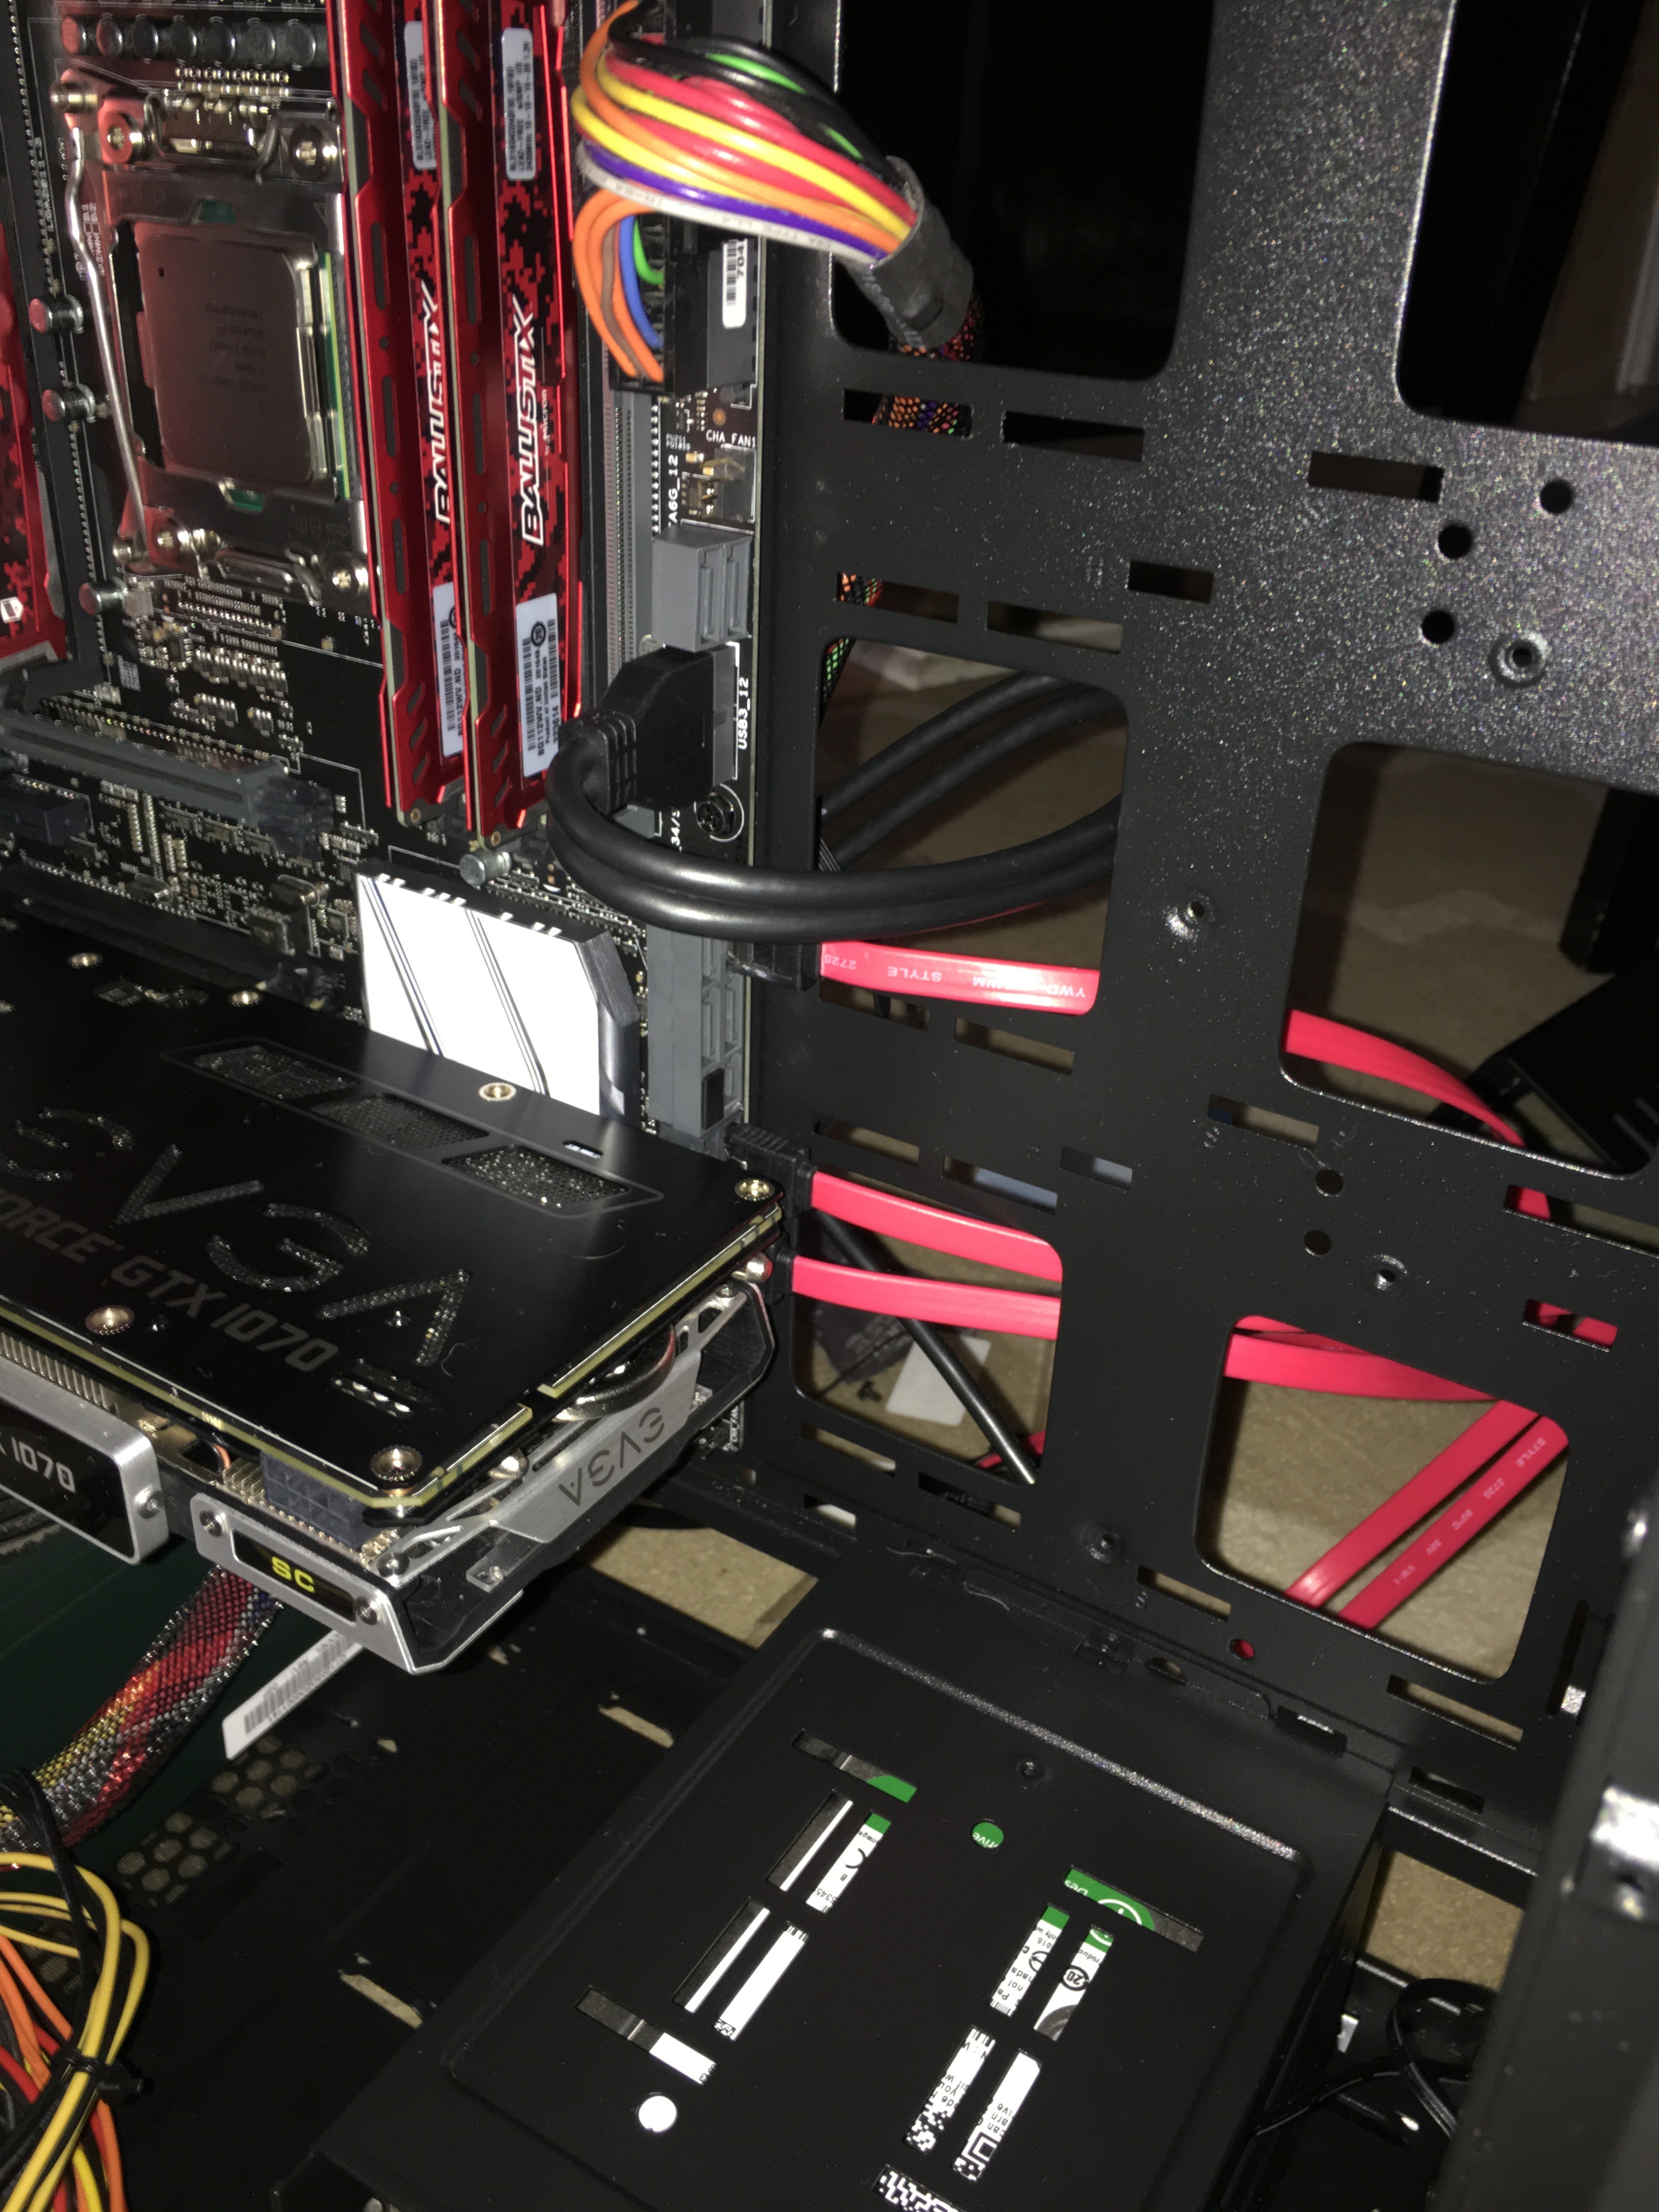
Before installing anything else, I plug in some of the cords. Try to be strategic. Cables that are run neatly will allow for better airflow in the case and look much more organized. There’s a number of things to connect including the giant 24-pin, 8-pin ATX and 4-pin ATX power for the motherboard, 3 or 4 pin connectors for each of the fans, SATA connectors for the drives, and cables for the USB connectors on the front panel as well as the power/reset switches. The only part of this that could be tricky is getting the bundle of small connectors for the power switch, reset switch, power LED, etc into the right places. The first time I built a computer and tried to turn it on I was terrified when nothing happened only to check and realize the power switch was one pin off. The motherboard manual will have a diagram showing exactly where to put each one.
Now that most of the cables are connected, I install the CPU cooler. Otherwise it would take up a lot of room and make it harder to manipulate small wires. You lay down a layer of thermal paste and then the cooler is bolted on top of it. The thermal paste is highly conductive, so it pulls heat away from the CPU onto the heat sink, where energy travels up the heat pipes and into the large metal grills where heat is dissipated into the nearby air by two fans. These fans are completely internal to the case so they don’t contribute to the earlier discussion about intake/exhaust.
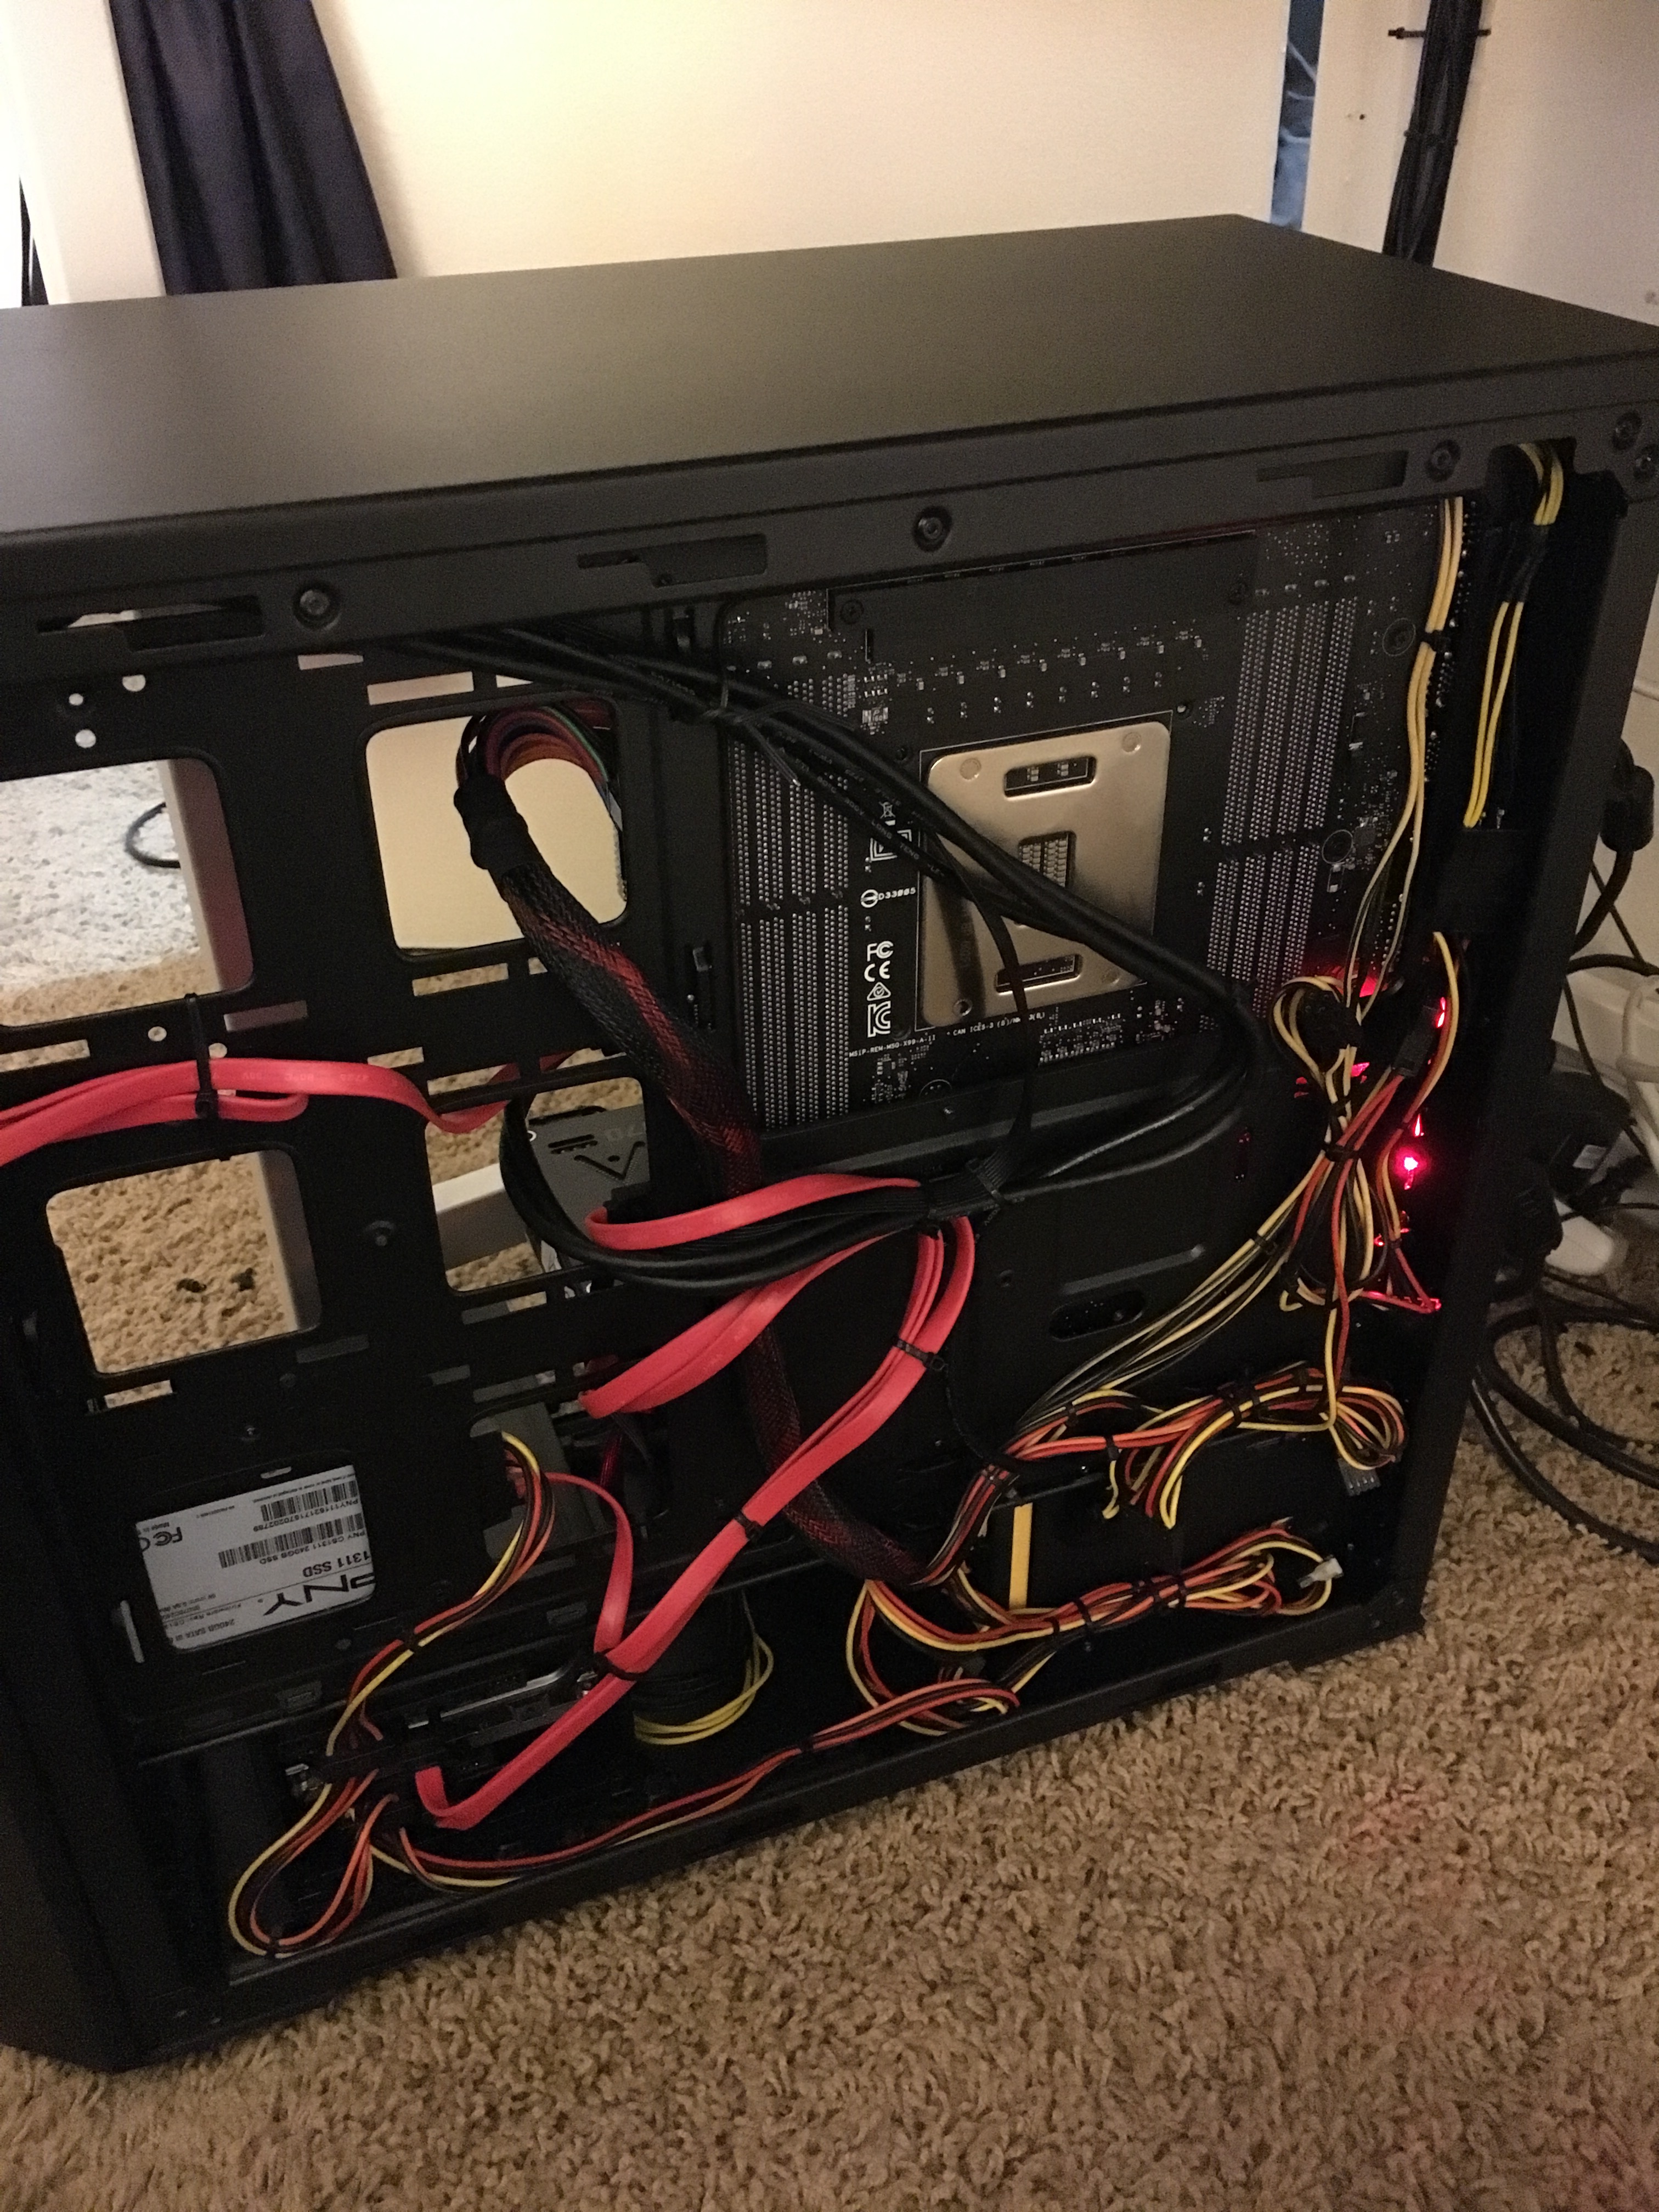
Now to do a little cable management. This case has lots of nice little cutouts so I zip-tied everything to oblivion. I probably used about 50 by the end. This is a view of the back panel, so keep in mind this is hidden from view normally.
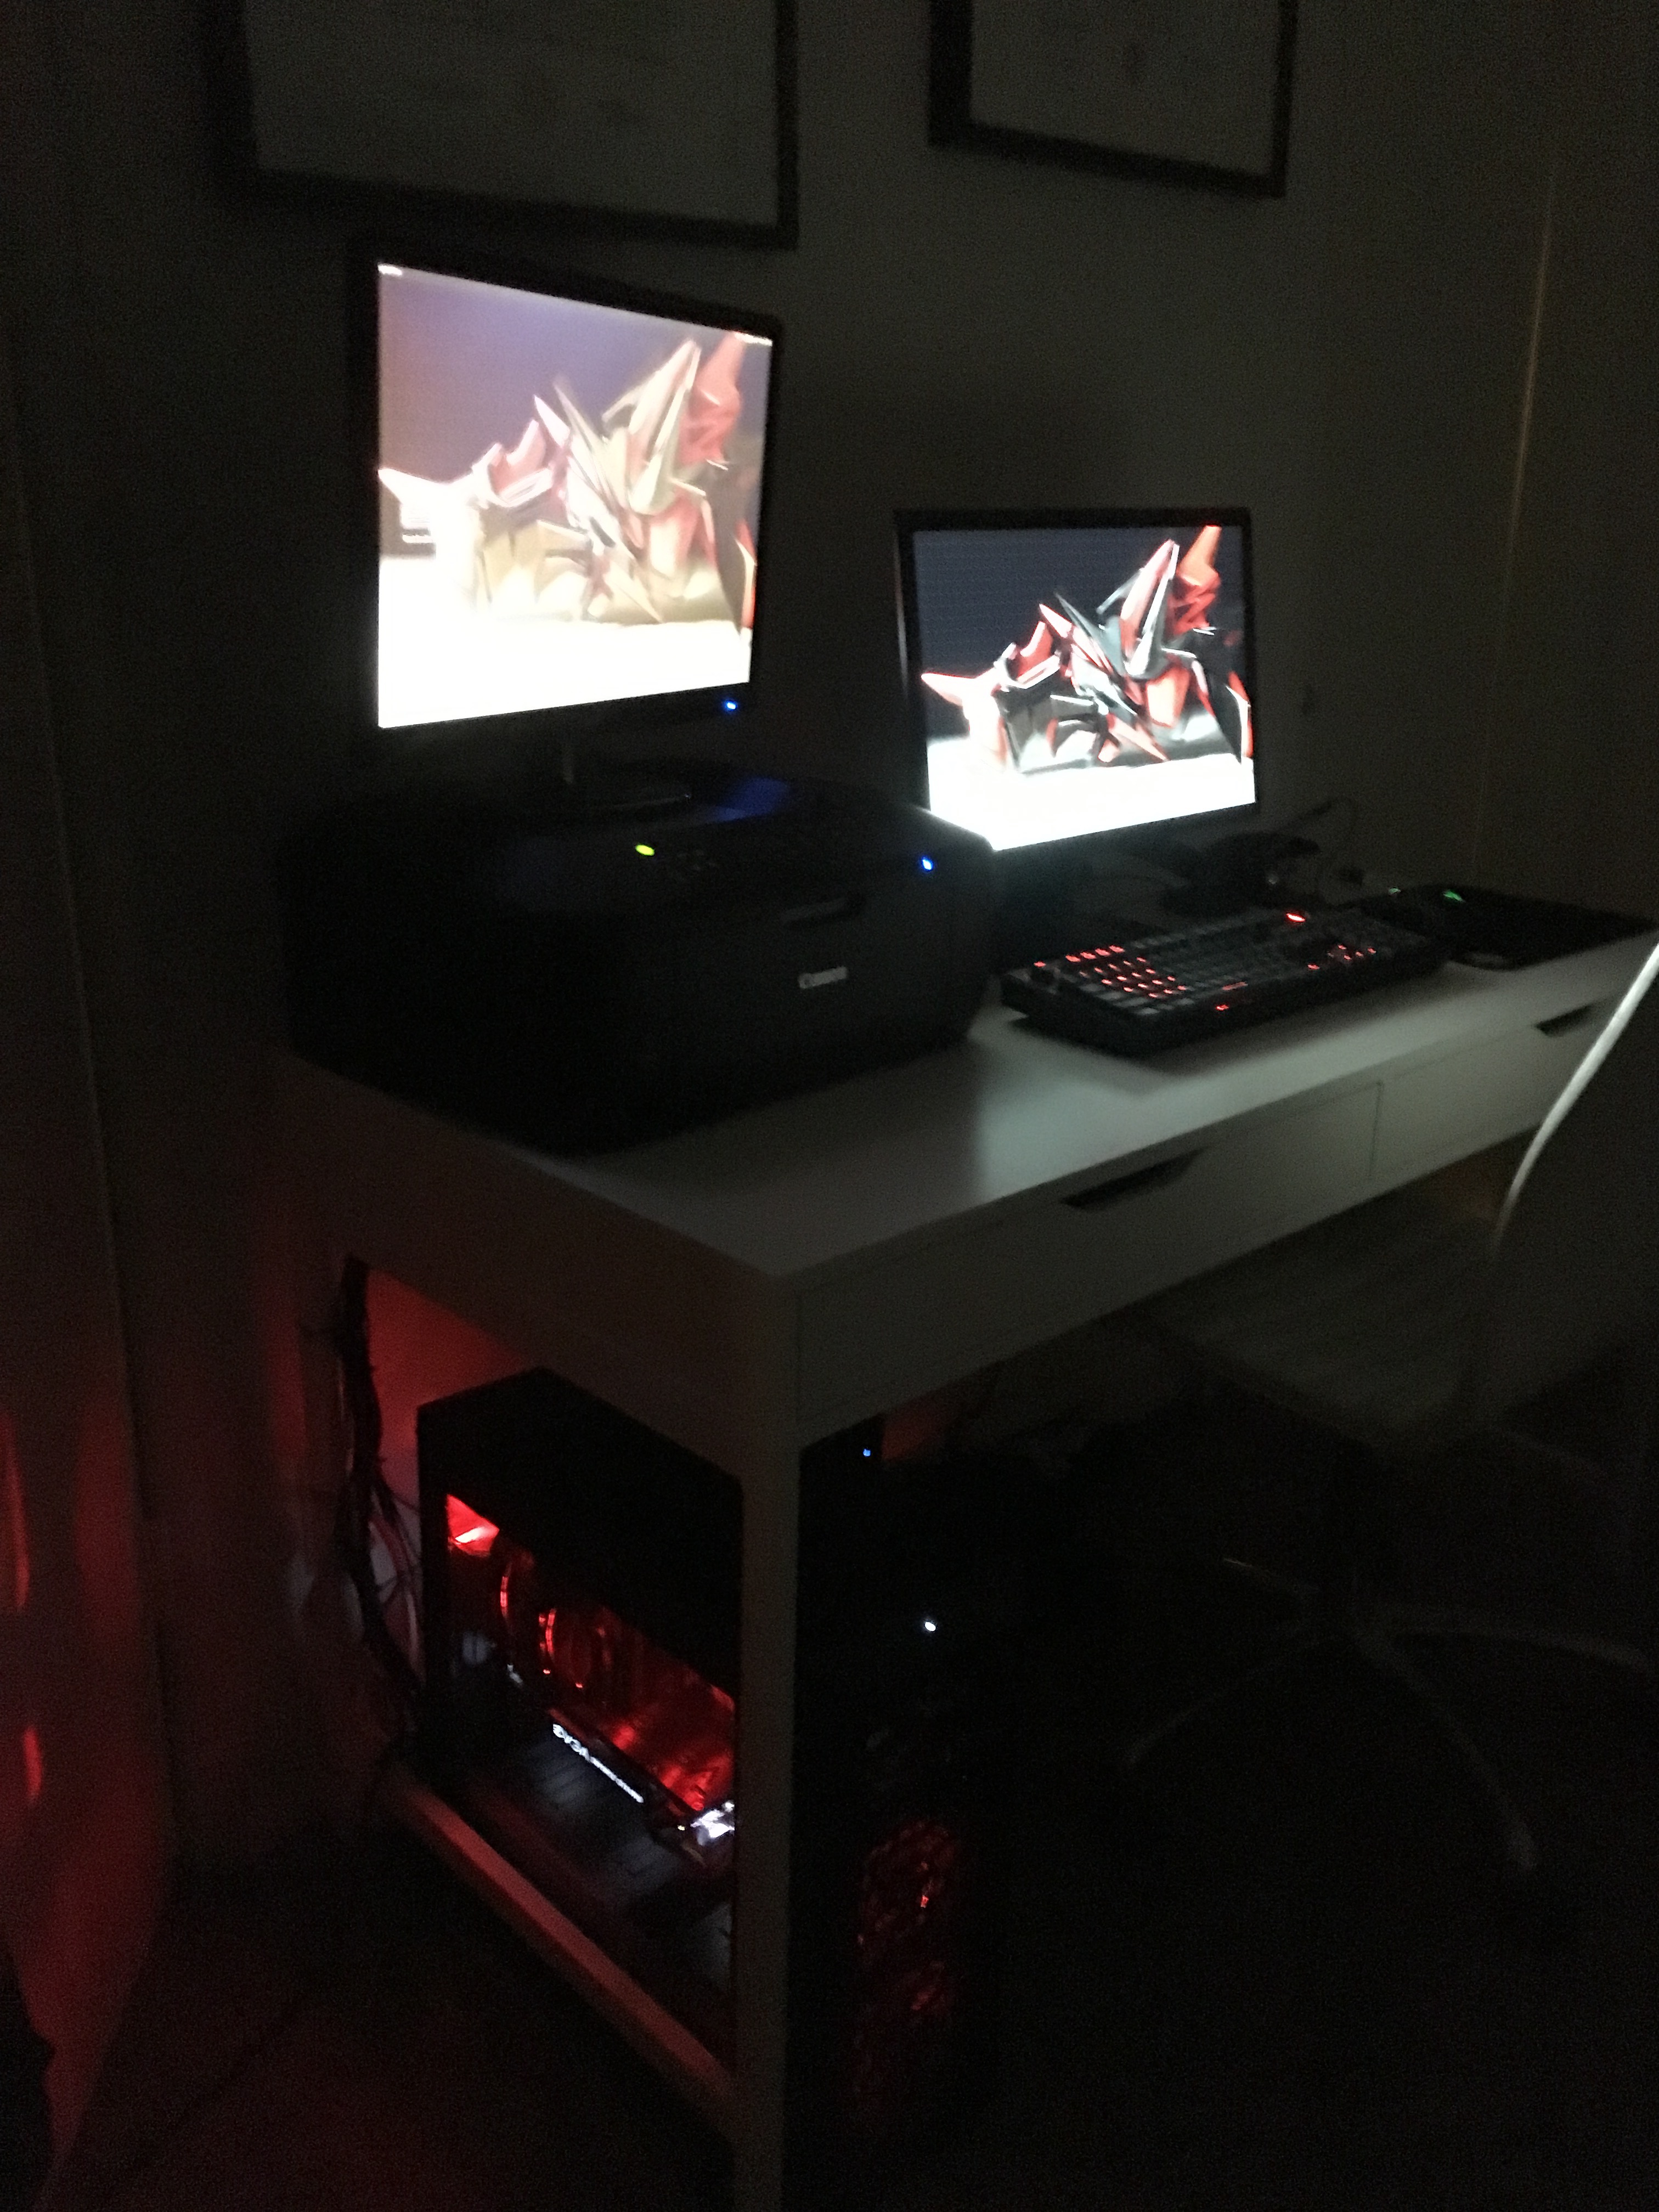
And we’re done! This is the view from the front once the other side panel is on. Once you double check that everything is connected, plug in the main power to the back, say a little prayer, and hit the power button.
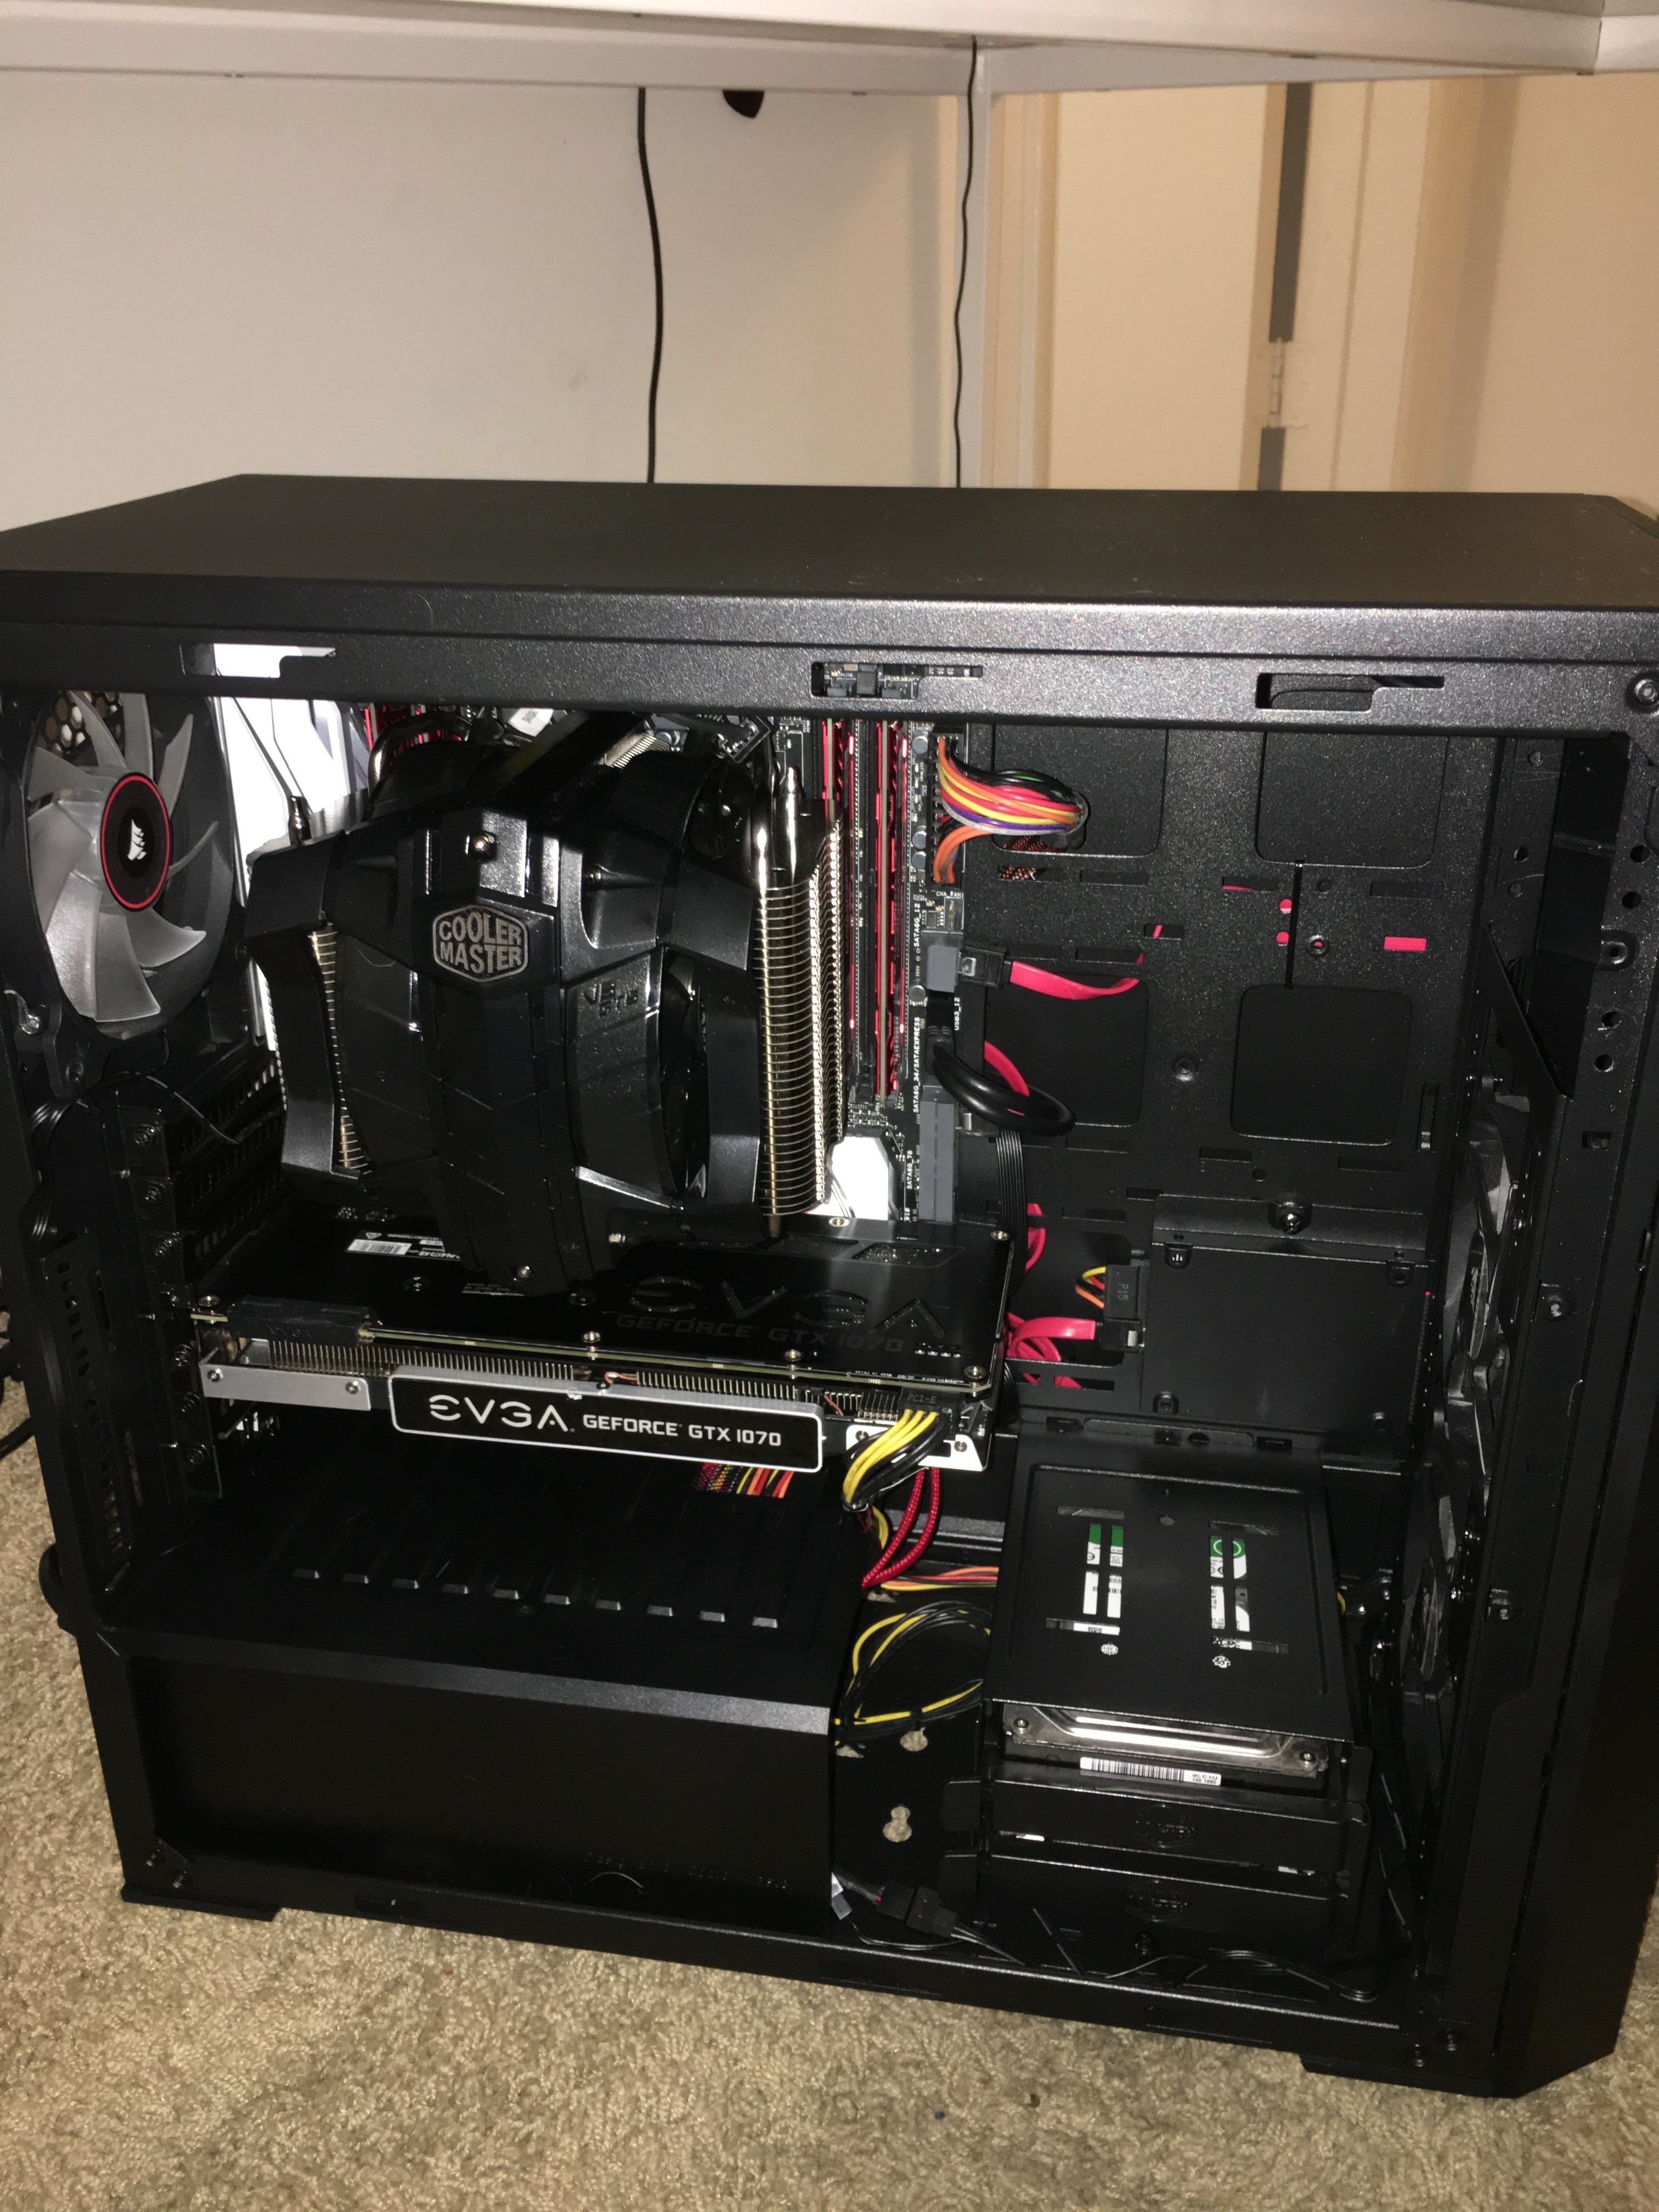
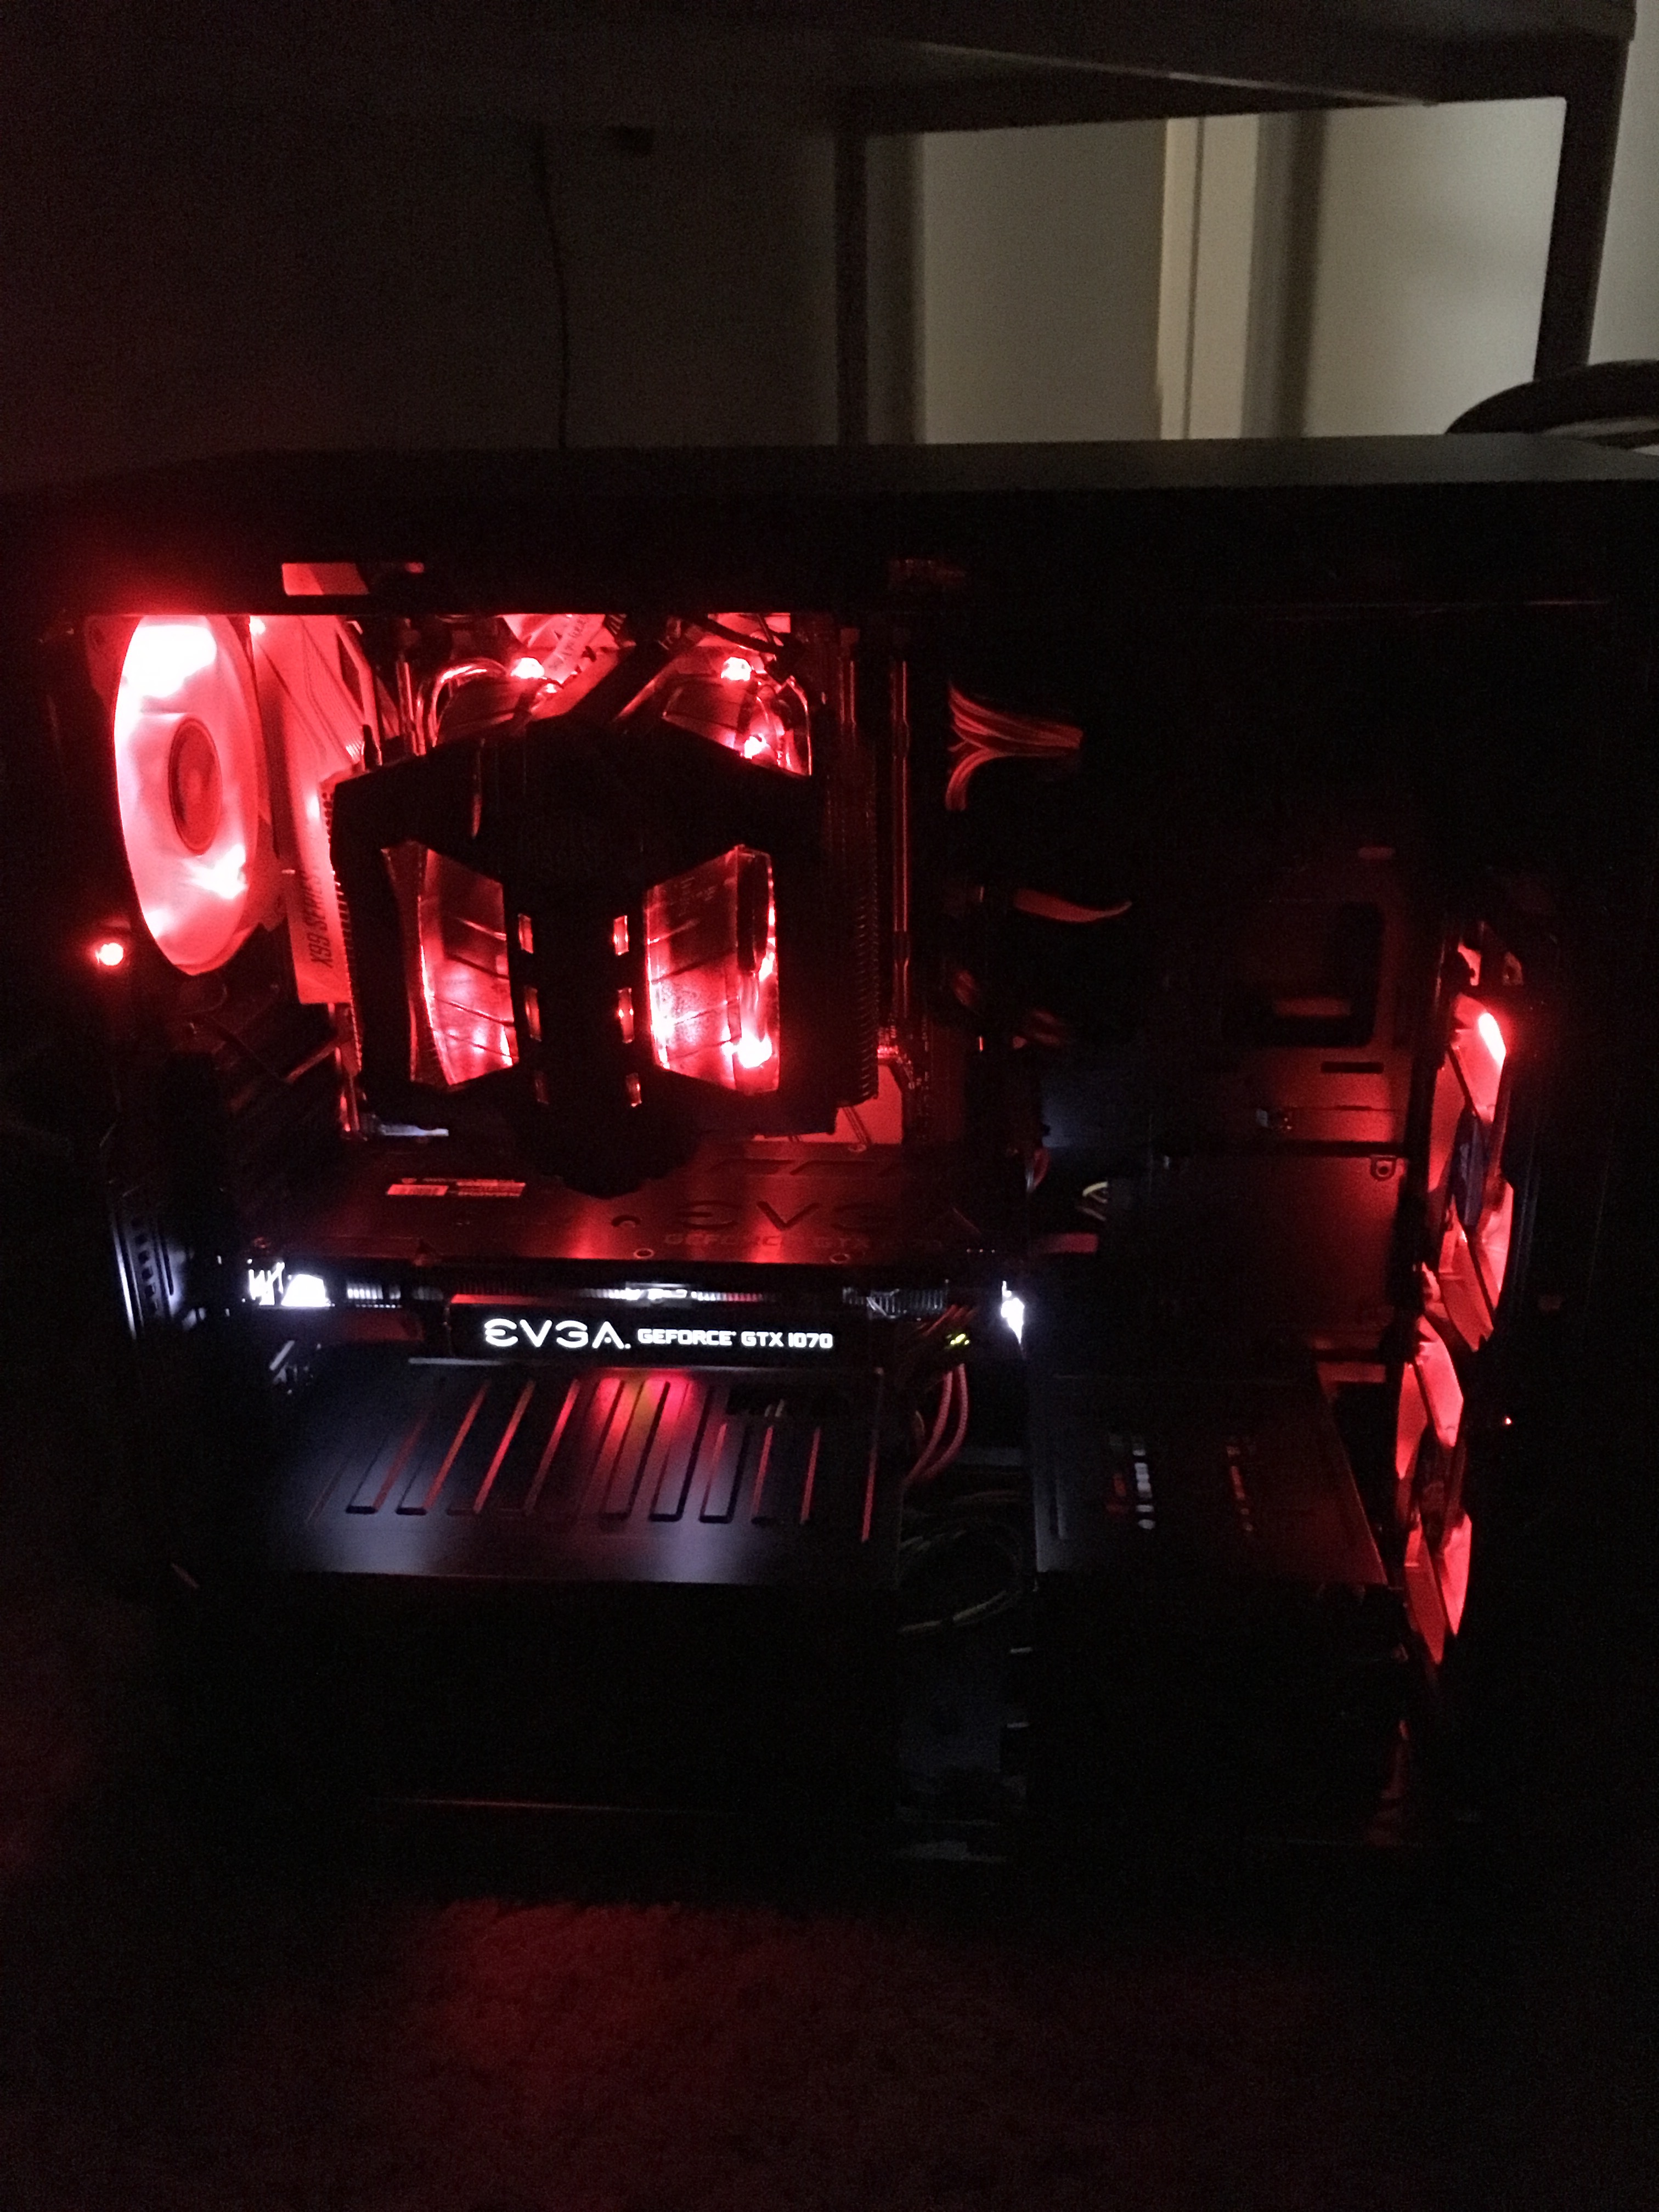
It works! I’m quite happy with how the cable hiding turned out.
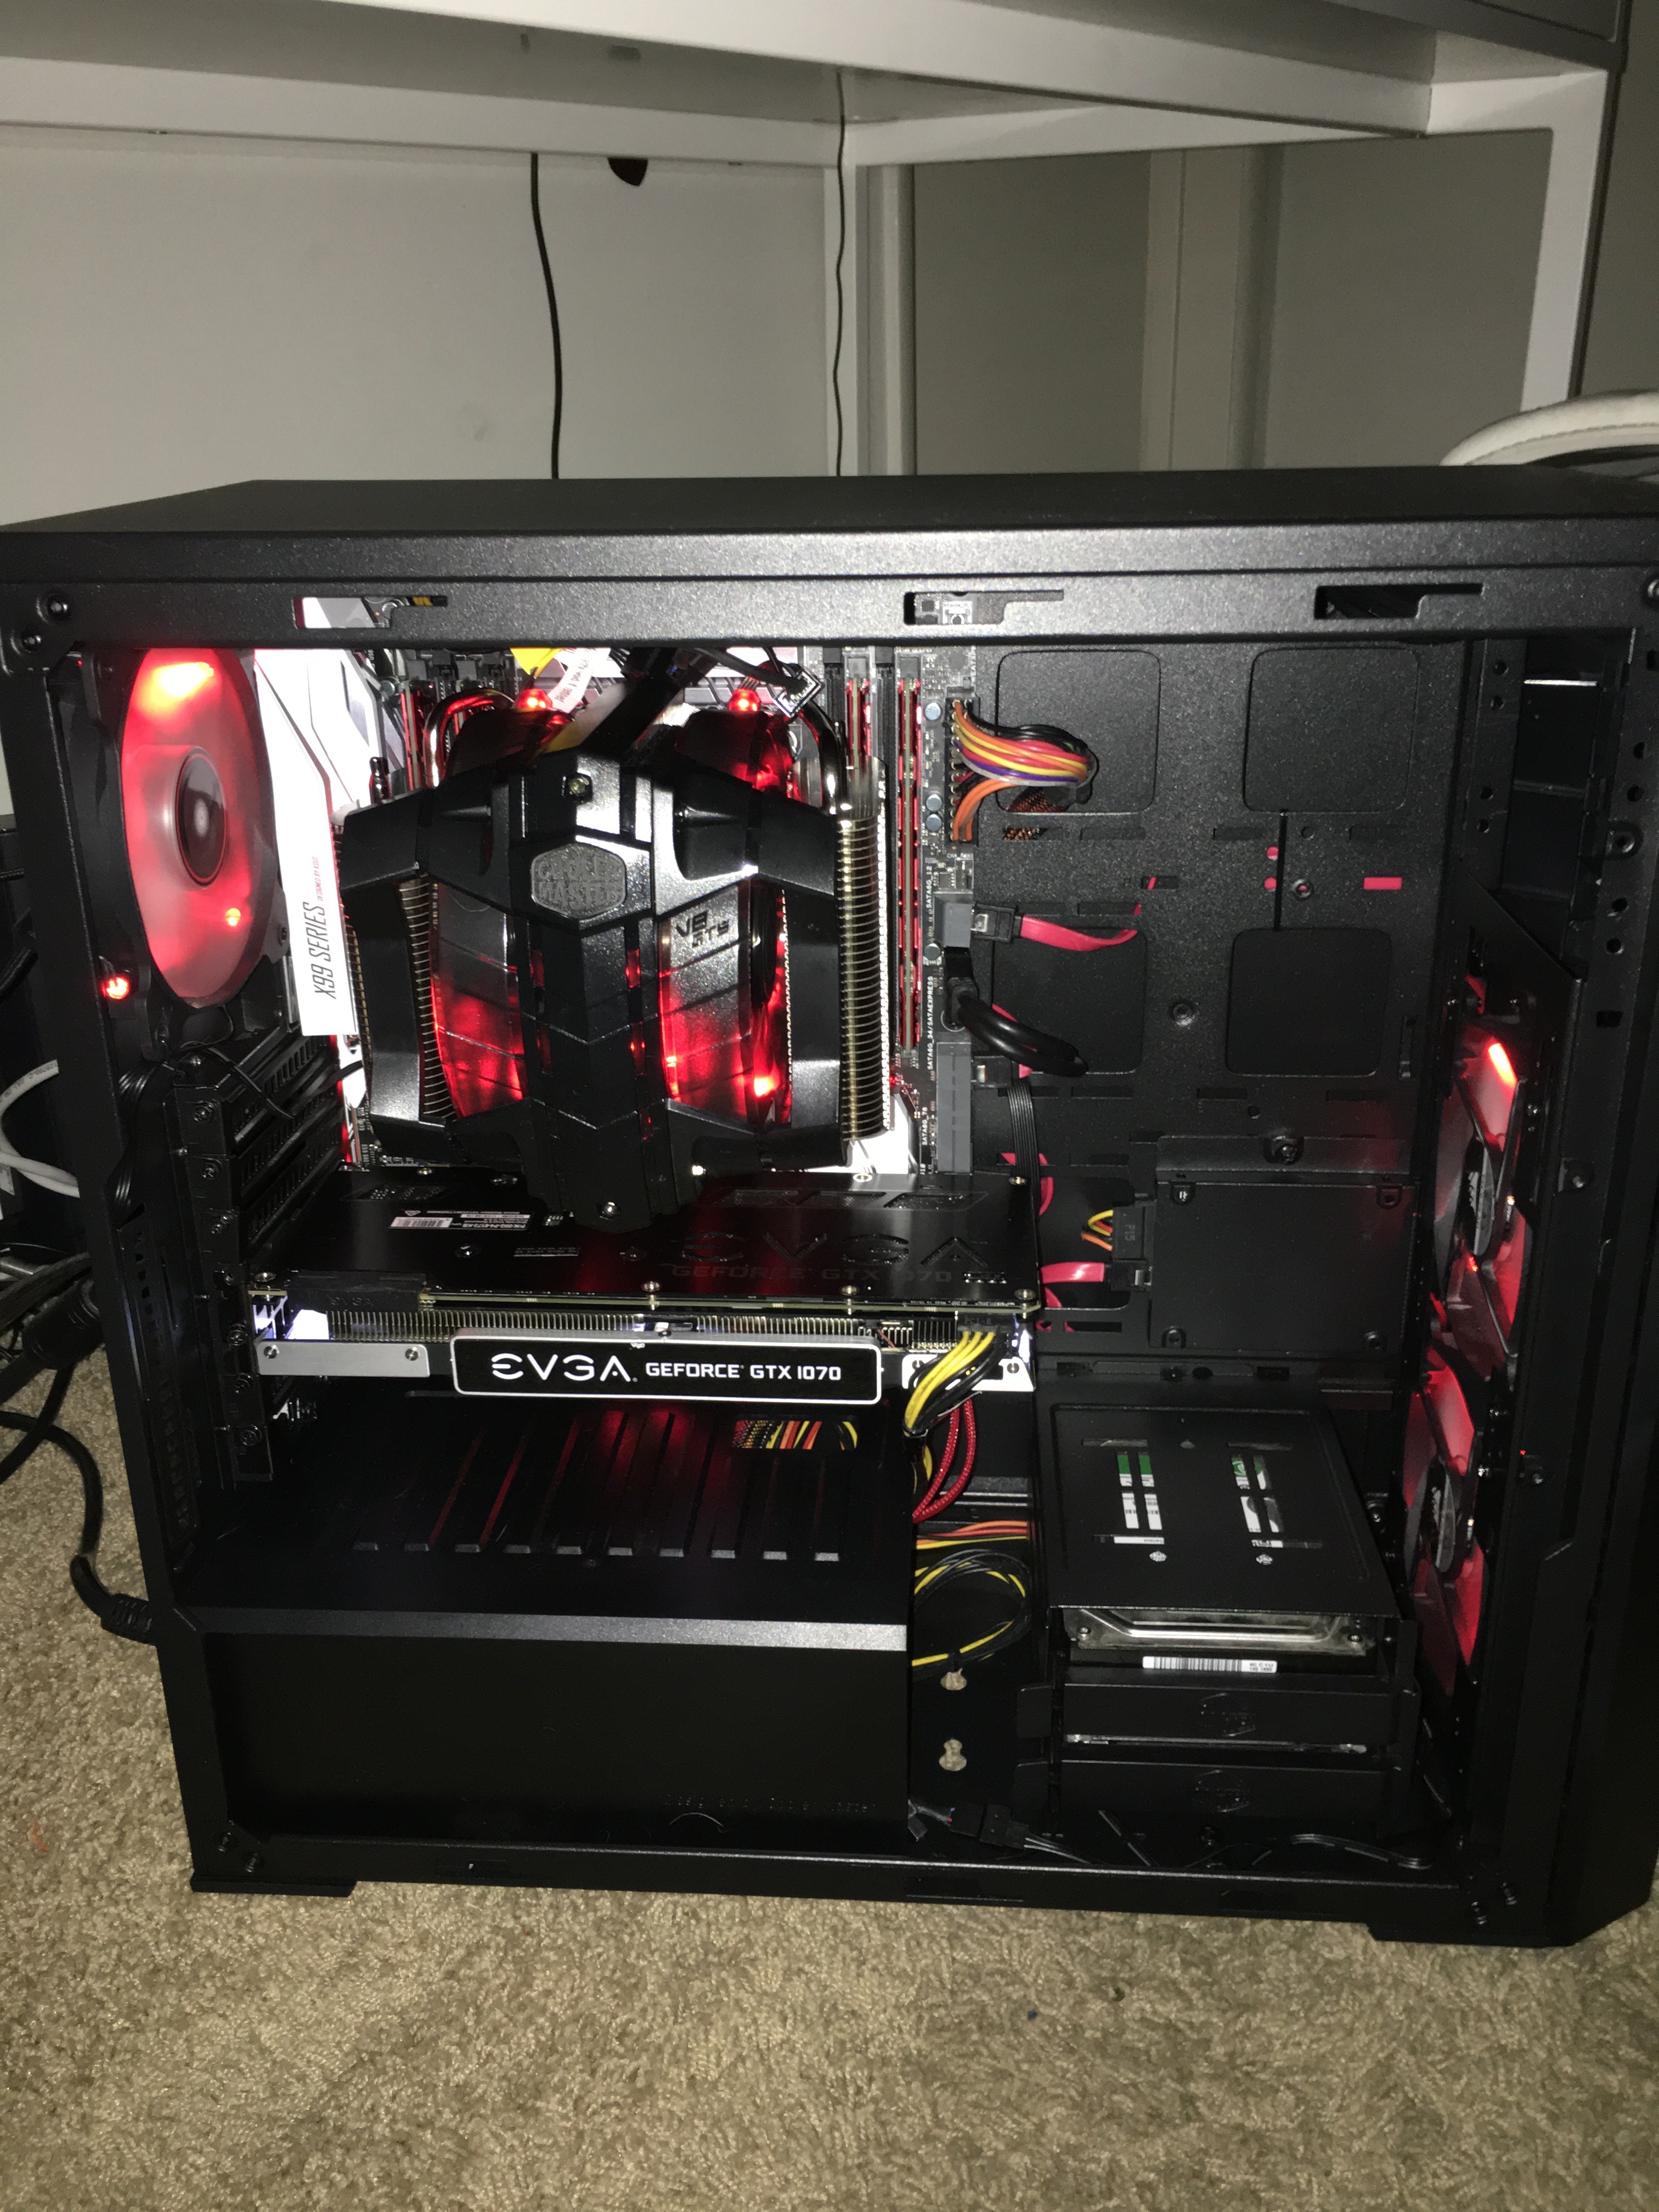
One of the nice things about Linux is that there isn’t any hardware specific bits to the OS, so I was just able to boot straight away and all of my old files and settings were in place. After a little bit of overclocking tinkering, I was able to easily achieve a 4.4 GHz overclock on all 6 cores running at 1.3V while keeping the chip under 60 C°.
Time to crunch some numbers.